Summary
Trafalgar Passage and Corkscrew Chamber were discovered in 2005 in Iles Inlet, and both contain some notably fine formations. This is easily the most well decorated part of the system and The Courtesan alone is worth all the effort of getting there. Southern Stream Passage and the low crawls in Priory Road and Iles Inlet can be very tiring, and Iles Inlet has some constrictions that may prove to be a challenge for the larger caver, but don’t let that put you off a visit to this unique part of the Agen Allwedd cave system.
The route described is the most direct as travelling via Southern Stream both there and back is by far the quickest and easiest way to do this trip. Alternatively this could be done as a detour from the Grand Circle, but it will add a considerable amount of time and effort to the trip.
This route description now includes the Priory Round Trip, providing an optional loop extension from the end of Trafalgar Passage to the further reaches of Priory Road and back to Iles Inlet.
Trip times vary depending on group size and familiarity with the cave, but you should allow at least 6-8 hours for a trip to The Courtesan (going there and back via Southern Stream), and at least an extra hour if also undertaking the Priory Road loop.
Route Description
Entrance Series
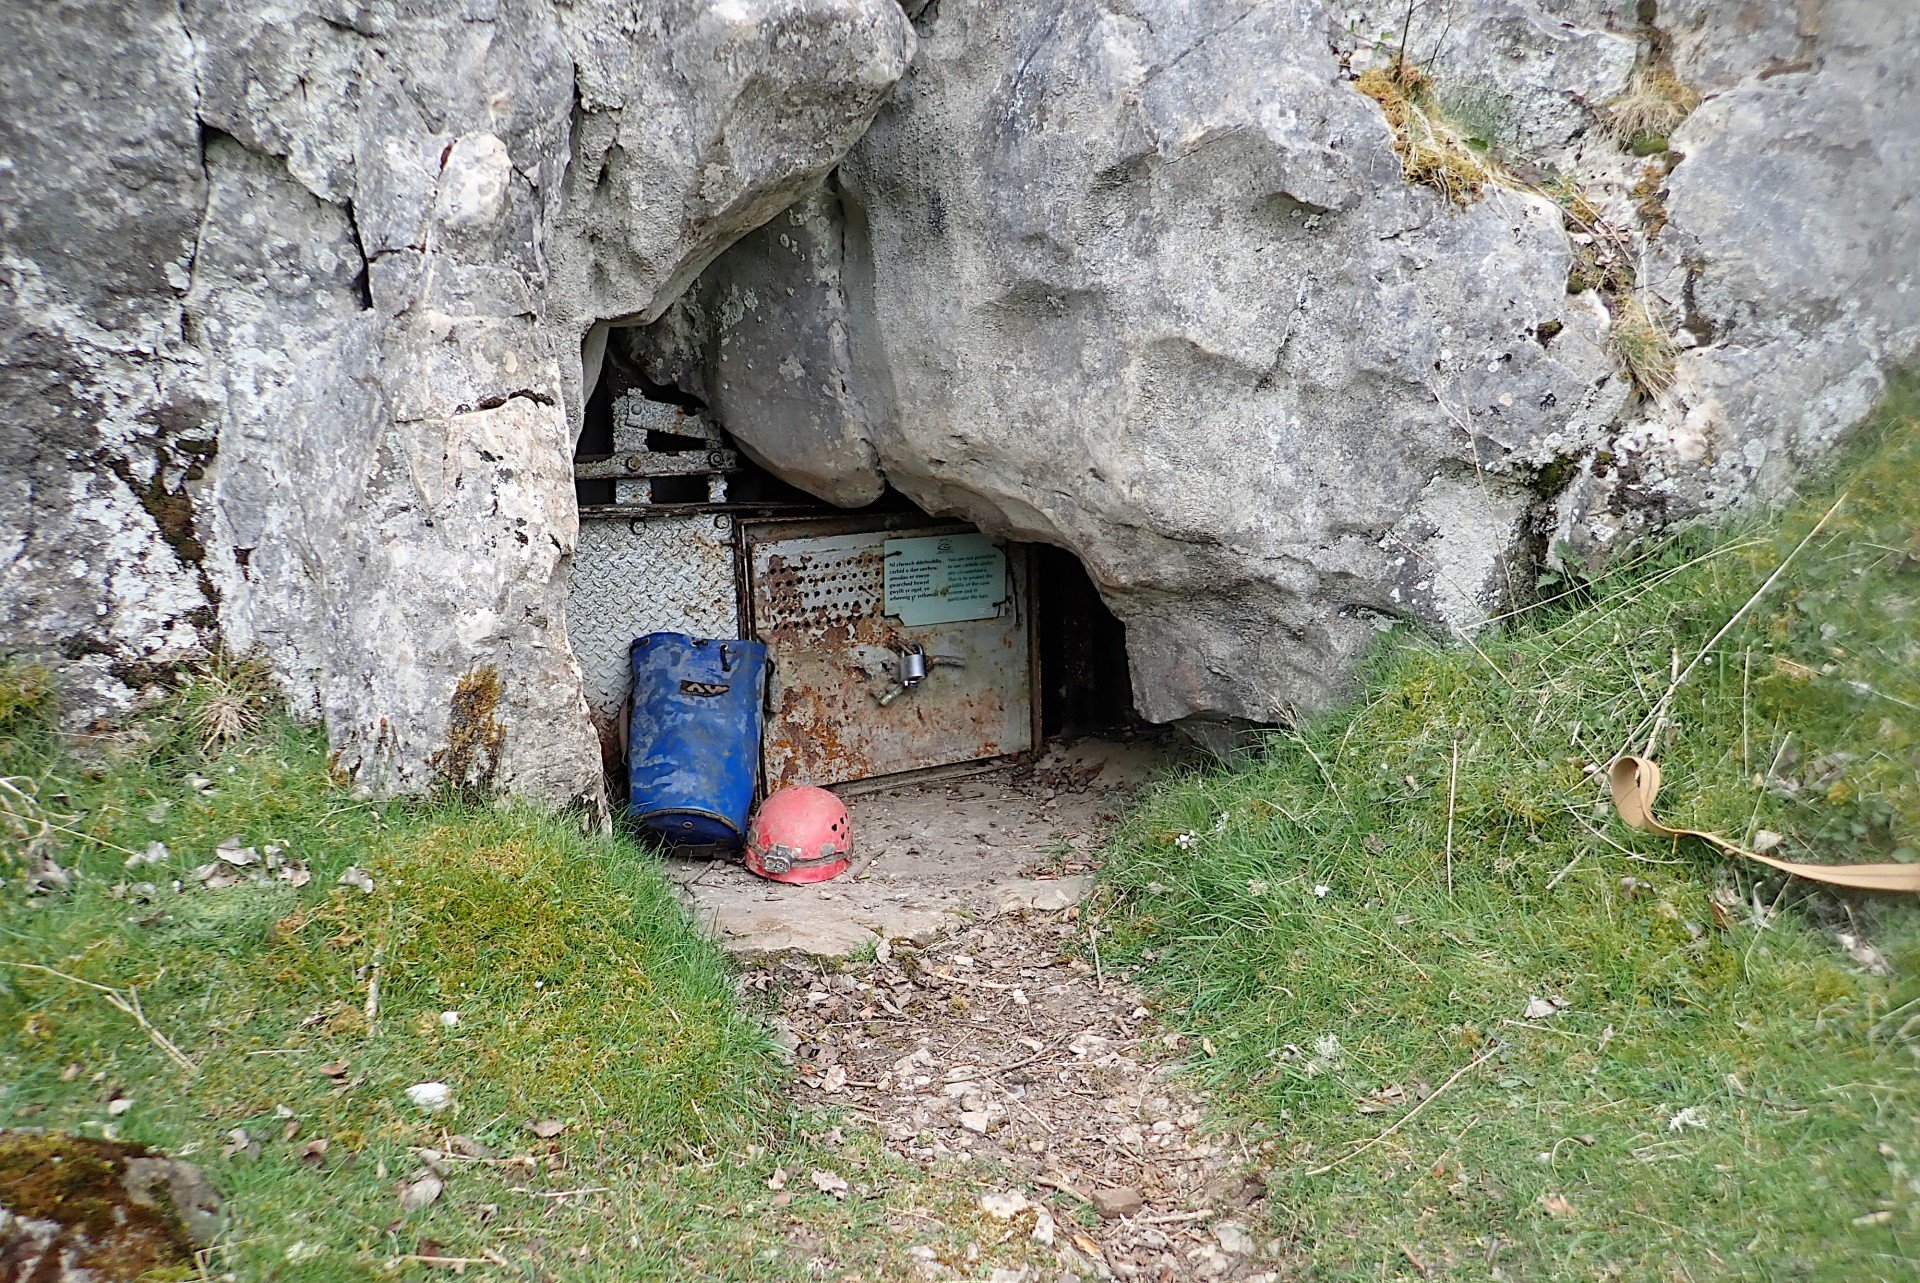
The log book is situated just inside the entrance, please use this to indicate your intended destination and time out. The Entrance Series is roughly 500m long and the key thing to remember while route finding through this section is always take the left-hand option when you reach a choice of routes. Following this golden rule you shouldn’t go too far wrong but be aware that some of these are low down so can be easily missed. The first section of the Entrance Series is a fun, sporting collection of wedged boulders to hop over, narrow rifts to squeeze through and short crawls and climbs, all of which are well trod so you can basically follow the caver-polished route. There are also a few high-level passages heading off along the way – these are bat roosting sites and should be avoided.
Beyond the initial rifty sections, approximately 360m from the entrance, the passage takes on a larger scale as you emerge from a slot alongside the right-hand wall. Keep straight ahead here and look for a climb up over the rocks a few metres further along on the left. This provides the easiest route of continuation (while taking the more obvious straight ahead route necessitates an awkward climb and squeeze to regain the way on). Continue along this high level route until you reach the end where a taped-off section and sign is visible ahead. Here take the smooth hole down through boulders on the right-hand side to reach the level 2m below. Don’t descend any further holes in this area, instead continue straight ahead to the end of the passage and down into Draught Passage on the right. Almost immediately after, look for an unobvious but extremely polished hole at floor level on the left (missing this will result in a fairly lengthy detour in the wrong direction leading only to a dig). A small streamway is met and from here on the route is straightforward and leads to a knobbly crawl over polished rocks. This ends with a short climb up into Baron’s Chamber, where you should take note of your location as you emerge from the climb as it’s partially obscured and easily missed on the return. This leads directly onto Main Passage, where a blue sign attached to a boulder is an obvious landmark.

Main Passage and Southern Stream Passage
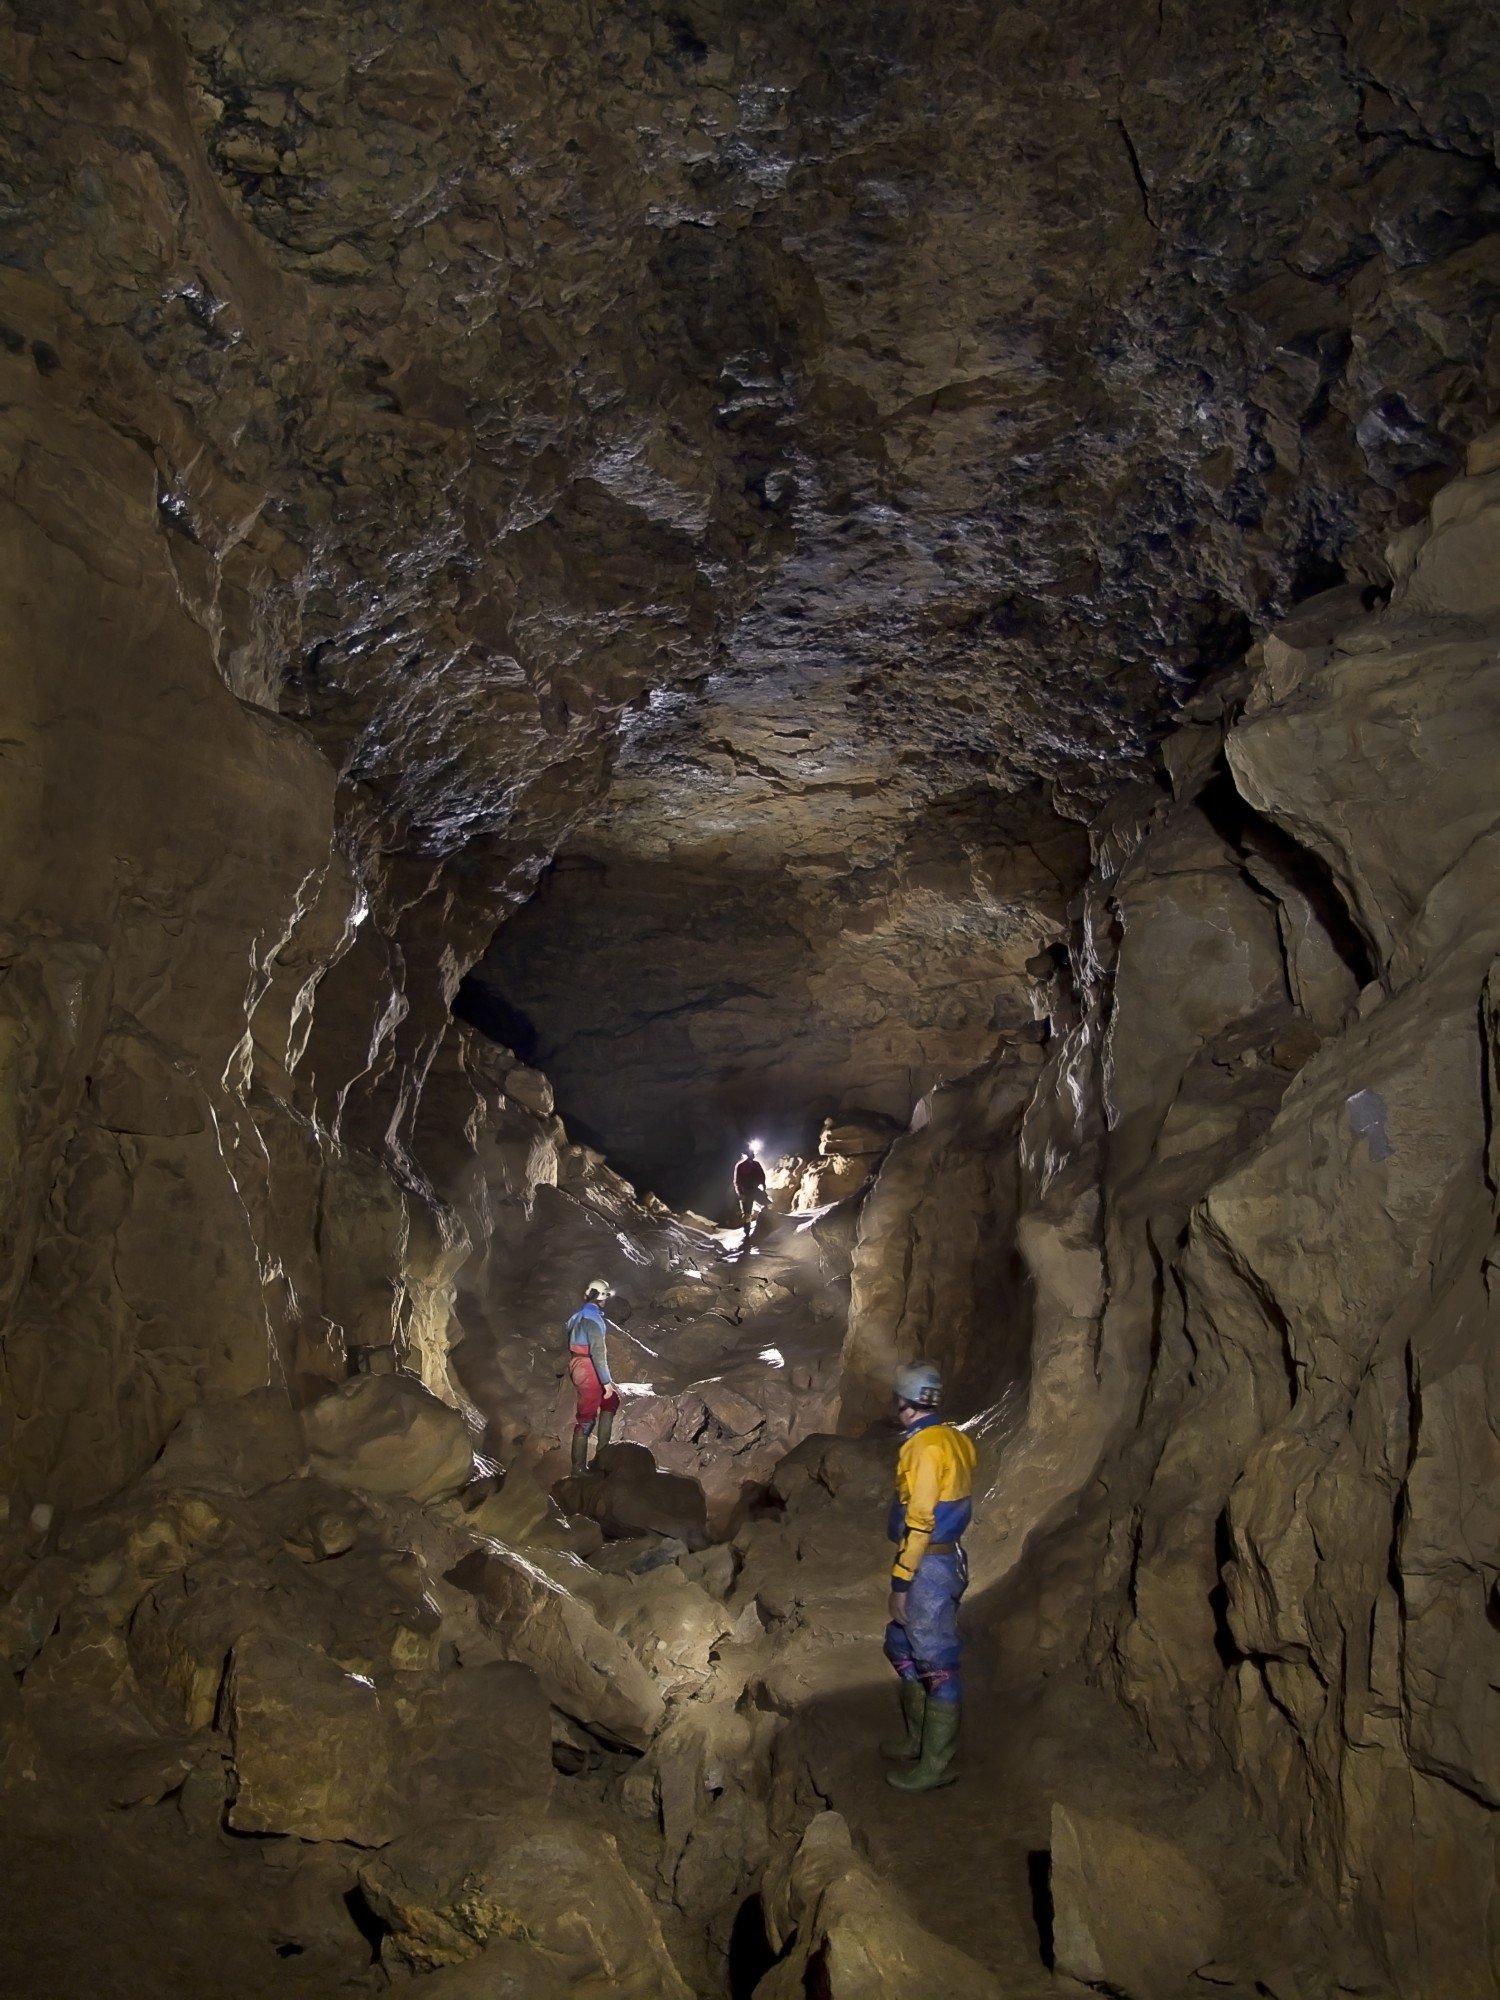
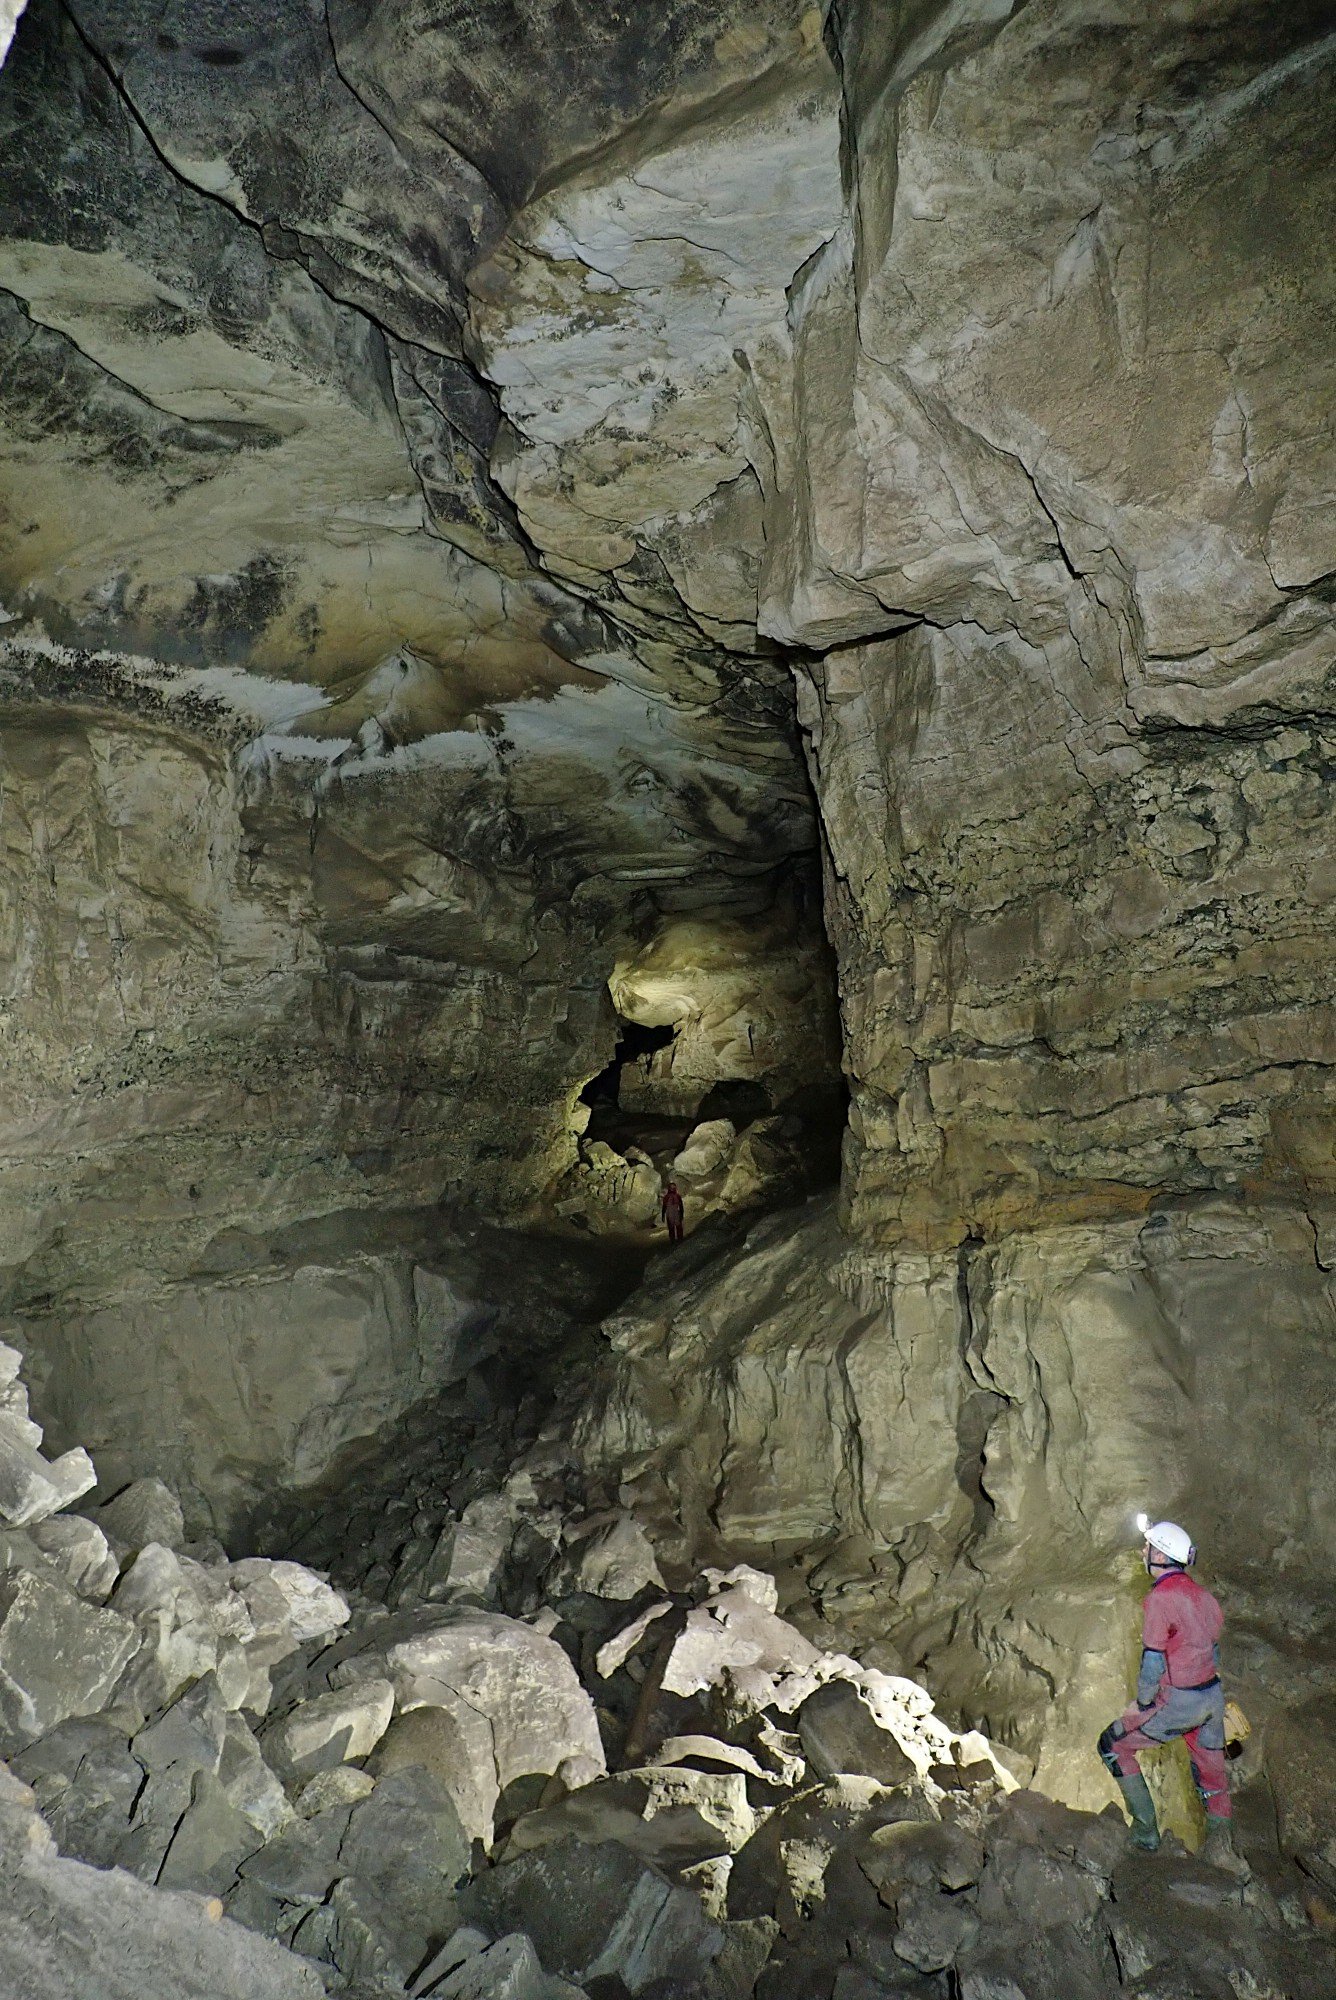
Head down this mighty boulder-strewn passage, on a gentle undulating route (keeping to the left-hand side is easiest) for 120m until an obvious junction is reached at the lowest point. Here, follow the continuation of Main Passage upslope to the left, ignoring the hole to the right descending into Main Stream Passage (the route to The Grand Circle, Inner and Outer Circle, Sand Caverns and Midnight Passage).
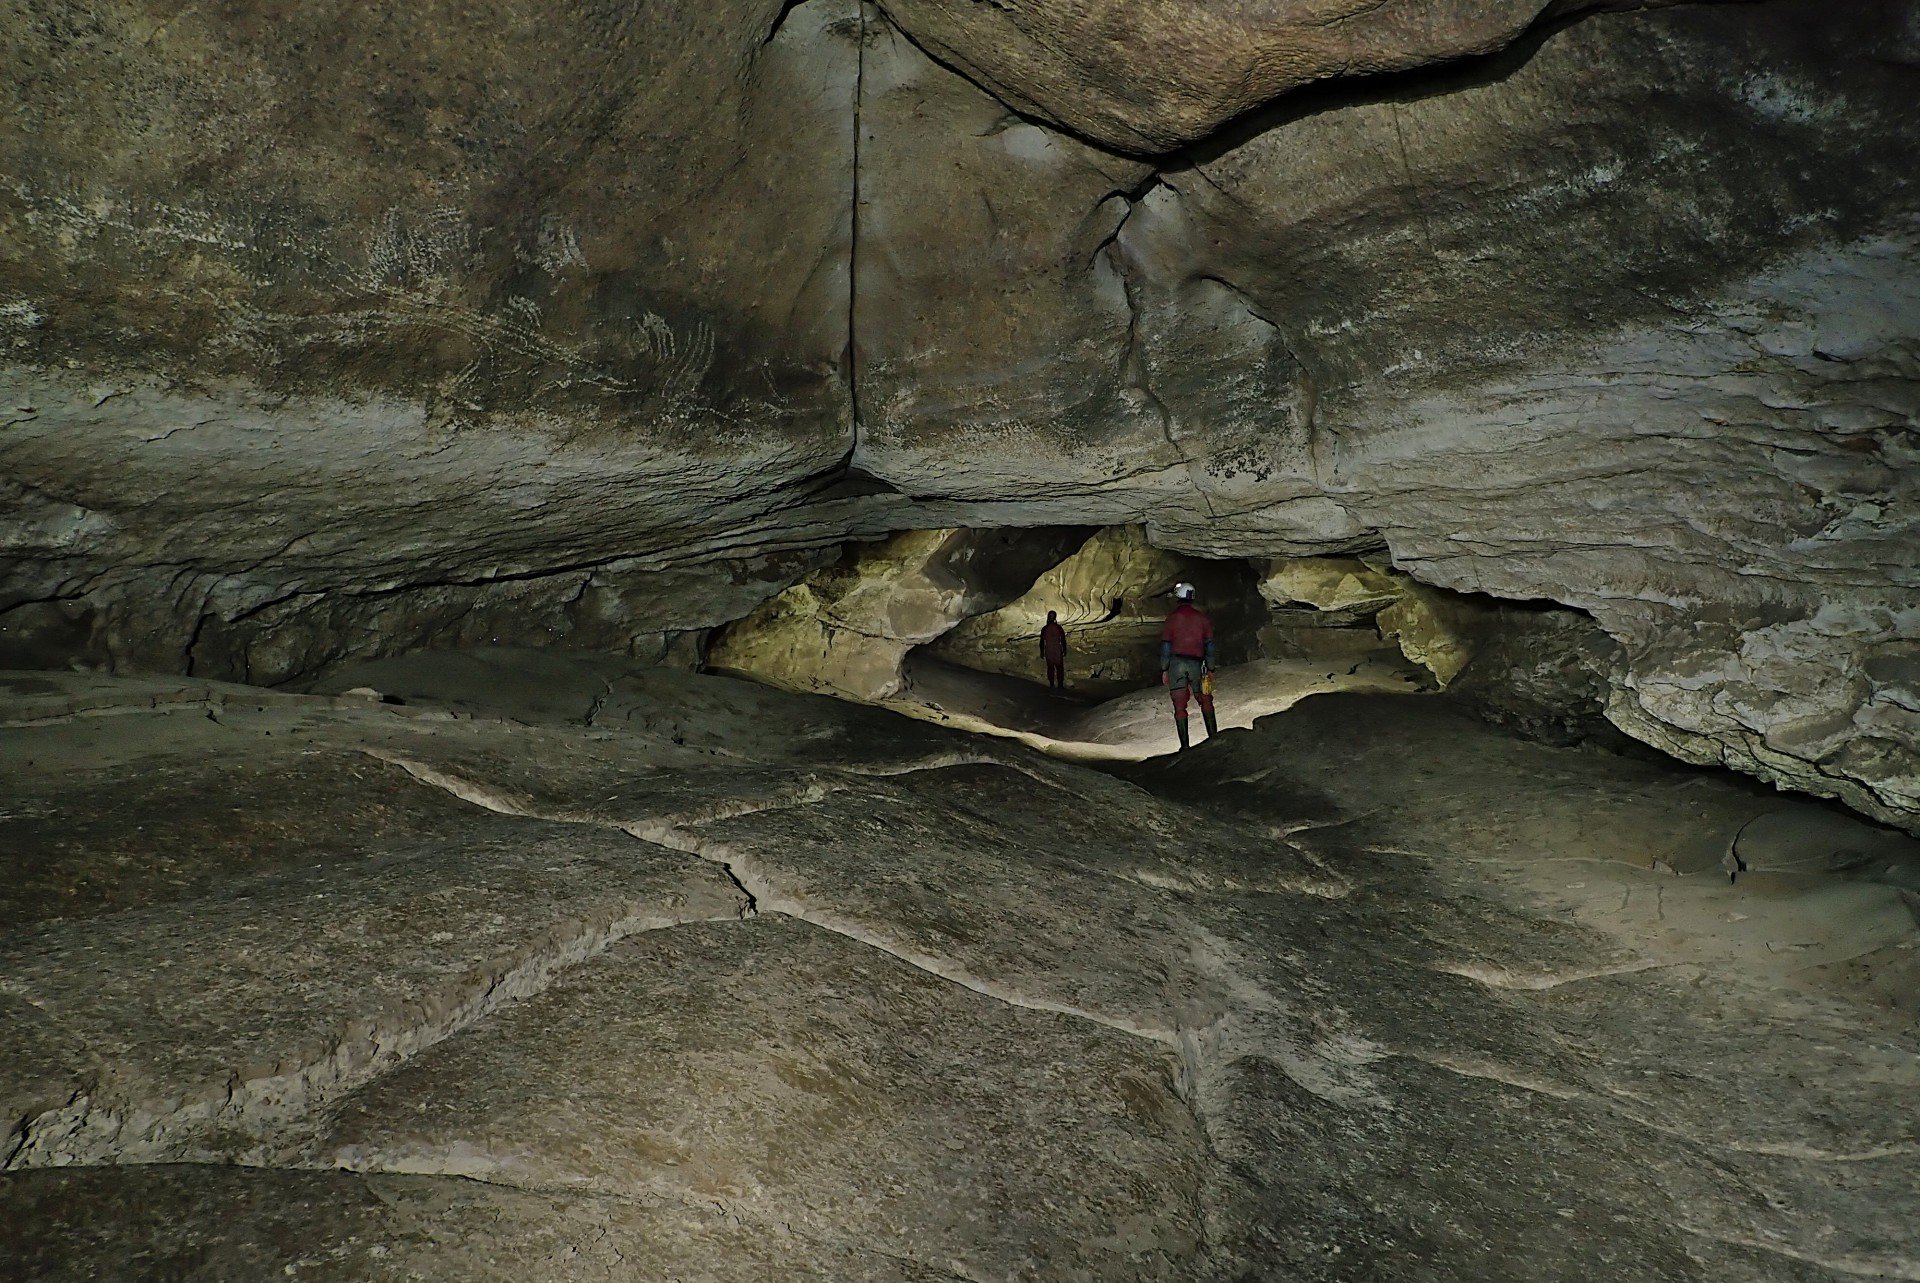
For the next 520m or so the journey is remarkably pleasant, with mostly easy walking along cave passage that is undoubtedly one of the finest in Wales – make the most of this while you can as the next section is quite the opposite!
There are a number of side passages heading off from Main Passage but the large portal to Southern Stream Passage is easy to spot where the floor drops away on the right-hand side of the passage. Descend the boulder slope here and follow the passage for 60m, passing through a brief narrowing to the next section of open passage where a hole in the boulder floor leading to Southern Stream Passage is soon met. This is not immediately obvious to spot, so if you find yourself following the large open passage upslope you’ve gone too far (this leads to Sandstone Passage and Upper Southern Stream).
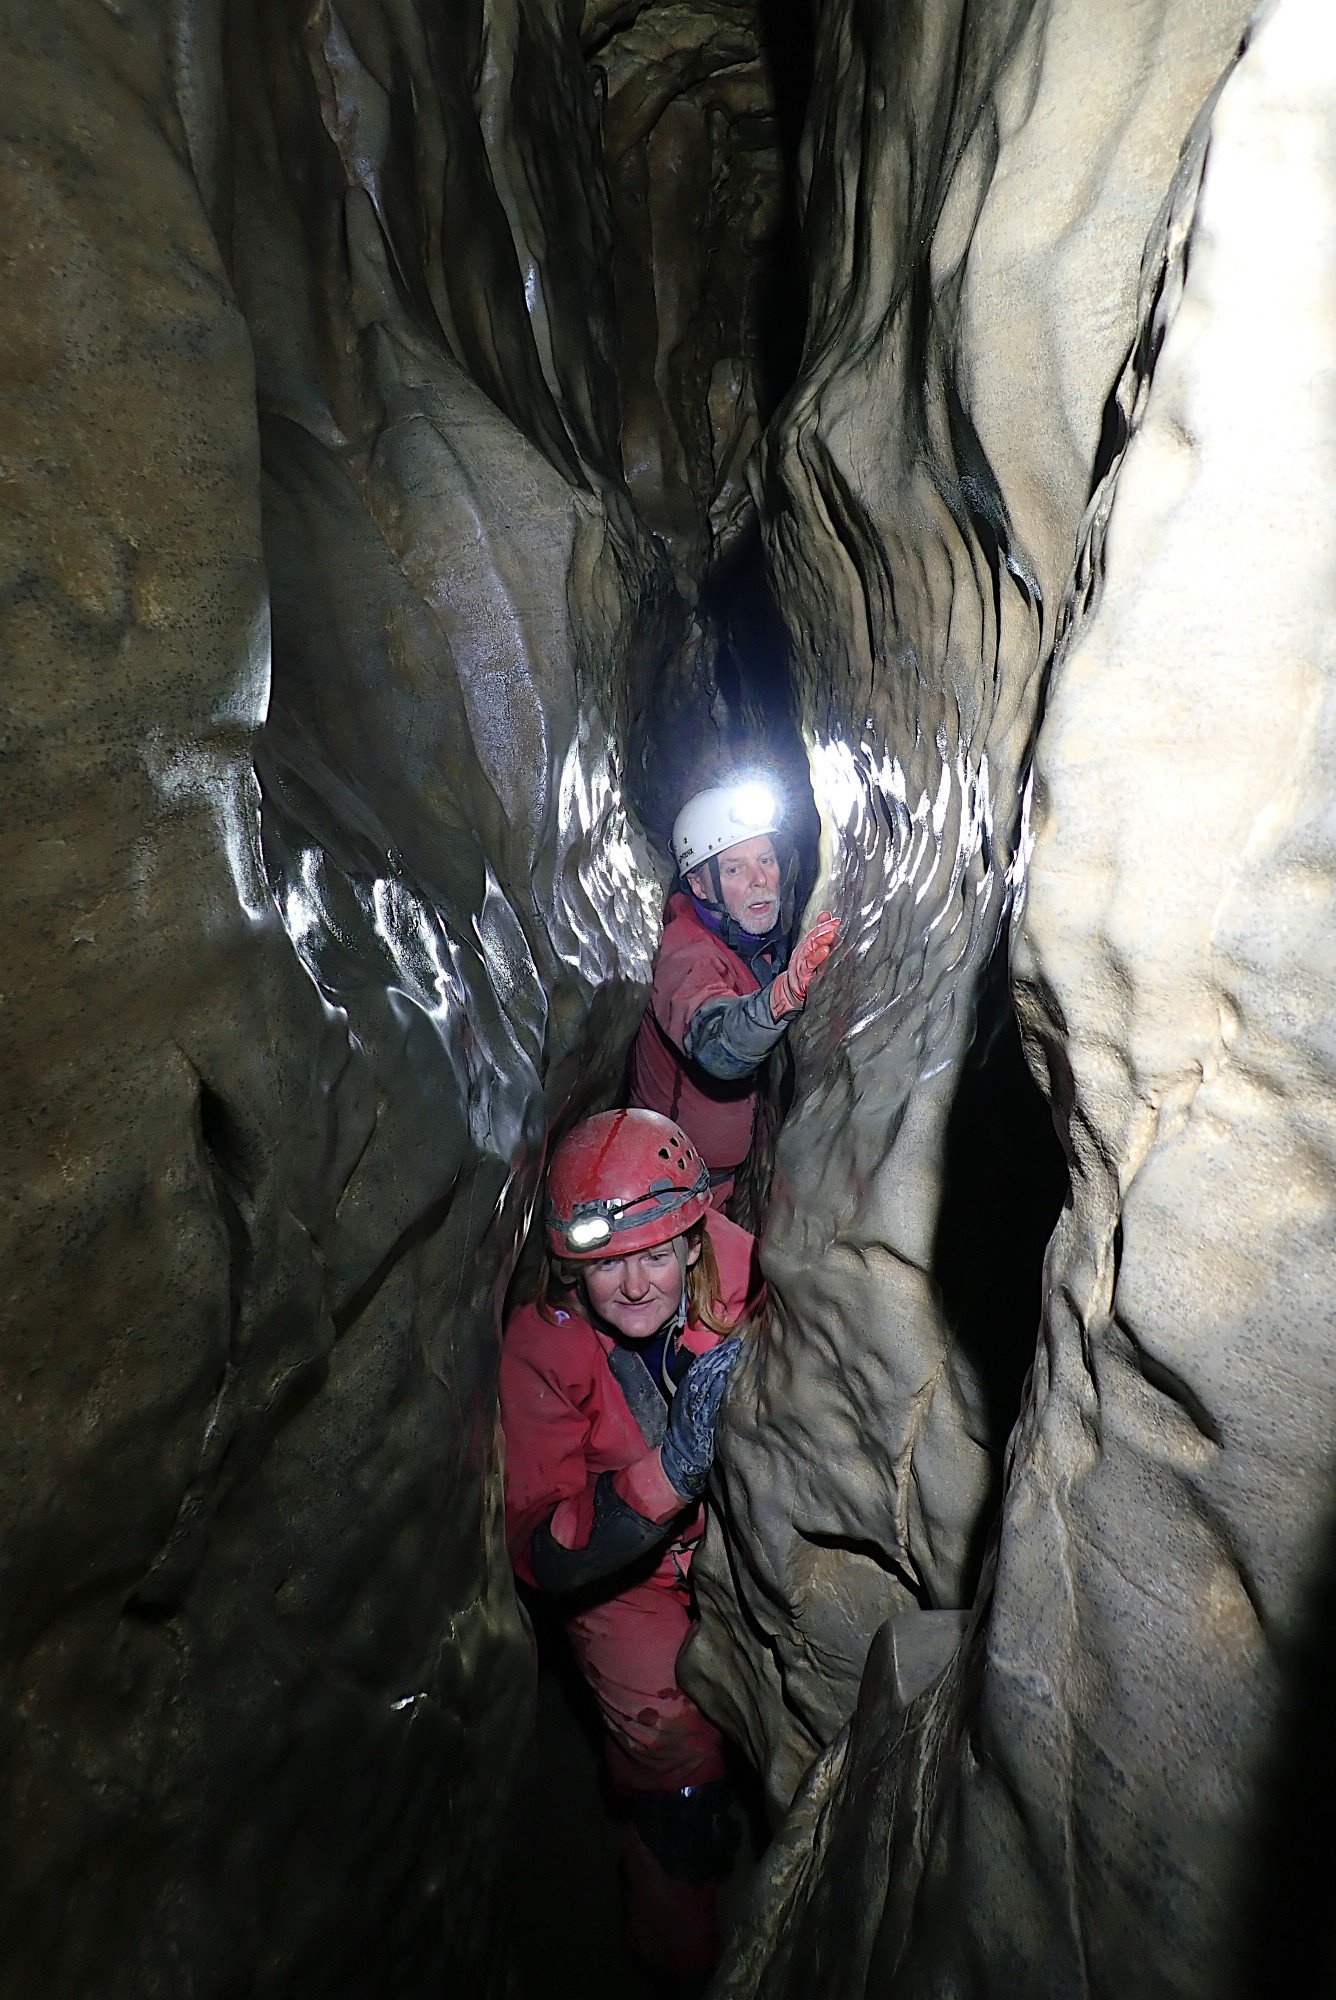
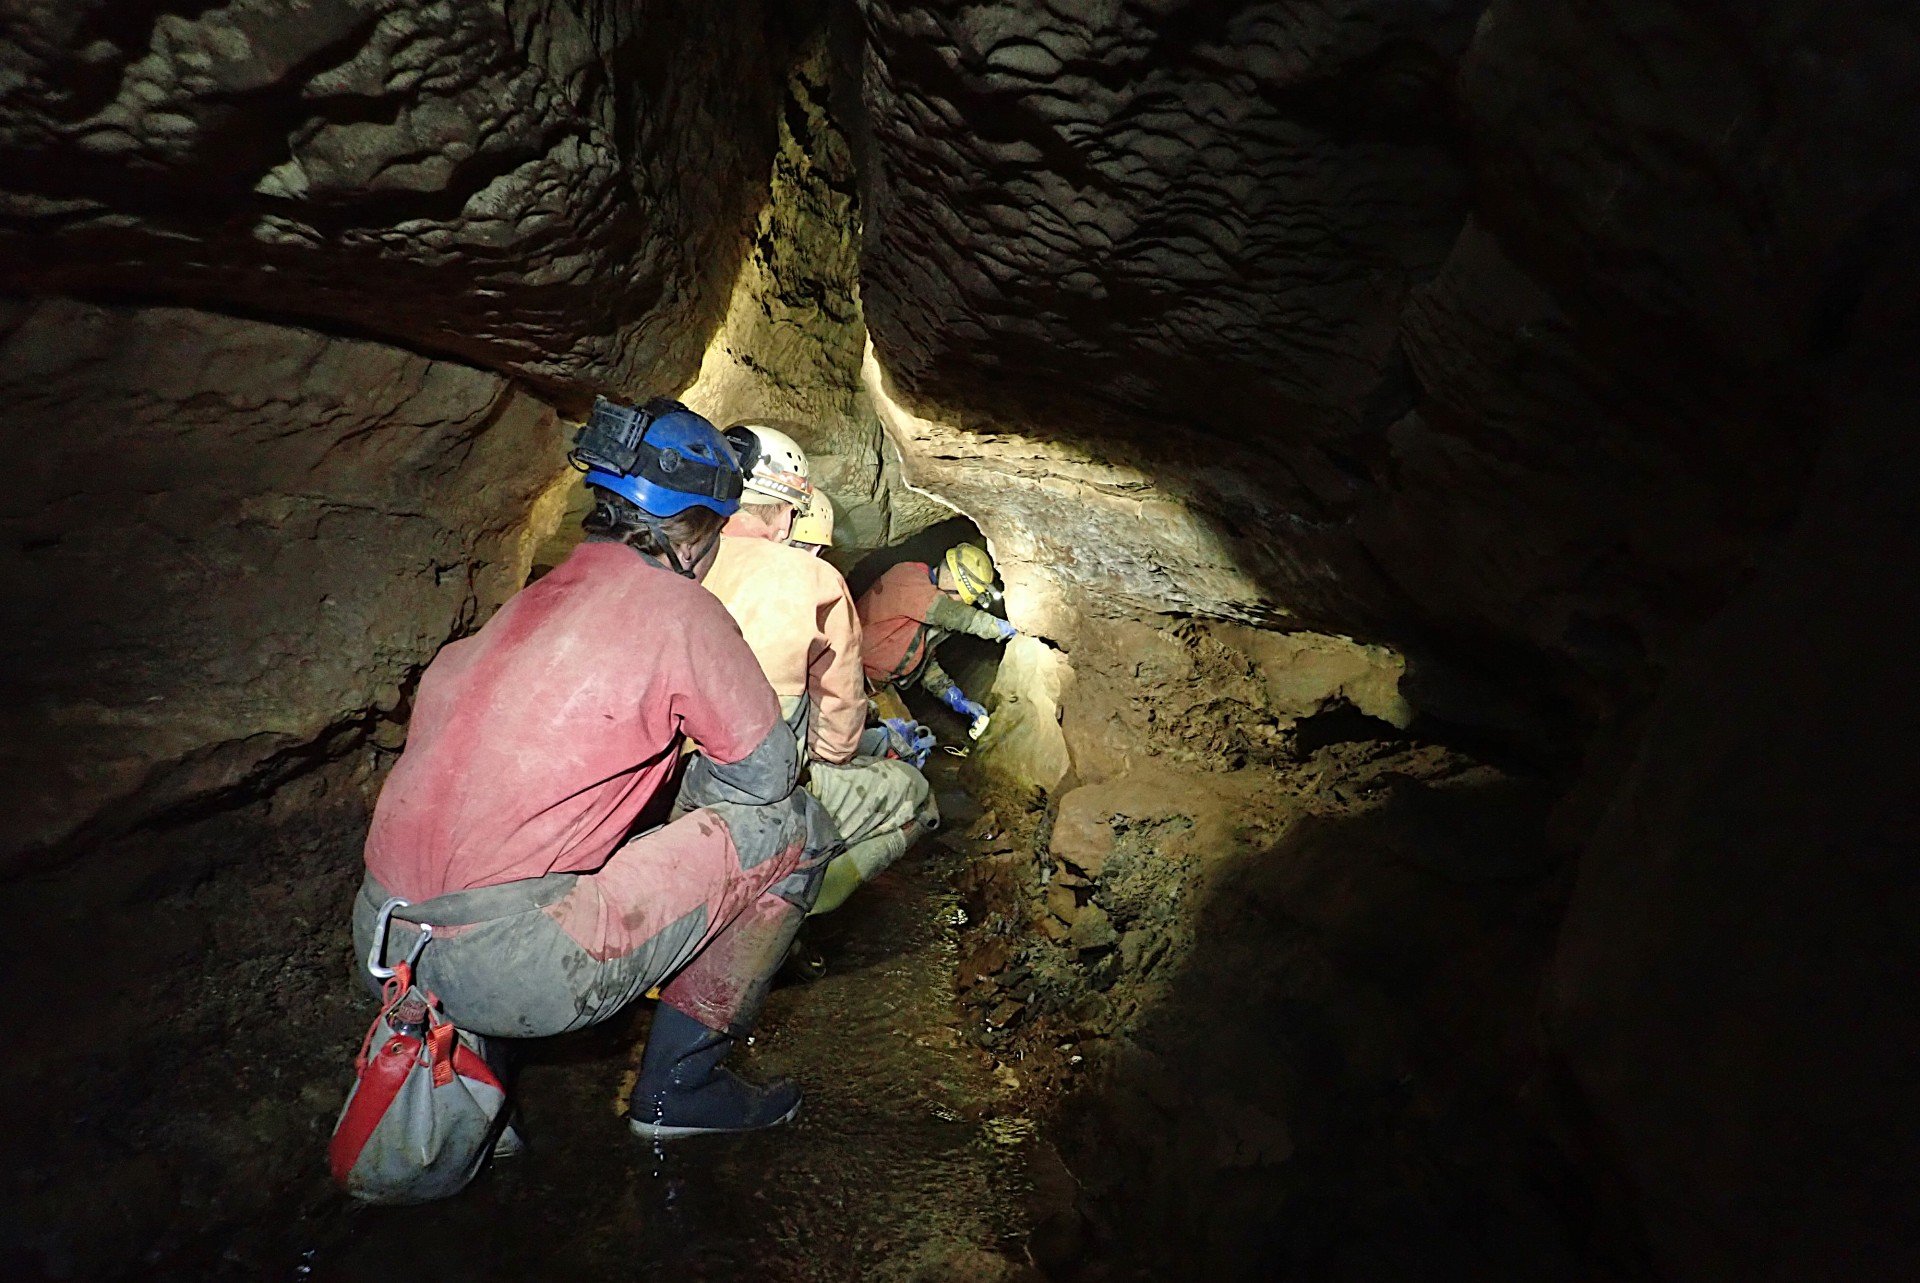
Descending the hole quickly meets the streamway, marking the start of a section of caving of far less sizeable proportions. There is normally very little water in the first section of Southern Stream, which is mostly stooping height an free of obstacles. First Inlet enters from the left after 140m, followed by Second Inlet which is reached after a further 250m. This is easily recognised by the drinking cup attached nearby, and pausing for a drink here offers a welcome respite to the tedium of stooping and crawling experienced thus far in this passage. You are now roughly halfway through the initial awkward stretch of Southern Stream Passage. After Second Inlet there are more obstacles to impede progress. Often there is a dry alternative to crawling in water, but in a couple of places this is unavoidable. At one of these the roof lowers until it is impassable, but on the left-hand side a narrow ascending slot provides a bypass. Soon after this the going starts to get easier, with some open walking passage which suddenly arrives at the top of a small waterfall. This has a fixed handline to assist the slippery 2m climb down to Waterfall Chamber.
The continuation of the passage beyond is comparatively easy and much more pleasant with only occasional climbs up and over boulder obstacles. After 260m or so, look for a rope hanging down on the right by a wedged boulder. This is easy to spot, but could be missed if travelling on auto-pilot. Climb the rope to the top of the boulder, then use the fixed line to traverse carefully along the ledge and across to the higher level of Gothic Passage. This is the route to the Gothic Extensions (while if you were to continue along Southern Stream below you would eventually reach Lower Main Streamway and the original Grand Circle route).


Gothic Passage to Iles Inlet and The Courtesan
Gothic Passage starts as easy walking passage but quickly lowers to a crawl before arriving at a T-junction. Take the left-hand route here to Priory Road (heading right leads to Maytime and Grand Circle via High Traverse) where walking height is soon regained before once again dropping to a crawl and meeting another junction. This time we head right (with BNS written in carbide), as left soon reaches a dig. A flat-out crawl then leads to Ribbed Vault, which has a large aven overhead and fallen blocks on the floor. Skirting to the right of the blocks then heading left leads to Priory Road, while following the taped path heading right reaches a dead end.
Priory Road begins rather uncomfortably with a prolonged crawl in wide but low passage. Some crystal formations are passed along the way, and there are occasional places to stand up beneath avens until progress eventually becomes easier. The passage then regains walking dimensions once more with only the odd section of stooping. The Rock Hard Camp is soon met at a bend in the passage, this is a temporary base installed by The Monks digging team as part of their on-going efforts to connect the Agen Allwedd to Daren Cilau. Beyond this, the next feature is an inlet is passed on the left approximately 100m further, and roughly 120m beyond this a large junction is encountered. Take a sharp left here to continue along Priory Road (straight on reaches a choke), but a short diversion can also be undertaken to visit The Cathedral if time and energy is at your disposal. This is accessed by a small aven tube to the right of the taped route at the junction and has some hanging baler twine to aid entry. A snug chimney climb and second short climb above gain the impressively sized chamber of The Cathedral.
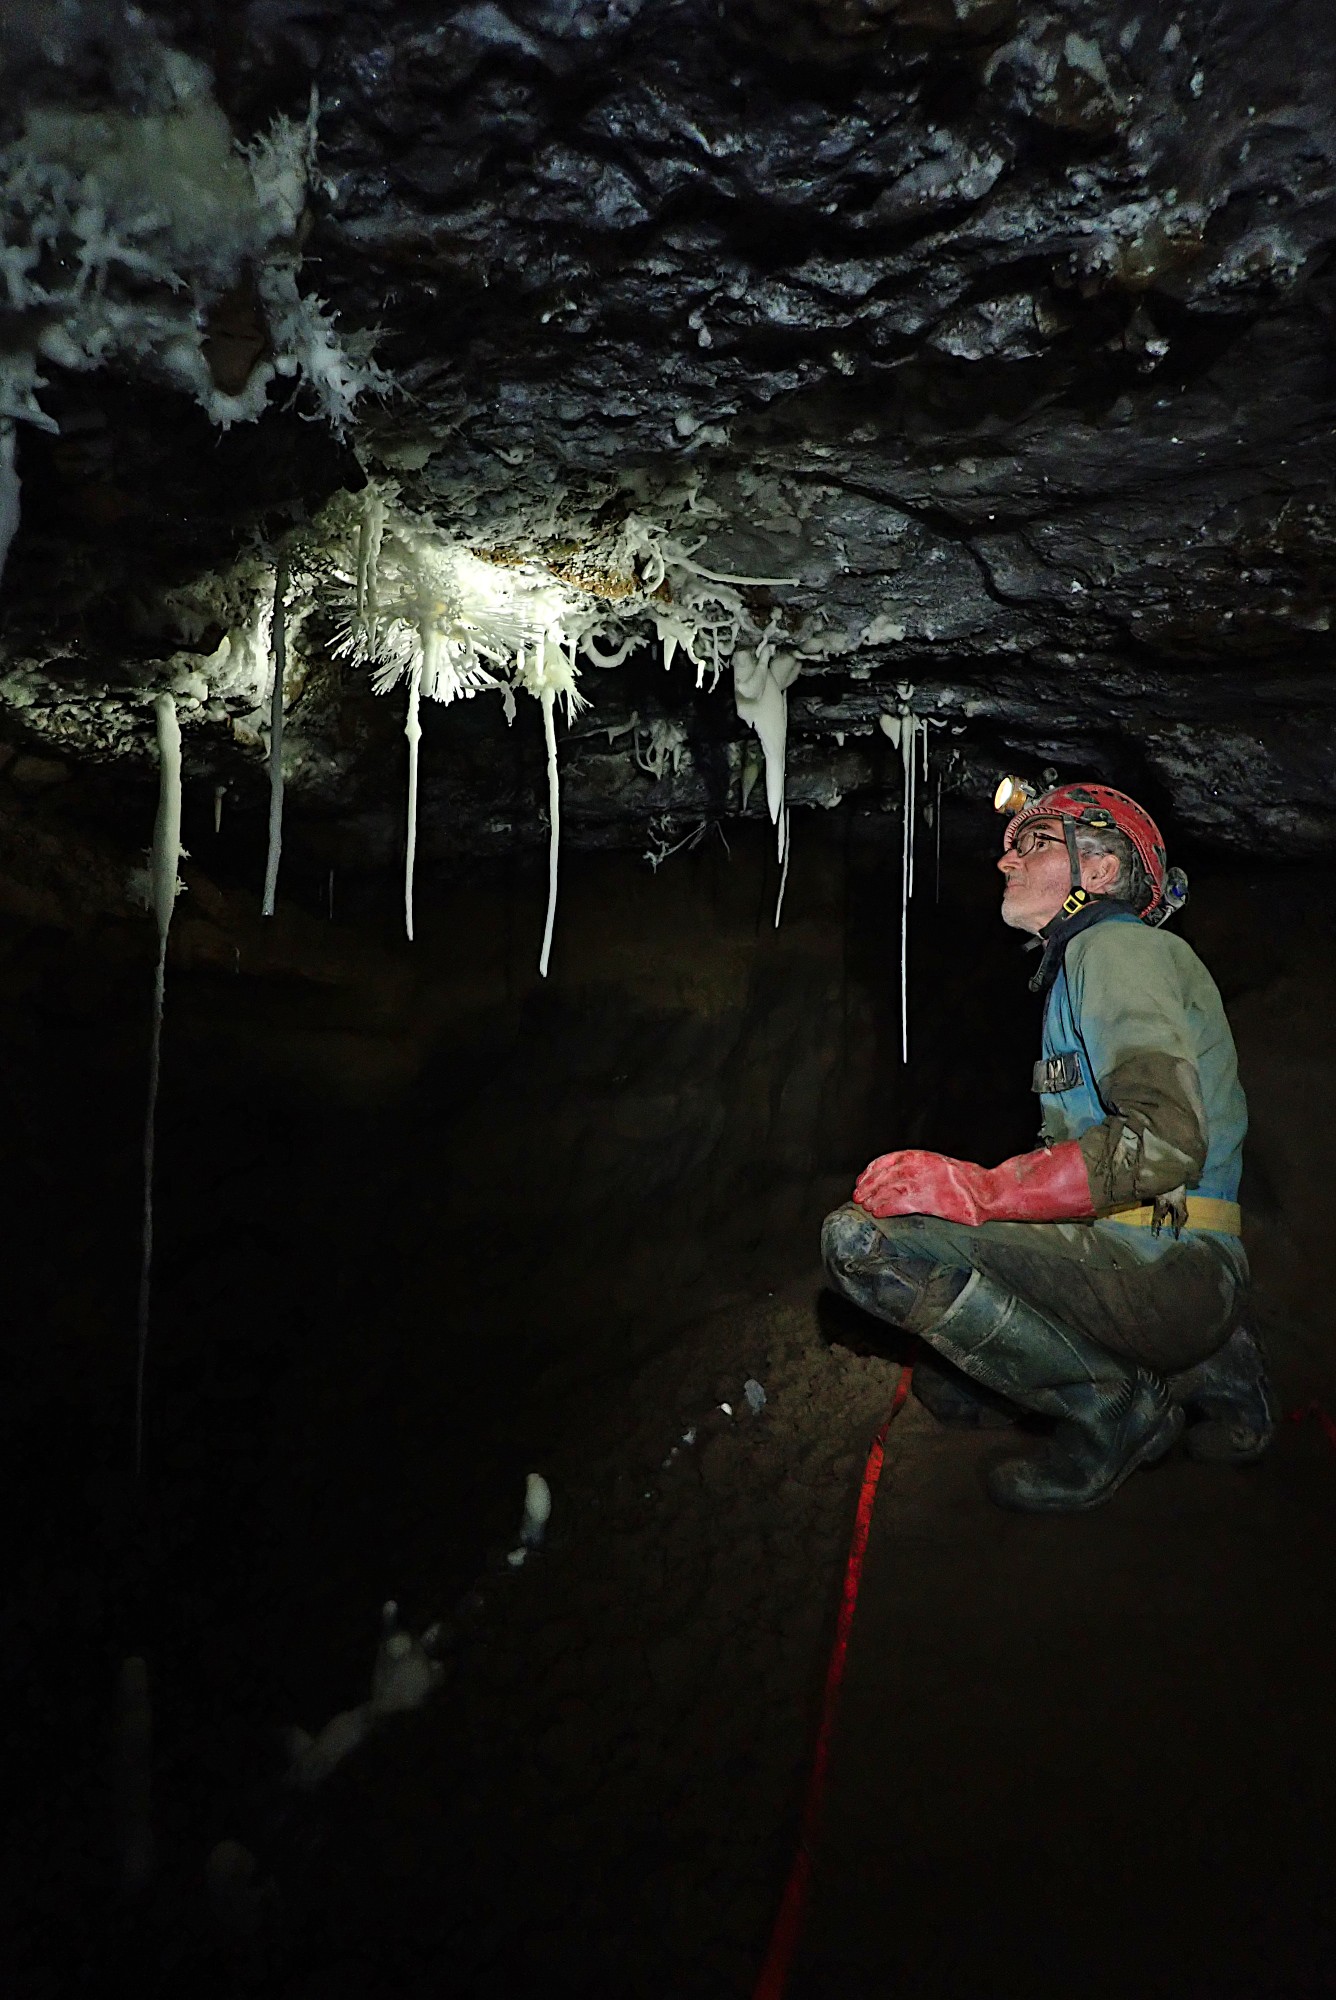
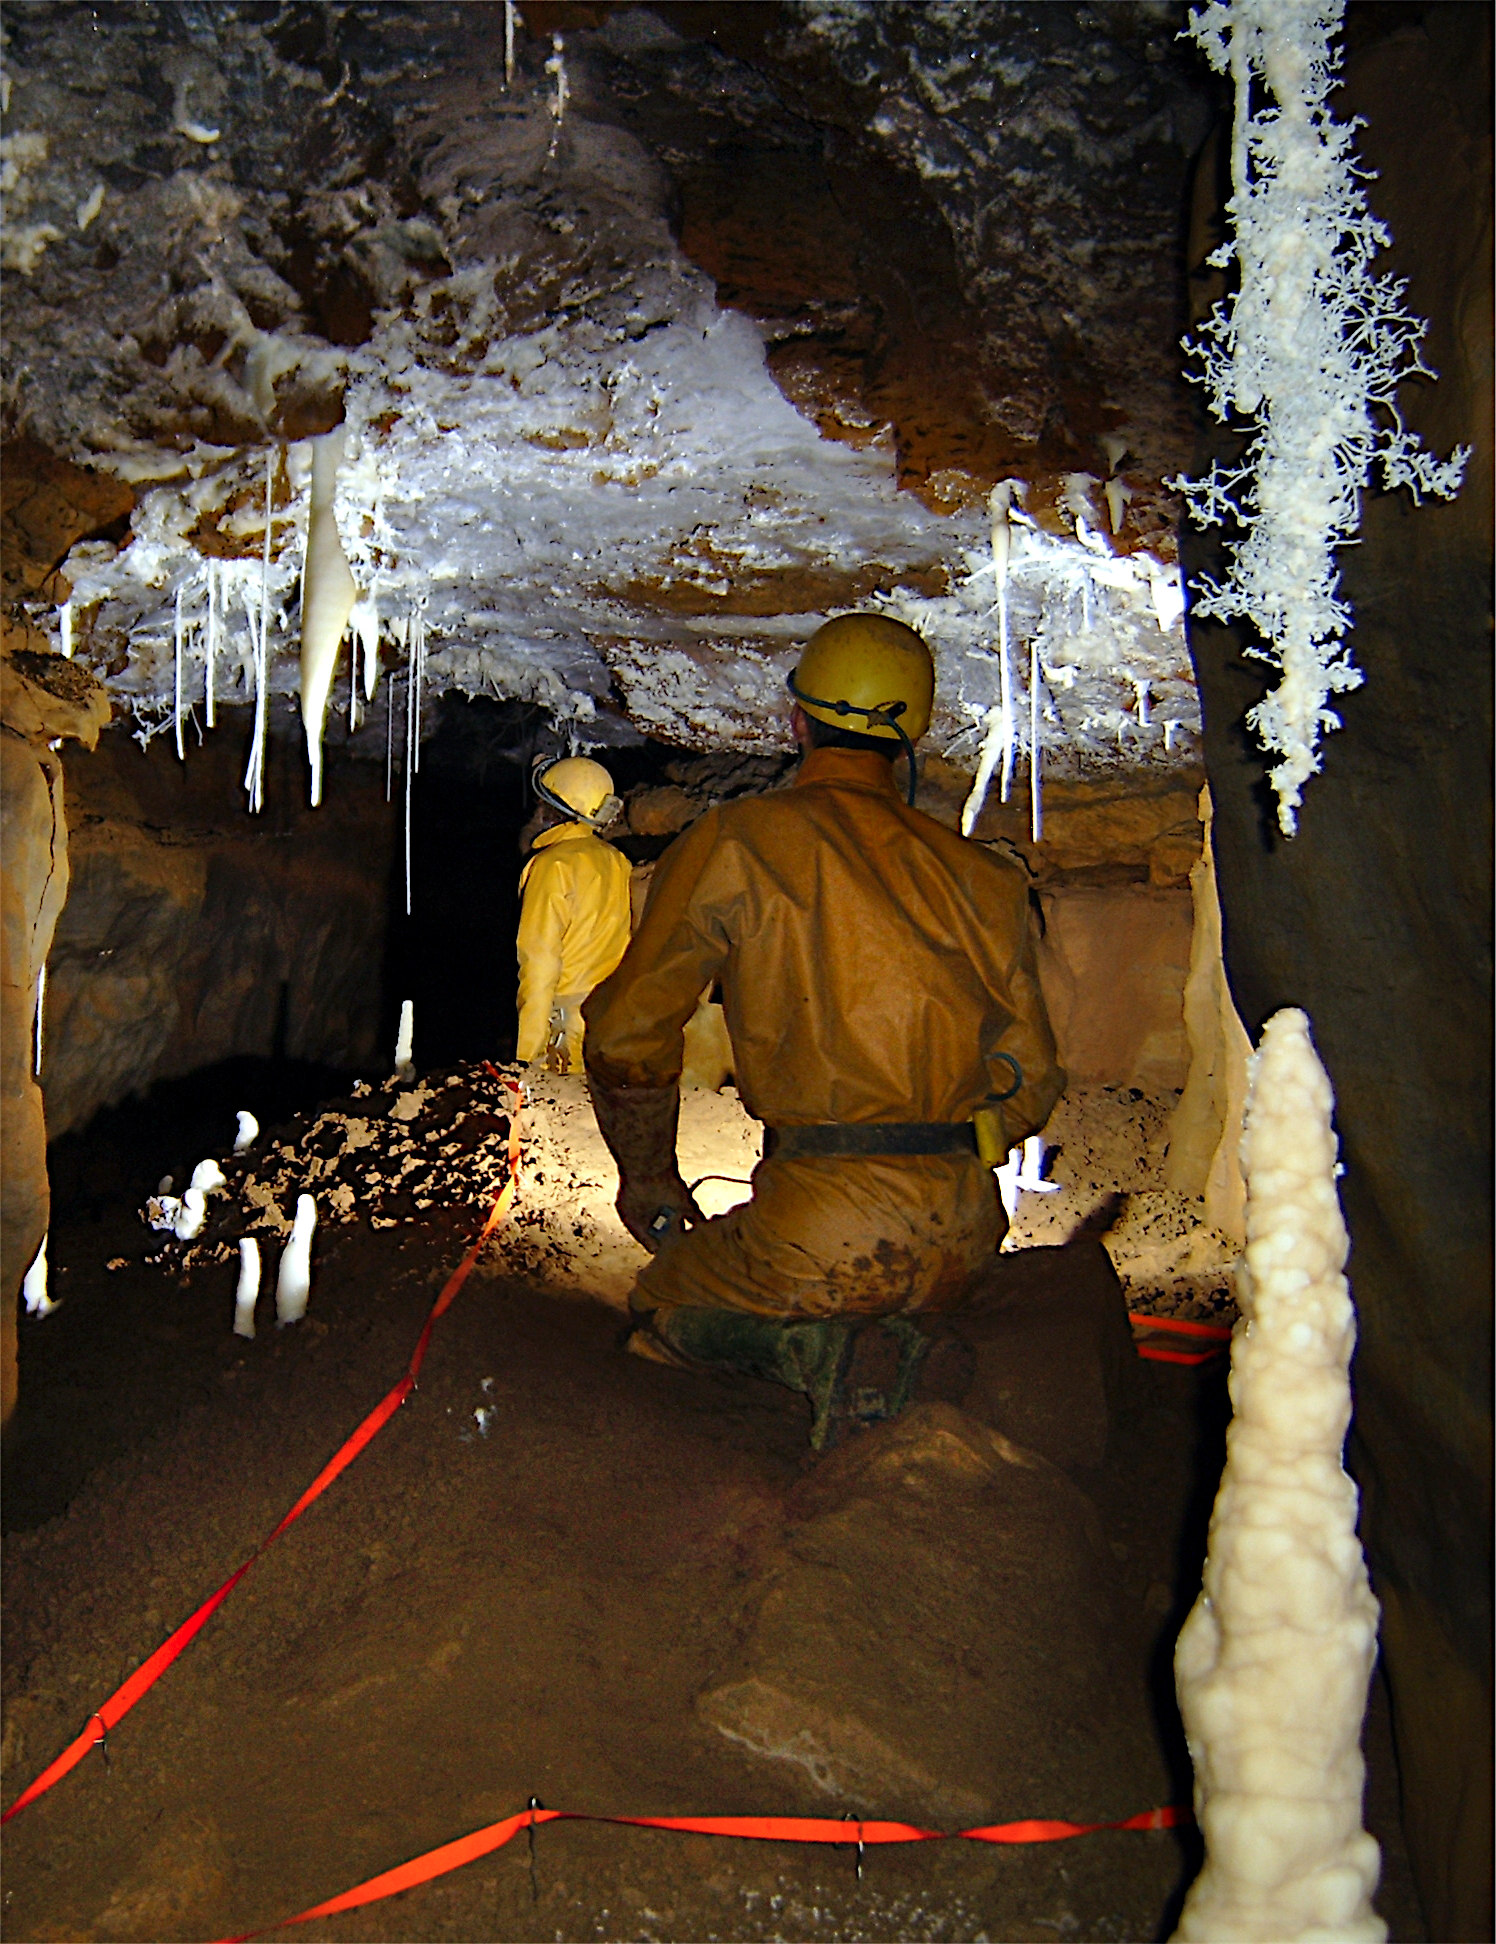
Continuing along Priory Road for a further 60m, the next passage heading off on the left is Iles Inlet. This is the route to The Courtesan and Trafalgar Passage, and also the start and end point of the round trip if extending your journey to include the further reaches of Priory Road. Iles Inlet soon reaches a very deep pit in the floor marked with a ‘Deep Excavations’ sign. This impressive digging effort drops down to a low crawl with a sand squeeze up to reach open passage on the other side; you will encounter a few more of these along the next 200m or so as there are various dug-out U tubes along the way, together with a couple of awkward S bends that may offer difficulties to the larger caver. Ignore the obvious side passage heading back sharply on the left and numerous minor side passages to follow the well-worn route, where all the effort of getting there is well rewarded when you emerge at the 2005 breakthrough point. This part of the cave has more in common with Urchin Oxbow and Antler Passage in Daren Cilau than anything you’d usually find in Aggy and care should be taken to stay within the taped route to protect the floor sediments as well as the formations.


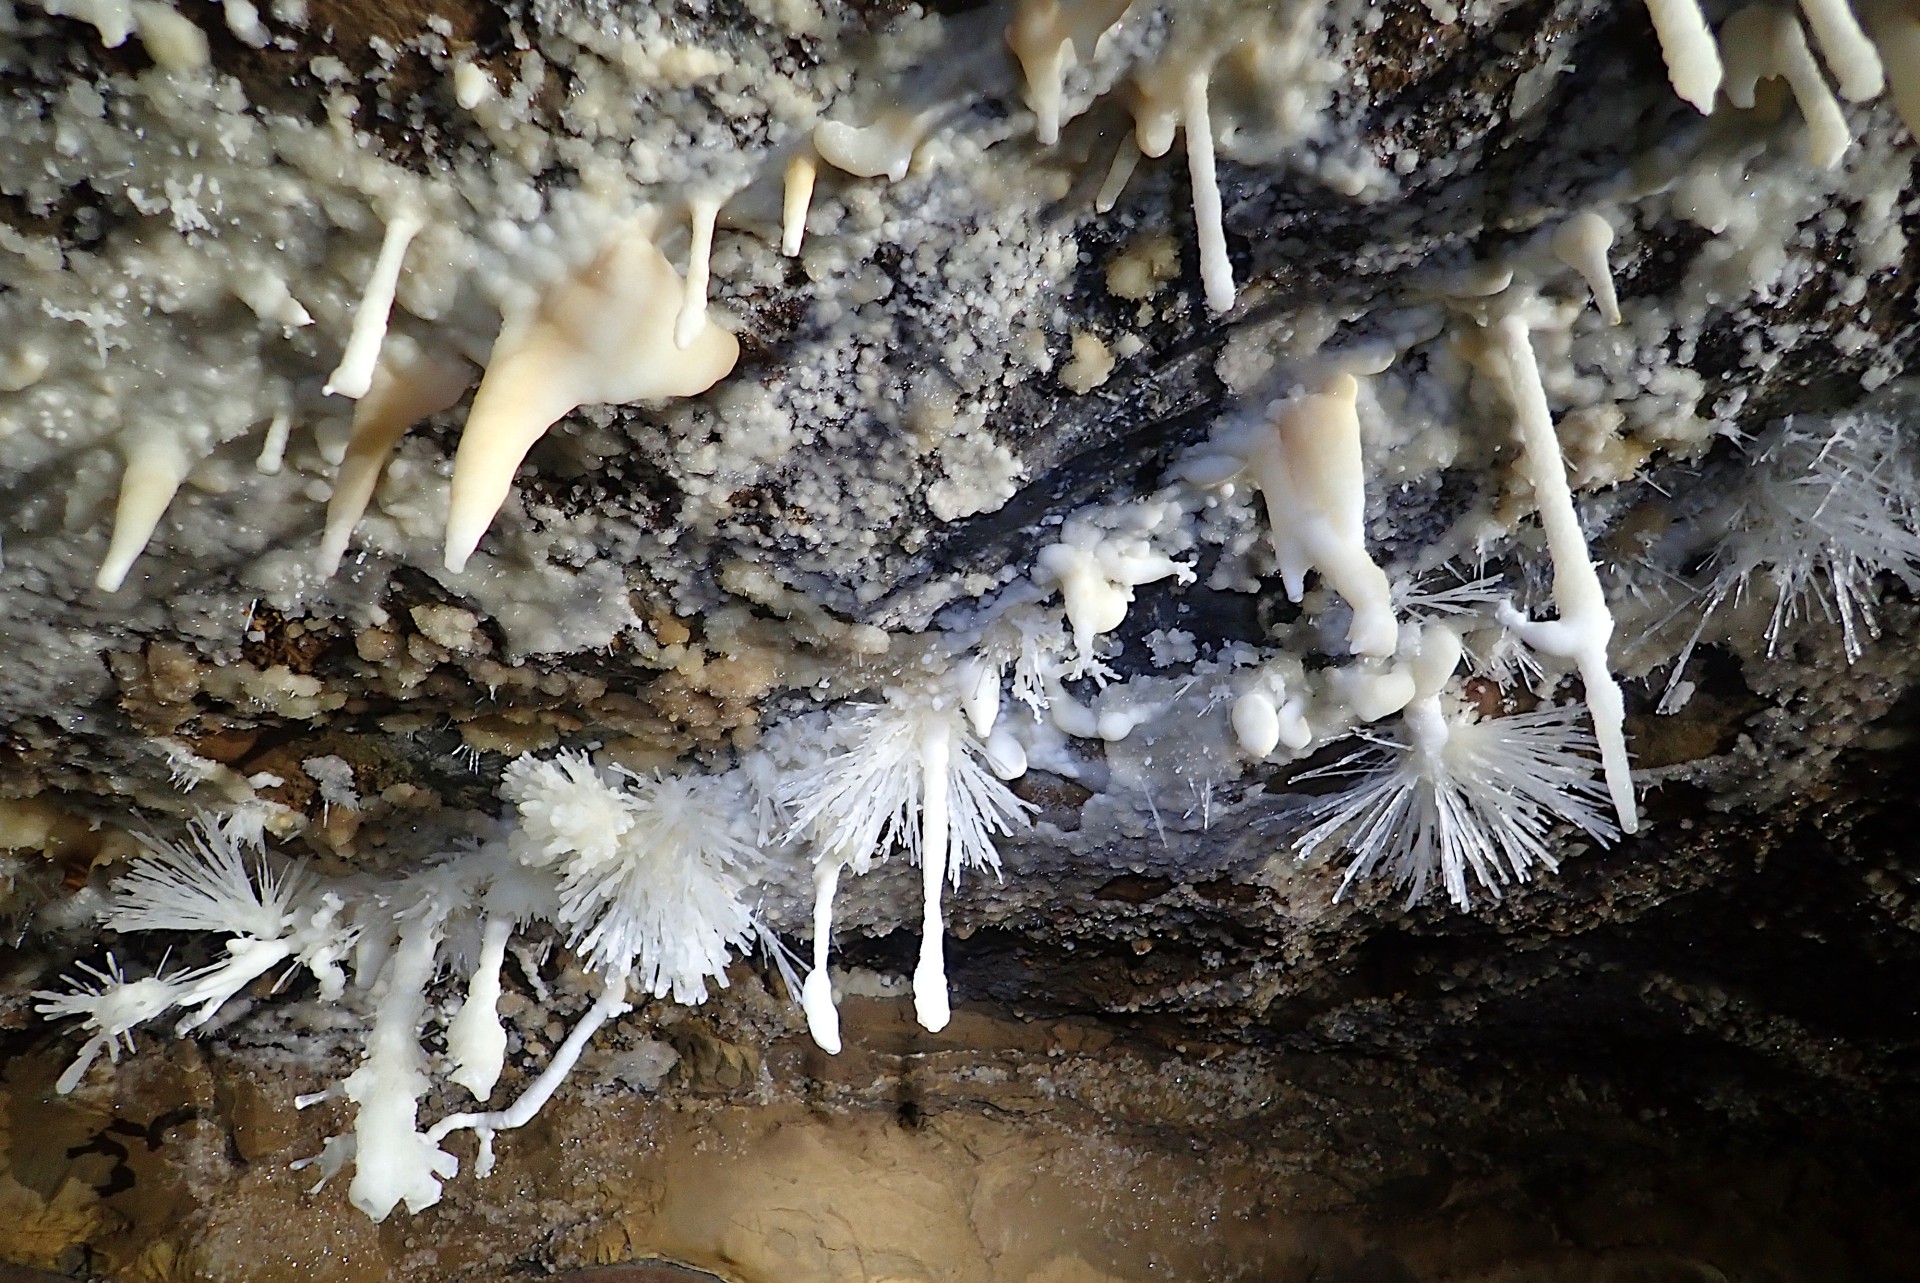
Trafalgar Passage continues straight ahead, while a small side-rift on the left just before the first formations start appearing in the roof leads to Corkscrew Chamber and The Courtesan. If doing the round trip, this should be visited first. A short but awkward thrutch up this rift soon emerges into Corkscrew Chamber with The Courtesan formation straight ahead. This is easily the best formation in Agen Allwedd; perhaps even the best under Llangattock, and there are some very splendid urchin formations too.


Unless keen to see the digging potential of the cave beyond, there’s no need to continue onwards through the next section of constrictions into Broadside. The northerly end of Broadside ends with digs heading towards Bad Bat in Daren Cilau, while to the south leads to the active dig of Avalanche Aven and the alternative (and tighter!) route to The Bunker via the Spice Grinder squeeze and Arrakis chamber.
Returning to the main route, the lofty Trafalgar Passage is followed for about 100m passing some impressively fine formations along the way. Towards the end, the passage lowers to a crawl as it approaches what was once the end of the passage before its 2024 connection to The Bunker.
The formations of Trafalgar Passage and Corkscrew Chamber are the primary destination for most visitors to this part of the cave and from here the quickest and easiest return route is back the way you came. However, if you have time and energy in hand then the Priory Road round trip makes for an interesting extension for those wanting to explore the further reaches of this part of the cave, though this will take at least an hour longer.
The Priory Road Round Trip
The dug-out crawl at the end of Trafalgar Passage leads to an upwards vertical squeezed named Crowbar Surprise to emerge at The Bunker, the furthest reaches of this part of the cave beyond Priory Road. Straight on leads to Arrakis (a tight and awkward connection back to Broadside), while the route on is to the right. This soon emerges into the bottom of an aven containing a notable historical artefact, the remains of a huge set of bellows purpose-made during the 90s to circulate air in the dig passed on the right. Ignore the rope hanging from behind (leading to a series of small high-level tubes with no way on) and instead climb the knotted rope ahead, being careful not to damage the bellows while you do so. The route through the aven ends with a dig to a tight vertical squeeze up, which is best tackled on your back with care needed to avoid dislodging the loose rocks and spoil precariously balanced overhead. This emerges next to bang wire with the two MOAB “Mother Of All Battles” digs on the left – one heading vertically up and the other heading down and south for some way. This dig is currently the nearest point to Daren Cilau, approximately 20m away.
Continuing on to the right leads to Sick Parrot Chamber, the old diggers’ day camp, where an assortment of interesting paraphernalia remains from previous excavation efforts in this part of the cave. The way on from here is via a left-hand passage where a flat out crawl and a short climb leads to a small chamber named Birthday Surprise. Head straight on from here, ignoring minor digs to the left and right, and take the most obvious right-hand route heading in a south-westerly direction, crawling past bang wire coming in from above. Follow this wire downhill through another flat-out crawl (ignoring another small dig on the left-hand side) to emerge in another small chamber, Severn Beach.
You are now back in Priory Road at its furthest extremity, and the way on from here is to follow the right-hand wall and bang wire. Ignore the two side passages passed on the left (the first of these leads to a dig while the second is Grolsch Passage) to meet a low arch. Beyond, the next section of passage is mainly low crawling and climbing over holes in the floor – all of which end in chokes and sediment infill. Take care at a slope with a notable drop off, and progress through a low and wide arch to emerge into the impressive chamber of Glevum Hall. Head down a boulder pile, passing by a rope heading up Glevum Hall Aven (this is fixed with very questionable anchor bolts and not advisable to climb). A sand swim leads on to Hot Can Aven then more stooping and crawling before returning once more to easy walking passage and the junction to Iles Inlet, completing the round trip in this part of the cave. From here is it simply a case of returning back the way you came, to relive the delights of Southern Stream Passage, and of course not forgetting to head right at each junction through the Entrance Series.
Written by Mandy Voysey, John Stevens and Dave Kinzett. Photos by Matt Voysey, Steve Sharp and John Stevens.
Download Printable VersionSpotted an error in this route description or want to leave feedback? Contact the Webmaster.