Summary
Many visitors to Ogof Craig a Ffynnon only travel as far as the Hall of the Mountain King, preferring not to partake in the extended crawl beyond. However, there is nothing too difficult here and all the crawling effort is well rewarded by the large passages and fine formations beyond. You should allow at least 6 hours for a trip to the end of the Promised Land, especially if including a visit to Helictite Passage.
Warning - Craig a Ffynnon is liable to flood in heavy rain, with Gasoline Alley filling to the roof in very wet weather.
Tackle
Climb to Second Choke: The split pitch before Second Choke is permanently rigged with a knotted handline to assist the 7m fixed ladder and 8m climb on footplates. However a 25m lifeline and/or cowstails are recommended for additional safety.
Promised Land Pitch: Rigging this pitch requires an 8m ladder and 16m lifeline, or alternatively a descent can be made without tackle using unmaintained fixed pins to assist a rope climb.
Route Description
To avoid repetition you should refer to the Hall of the Mountain King description for the route from the entrance up to that point, though the Printable Route Description (bottom of page) covers the whole route from the Entrance to the Promised Land).
Hall of the Mountain King to Promised Land
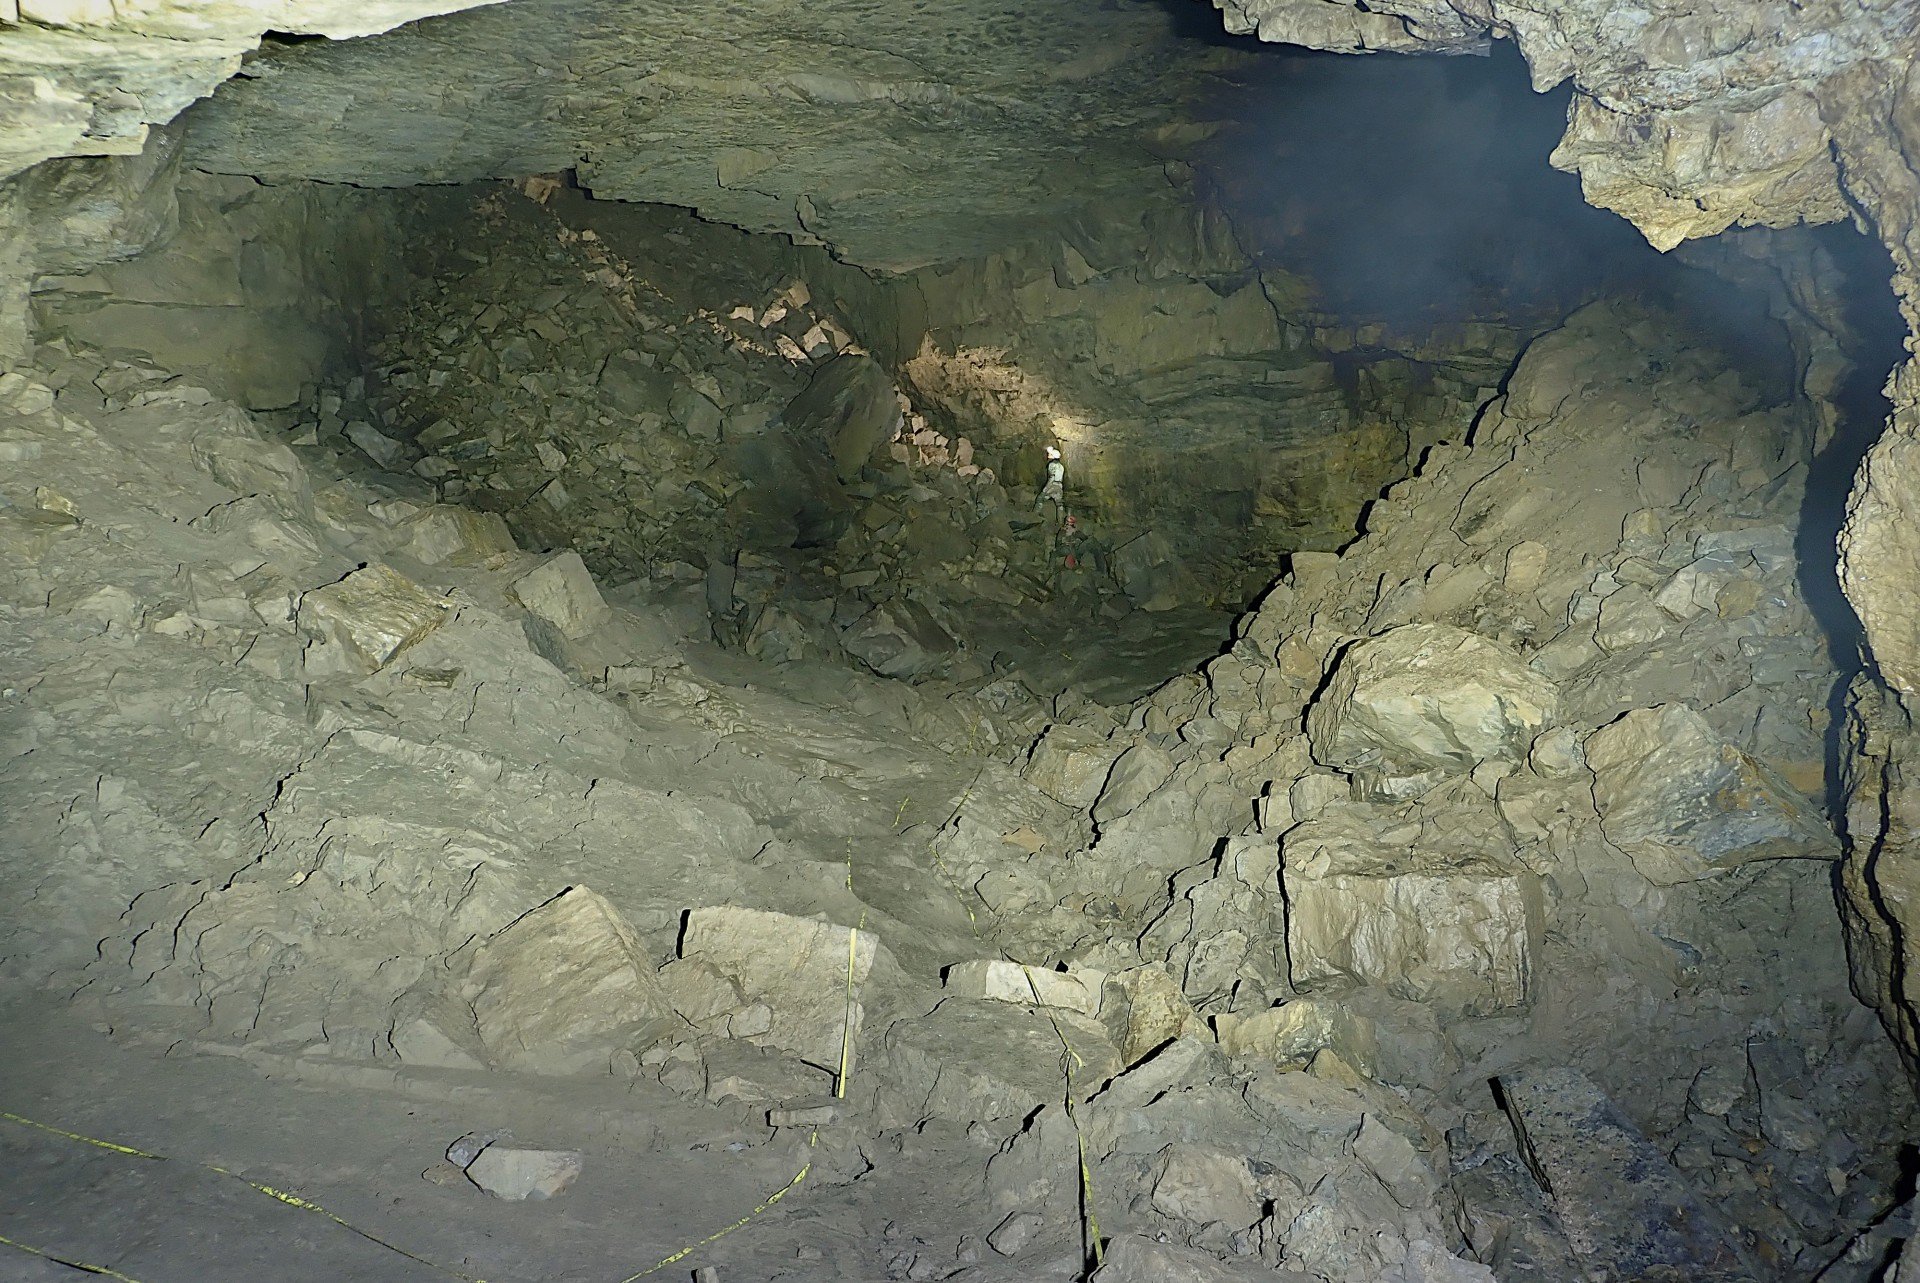
From the Hall of the Mountain King, following the taped path alongside the cave wall and heading left leads directly to Third Choke and the start of 250m of mostly crawling through Hurricane Highway. This starts off as a low belly crawl over smooth calcite floor, which is probably the tightest section, then fluctuates in size and awkwardness from then on. There is nowhere to go wrong here; if in doubt just look for the most worn route for the easiest way through. Eventually the passage increases in size to become Severn Tunnel, a fine canyon passage which continues for a further 250m before reaching a large junction. Here the main route is on the right (straight ahead and left leads to passages ending in boulder chokes), where the obvious route should be followed passing a hole in the floor to the Blaen Elin Streamway. A very large section of cave passage is soon met and at the next obvious junction we again take the right-hand route to ascend the boulder pile to Fourth Choke (the left-hand route leads to the Lower Series via an awkward climb and a 15m pitch).
At Fourth Choke things get briefly less pleasant. The choke is passed by following a gap in the boulders against the right-hand wall partway up the boulder slope to a short awkward drop. A route through boulders is then followed, ending with a climb up into a small boulder chamber. Contouring round on the left-hand side of the boulder slope soon emerges into large open passage beyond. Here the taped path meanders downwards to meet the next junction where the pitch to the Promised Land is located on the left. The best hang for a ladder descent is on the right-hand wall at the top of the 7m drop, while the rope on the left (not visible from the passage above) is the free-climbable route.
Helictite Passage and Fifth Choke (optional diversions)
If including a visit to Helictite Passage on your trip, continue past the descent to the Promised Land and take the right-hand route at the next junction. Formations begin to appear on the cave walls, and soon after the passage narrows and a cave conservation sign is reached. Please adhere to the ‘two cavers at a time’ rule beyond this point and progress with care when passing these extremely vulnerable helictite formations.
Back at the junction, the left-hand route passed on the way to Helictite Passage leads to Fifth Choke, which is the current end of this part of the cave. There is no particular reason to go there except that the cave passage along the way is very large and pleasant going.
The Promised Land
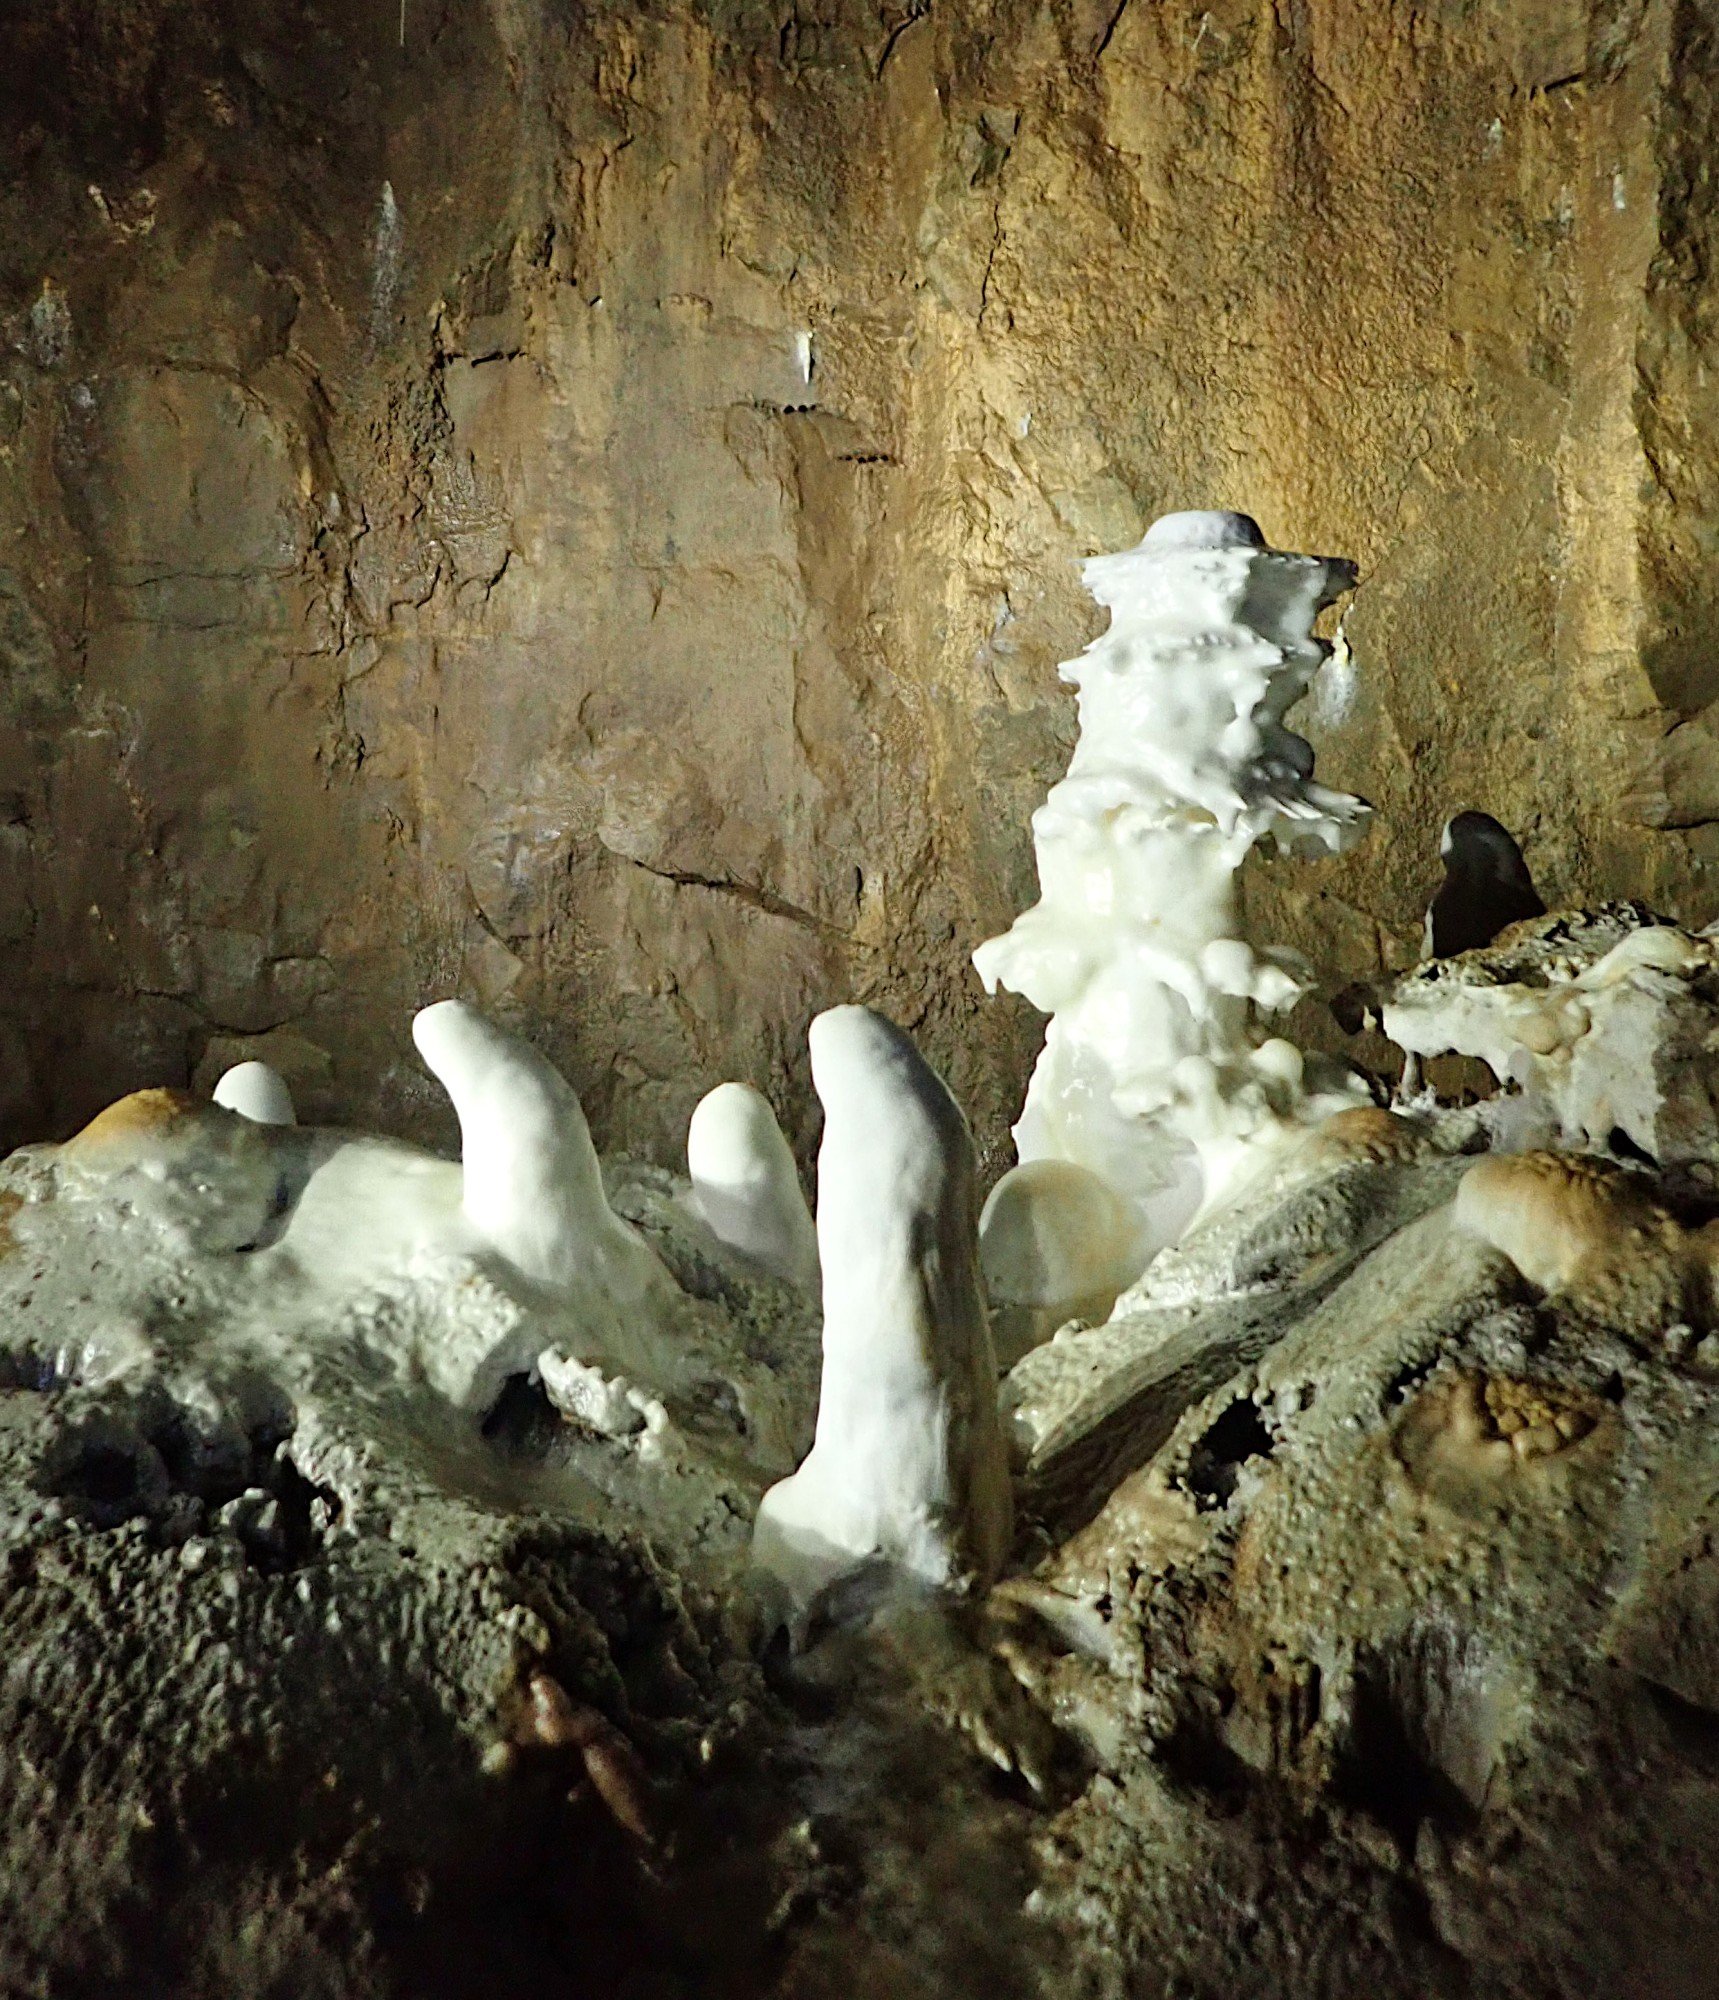
Back at the Promised Land pitch, please take care if using the fixed aids to descend and note that some of the pins inserted as footholds are not easily visible on the climb down. It’s worth visiting the left-hand passage first; this doesn’t go very far but soon leads to the Pagoda formation which is a definite highlight of the trip. Shortly beyond this feature the passage ends at a calcited choke. Heading back and following the right-hand direction leads to the end of the cave after 900m. The passage starts large and continues, intermittently following a streamway, until an oxbow on the right is met, avoiding a too-tight section of the passage ahead. There are several large boulder obstacles before regaining the main passage and the stream – take note of this junction so you don’t miss it on the way out. Easy walking later resumes and a sharp right-angled bend marks the closest point to Daren Cilau (Antler Passage). About 100m beyond this a boulder floored chamber with high avens is reached and a squeeze through boulders enters a rift passage with two avens and a boulder choke below.
Description written by Mandy Voysey. Photos by Matt Voysey and Martyn Farr.
Download Printable VersionSpotted an error in this route description or want to leave feedback? Contact the Webmaster.


