Summary
This is an ideal introduction to the further reaches of Daren, the Time Machine is a worthy destination having the distinction of being the largest cave passage in the UK. Trip times vary depending on group size and familiarity with the cave system, but it’s advisable to allow at least 8 hours for this trip.
Tackle: Karabiners for life-lining the ladder climb. Cowstails for use on the safety lines at the top of the ladder and the fixed traverse.
There is currently a Daren clean-up project underway. Please consider helping by taking out some rubbish if you can.
Route Description
Entrance Series to the ladder
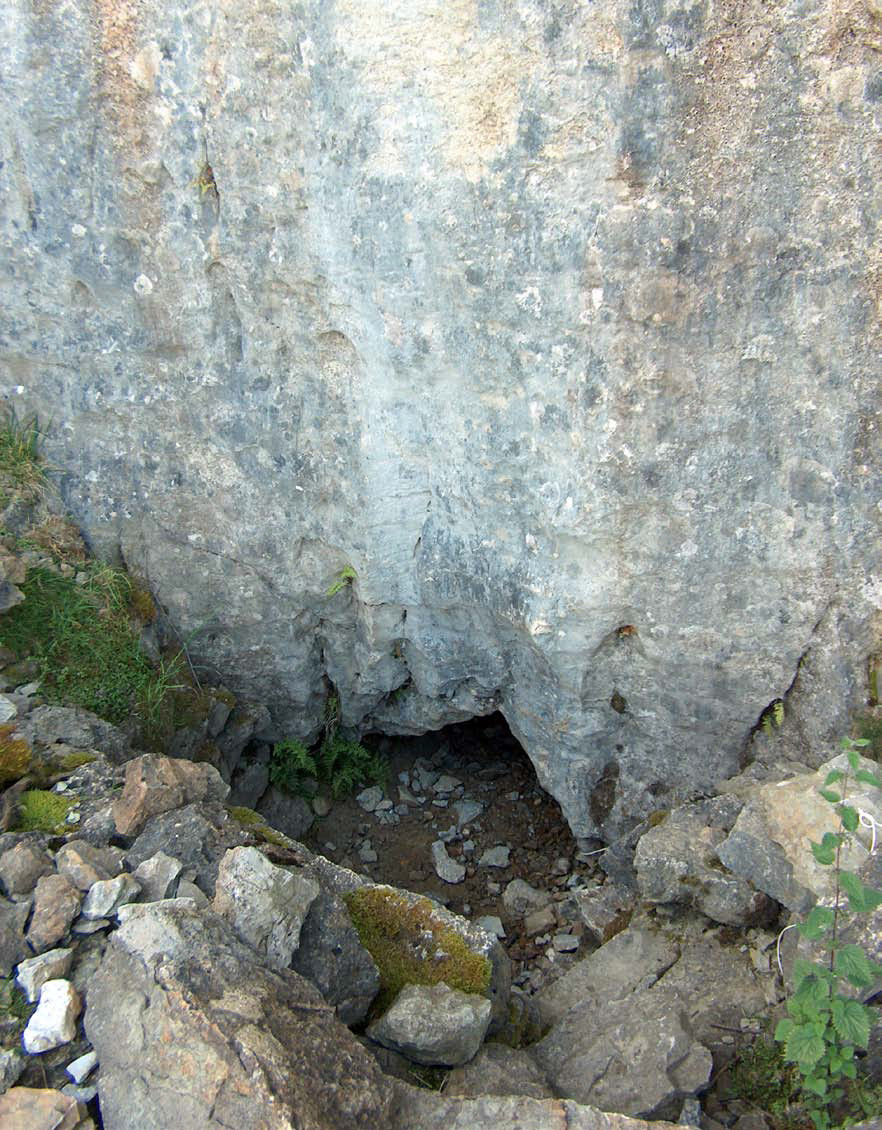
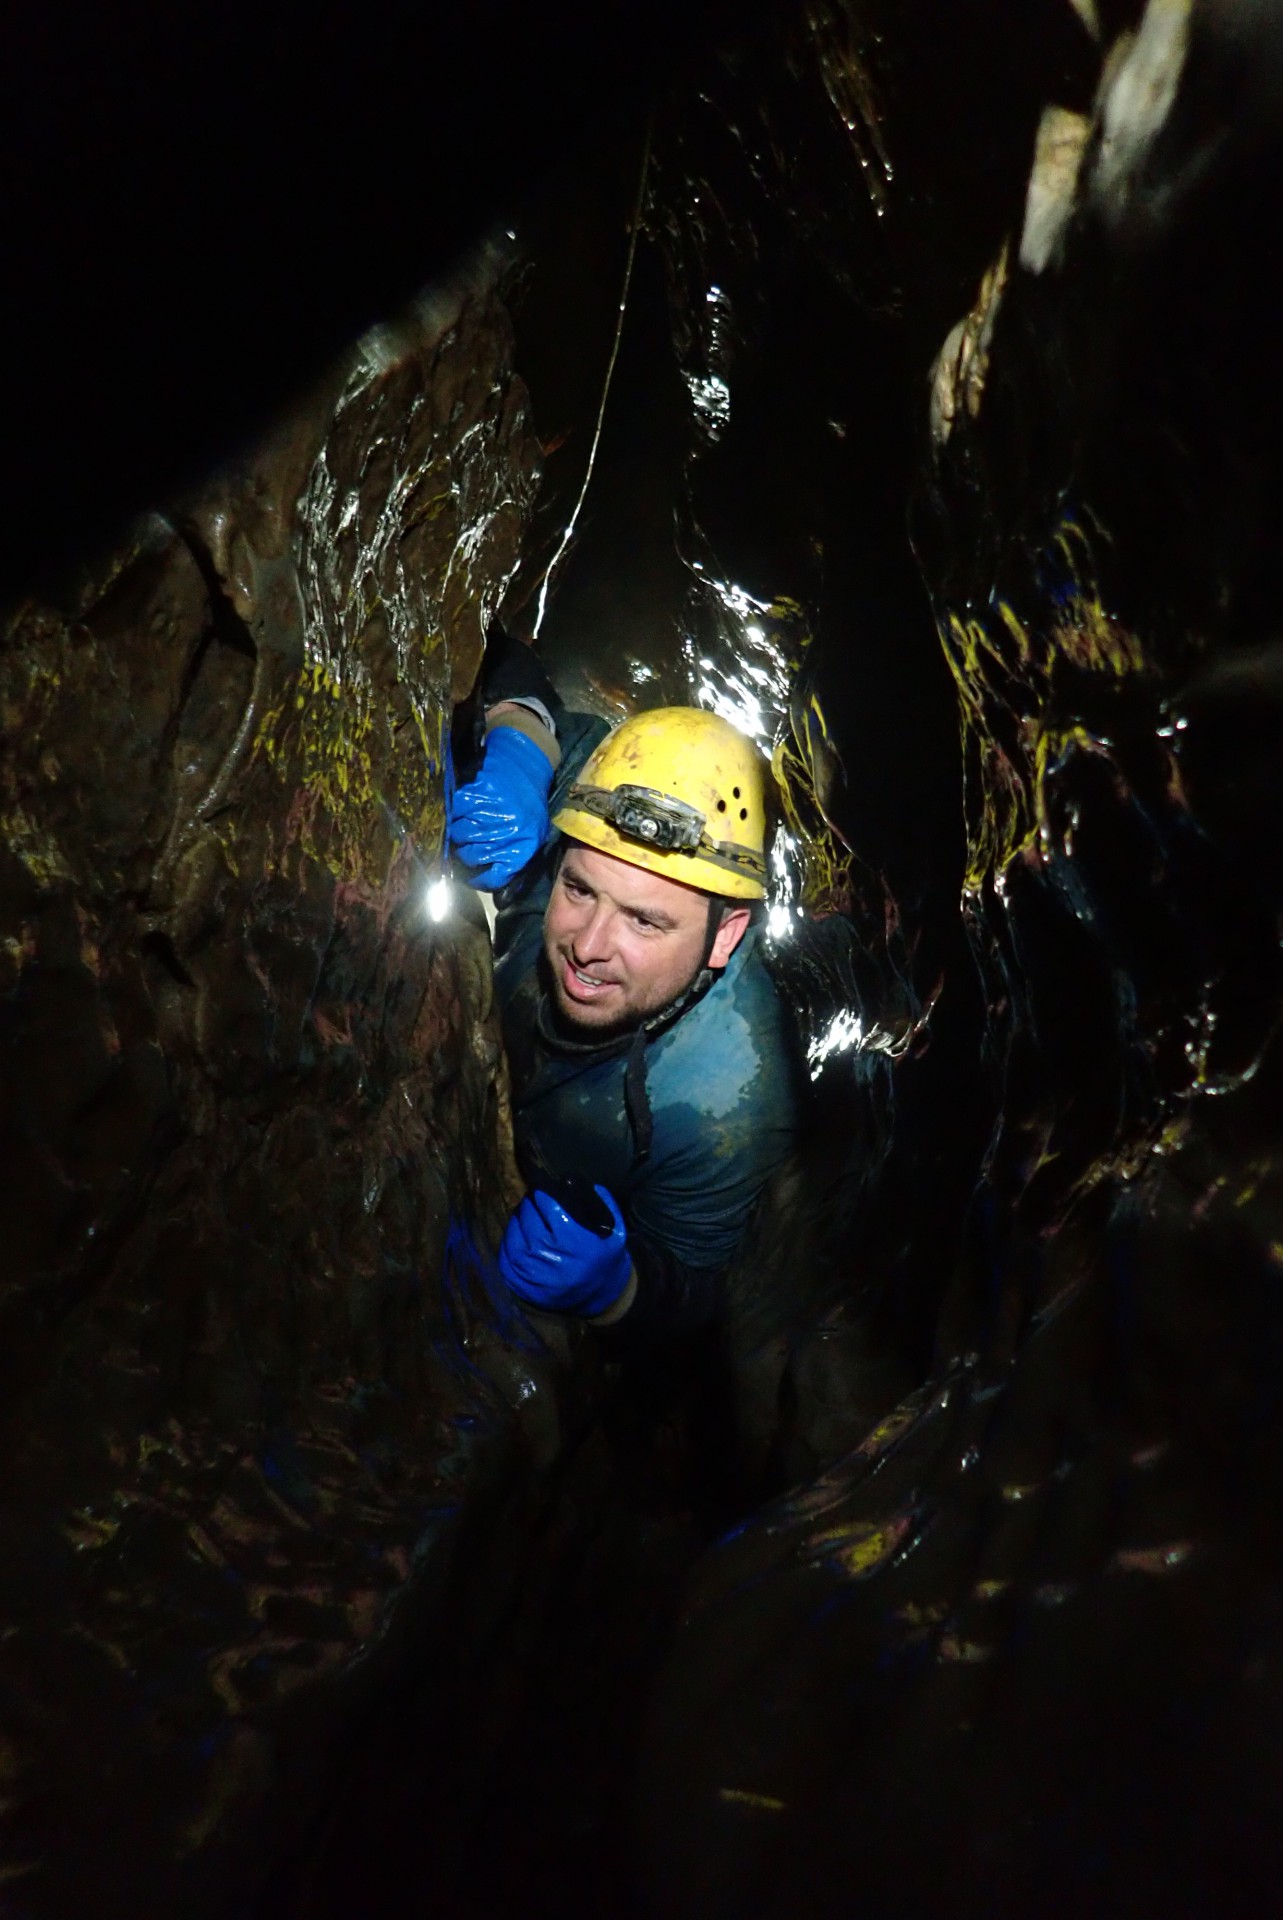
The entrance series has something of a reputation, but don’t let this put you off a trip in this splendid cave. Also, don’t let anyone persuade you that entering via Ogof Cnwc is an easier option – if you are going to the Time Machine or beyond it will add about an hour to your journey. The entrance series carries a small stream but is passable even in very wet weather. There is not really any route finding in the entrance series. The junction boxes on the telephone line act as a guide to how far you’ve got. The entrance is box 0 and the end of the entrance series is box 8. The passage starts as a flat-out crawl, usually wet, and after the first bend the height of the passage increases. After a couple more bends, The Vice (a sideways thrutch for several metres) is soon reached, and shortly beyond this are a couple of short canals. Two inlets are passed, both on the right. Second Inlet is at a small chamber (box 5), after which the going becomes easier until the final obstacle, the Calcite Squeezes are reached.
At the end of the entrance series, turn left and climb into the second oxbow on the left to reach a breakdown passage. Follow the obvious route through boulders until you enter Old Rift Passage. Going left soon leads to a dry crystal pool and formations, while right is the route to Old Main Chamber. The way on is straight across, where a flat-out crawl (with junction box 9 at the start) leads to a descending boulder choke. The final drop lands on the top of a calcited ramp of boulders at the start of Jigsaw Passage. From here on, please keep to the taped route. Jigsaw is mainly walking but about half way along is a short squeeze called The Wriggle. Towards the end of Jigsaw Passage is a taped junction with Misfit Passage heading off on the right. Keep left here, then up over boulders to enter Big Chamber Nowhere Near The Entrance, where the log book is located. For ‘time in’ and ‘time out’ please record your times at Big Chamber.
Climb up the boulder pile beyond the log book, don’t take the route through boulders on the left at the top (this leads to Epocalypse Way, The Antlers and the through-trip to Ogof Cnwc) instead stick to the main route, contouring to the right. When the passage starts to drop, don’t be tempted by the vast open passage ahead (this leads to the loop route, a multi-level circuit with no other way on), instead follow the path heading up slope on the right. Aim for the top left corner of this boulder slope to reach Eglwys Passage (Man in the Roof, an alternative route to Antler Passage is located on the top right of this same boulder slope). Eglwys Passage is mostly crawling, with pocketed amber coloured walls and a compacted sand floor. Ignore the hole on the right at the start (this is just an awkward connection to Man in the Roof) and follow the well-worn route. After a traverse and a couple of short flat-out crawls you will reach a junction. Straight ahead often has a line of stones across to indicate it is not the way. Go left here, and you will reach the small Fiveways chamber. The way on is a small round hole in the wall ahead slightly to the left, and doesn’t look obvious. This immediately drops down, then back up into an area of green shale to reach the slope down into Valentine’s Chamber.
Descend this and follow the path down to the lowest point on the left, where large boulders obscure the view of the climb down to Preliminary Passage at the far wall. A wriggle through smoothed boulders and a short drop down reaches large open passage once more. Descend the boulder slope to reach easy walking passage leading very soon to the 20m fixed ladder to Higher Things. Just before the ladder look for a collection of bottles collecting drip water on the right-hand wall. This is a convenient place to have a drink.

Higher Things to Bonsai Streamway
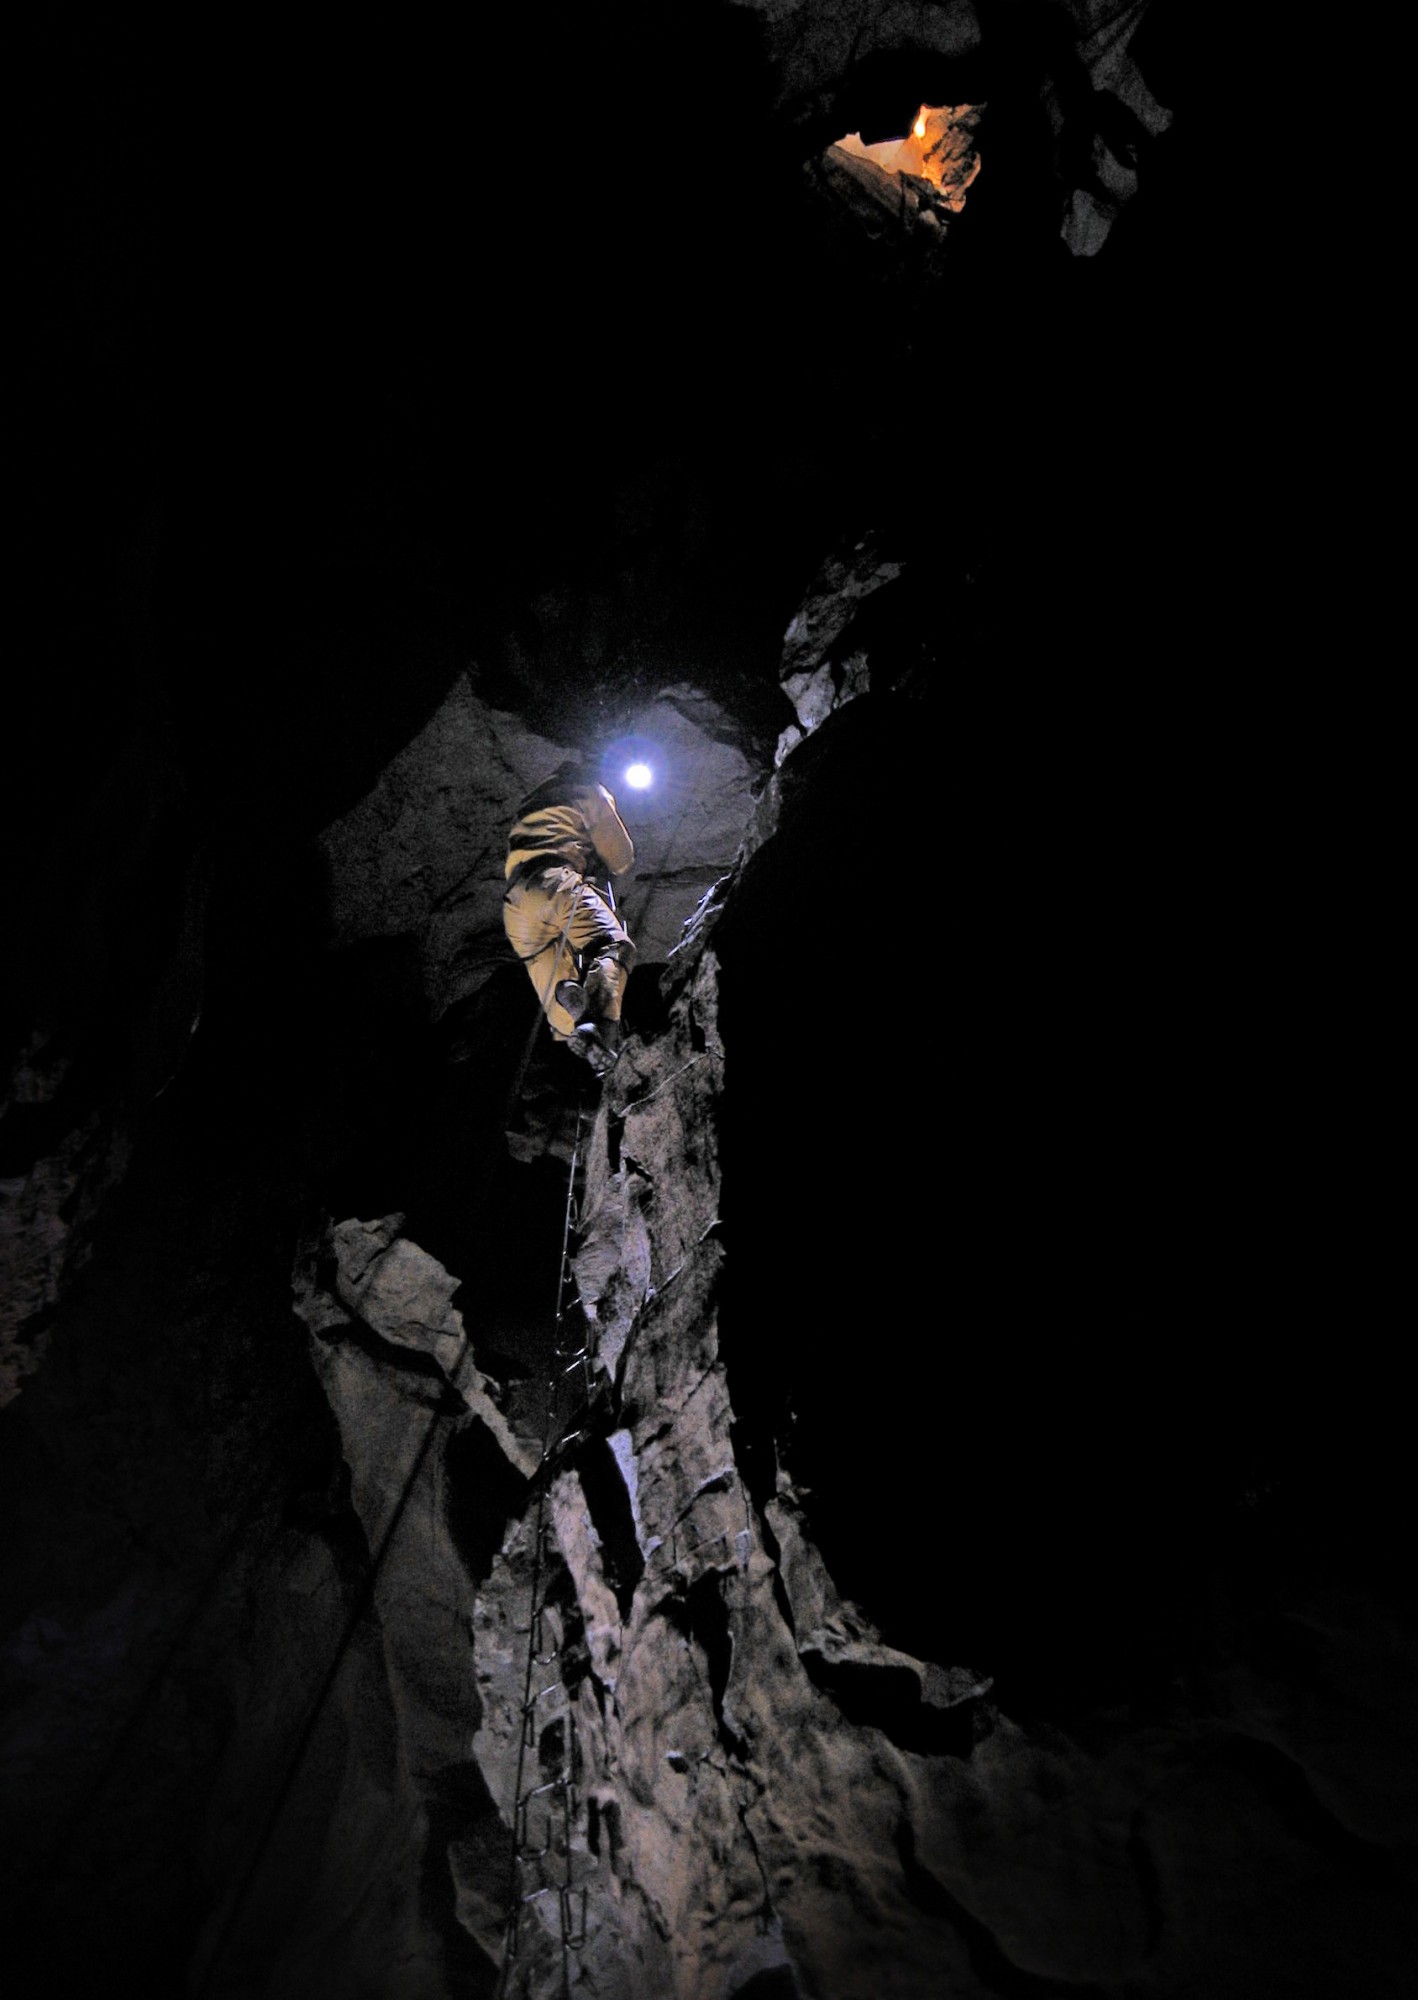
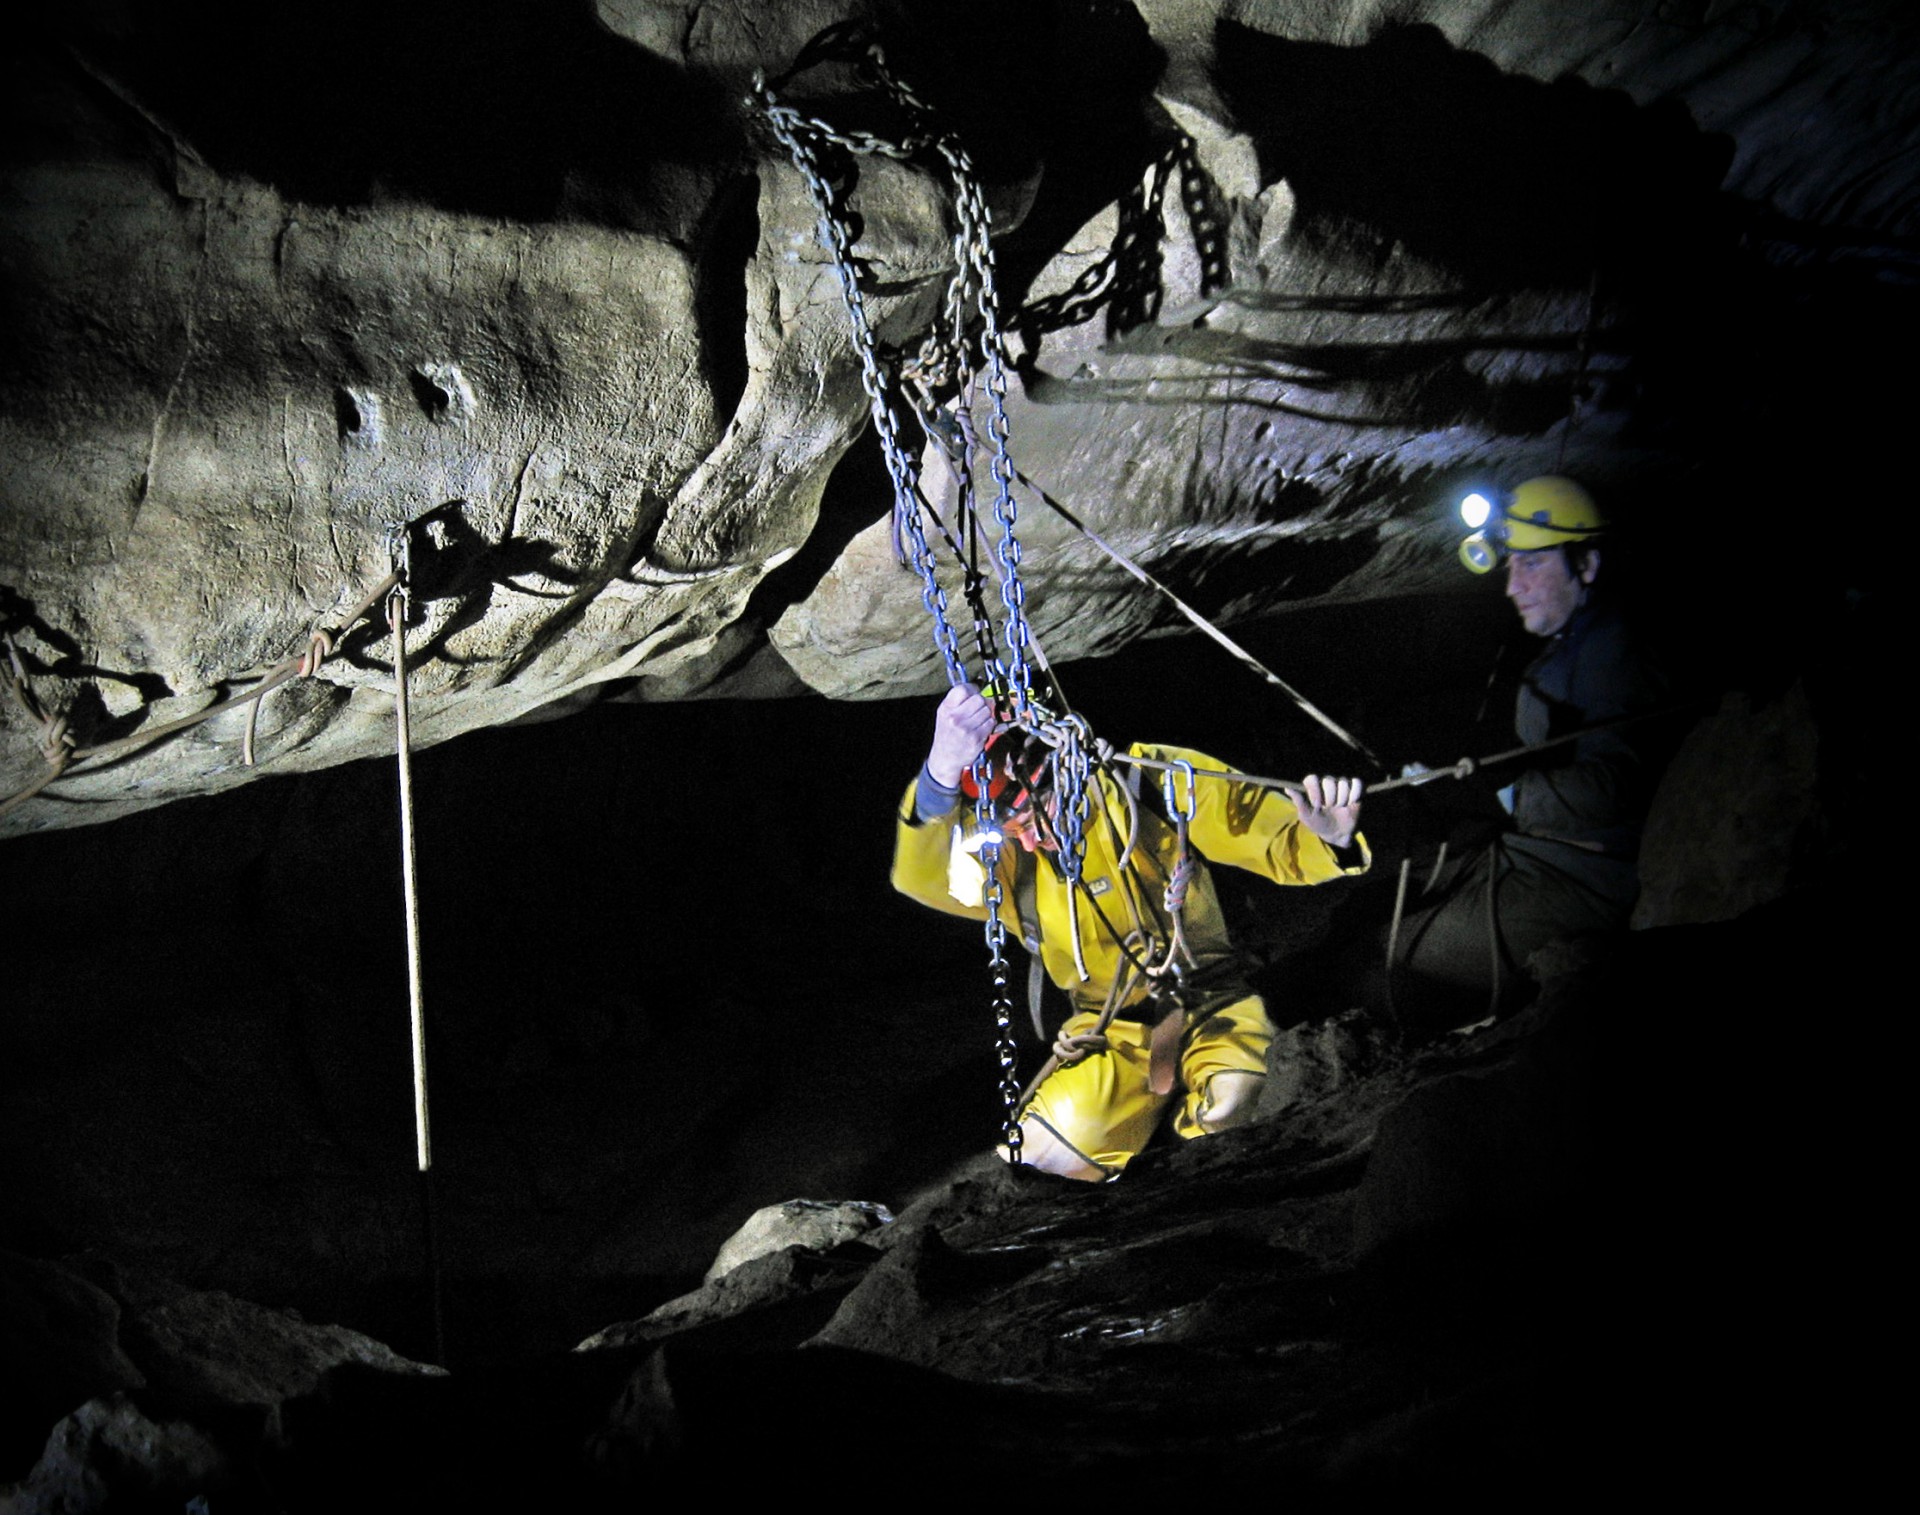
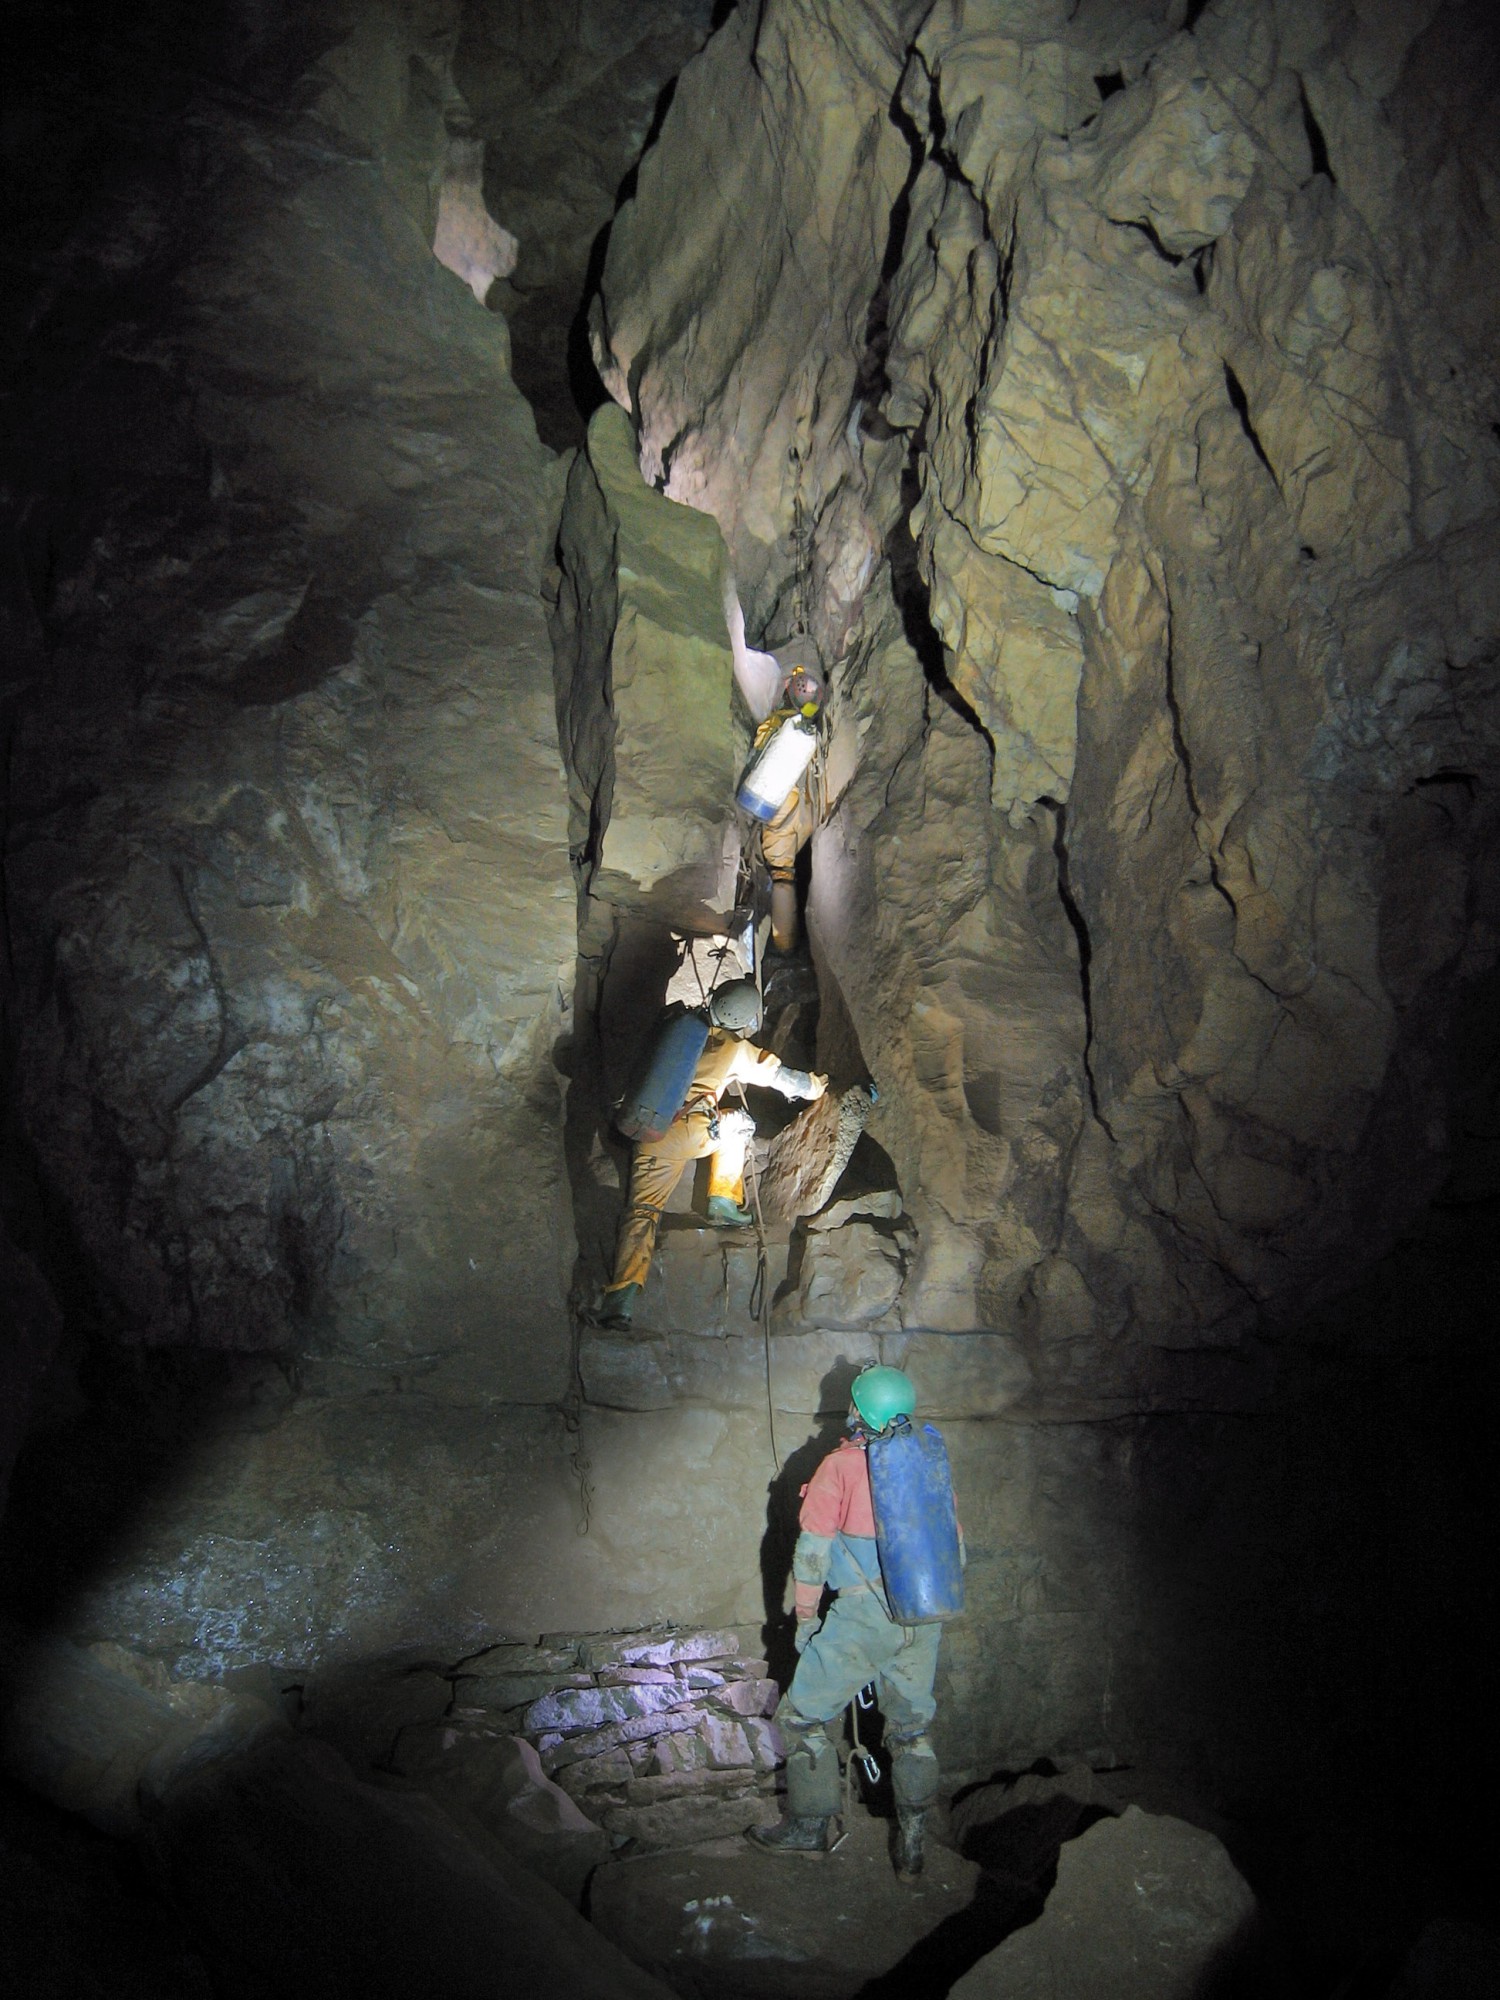
There are two ropes at the ladder pitch – make sure you use the lifeline (the one closest to the ladder) and not the hauling line, which is attached some distance away from the ladder at the top. The first part of the ladder climb is straight, leading to a balcony, after which it has a middle section at an awkward angle before the next straight climb to the top. The easiest method to climb this is to get off the ladder at the balcony then on again after the kink. Be sure to clip into the safety lines at the top with cows-tails before detaching from the life-line and use the chain loop to assist getting off at the top. Any tackle can then be pulled up using the hauling line on the other side of the pitch, cross behind the boulder to get there and clip into the safety line before hauling.
Tip: The pulleys at the top of the ladder pitch often lock up after periods not in use, adding a lot of unwanted friction to the system. A sharp tap on the spindle with a suitable small rock will free them up – but be extremely careful not to drop the rock on anyone below while doing this!
The way on is straight ahead from the top of the ladder (the passage heading off on the other side ends at a choke), the passage meanders briefly before reaching a short drop down with a fixed handline to a roped traverse around the head of the 22 metre pitch above White Passage. Descending this was once the only route to the rest of the cave, but now we traverse along the right-hand wall (cows-tails recommended) then continue on as the passage lowers to a crawl over boulders. Look for a crawl through a low tube on the left-hand wall (there's a vague line of stones just beyond), this is the way on as continuing further leads to a choke. After the crawl, a short climb down leads on to the rope climbs. The first is in 2 stages, with fixed ropes in place to assist the first drop down to a ledge, and knotted ropes for the short climb down the wall below. This is closely followed by the next short rope climb down to White Passage. Note carefully the location of the rope climbs as you enter White Passage – it is easy to walk past them on the way out!


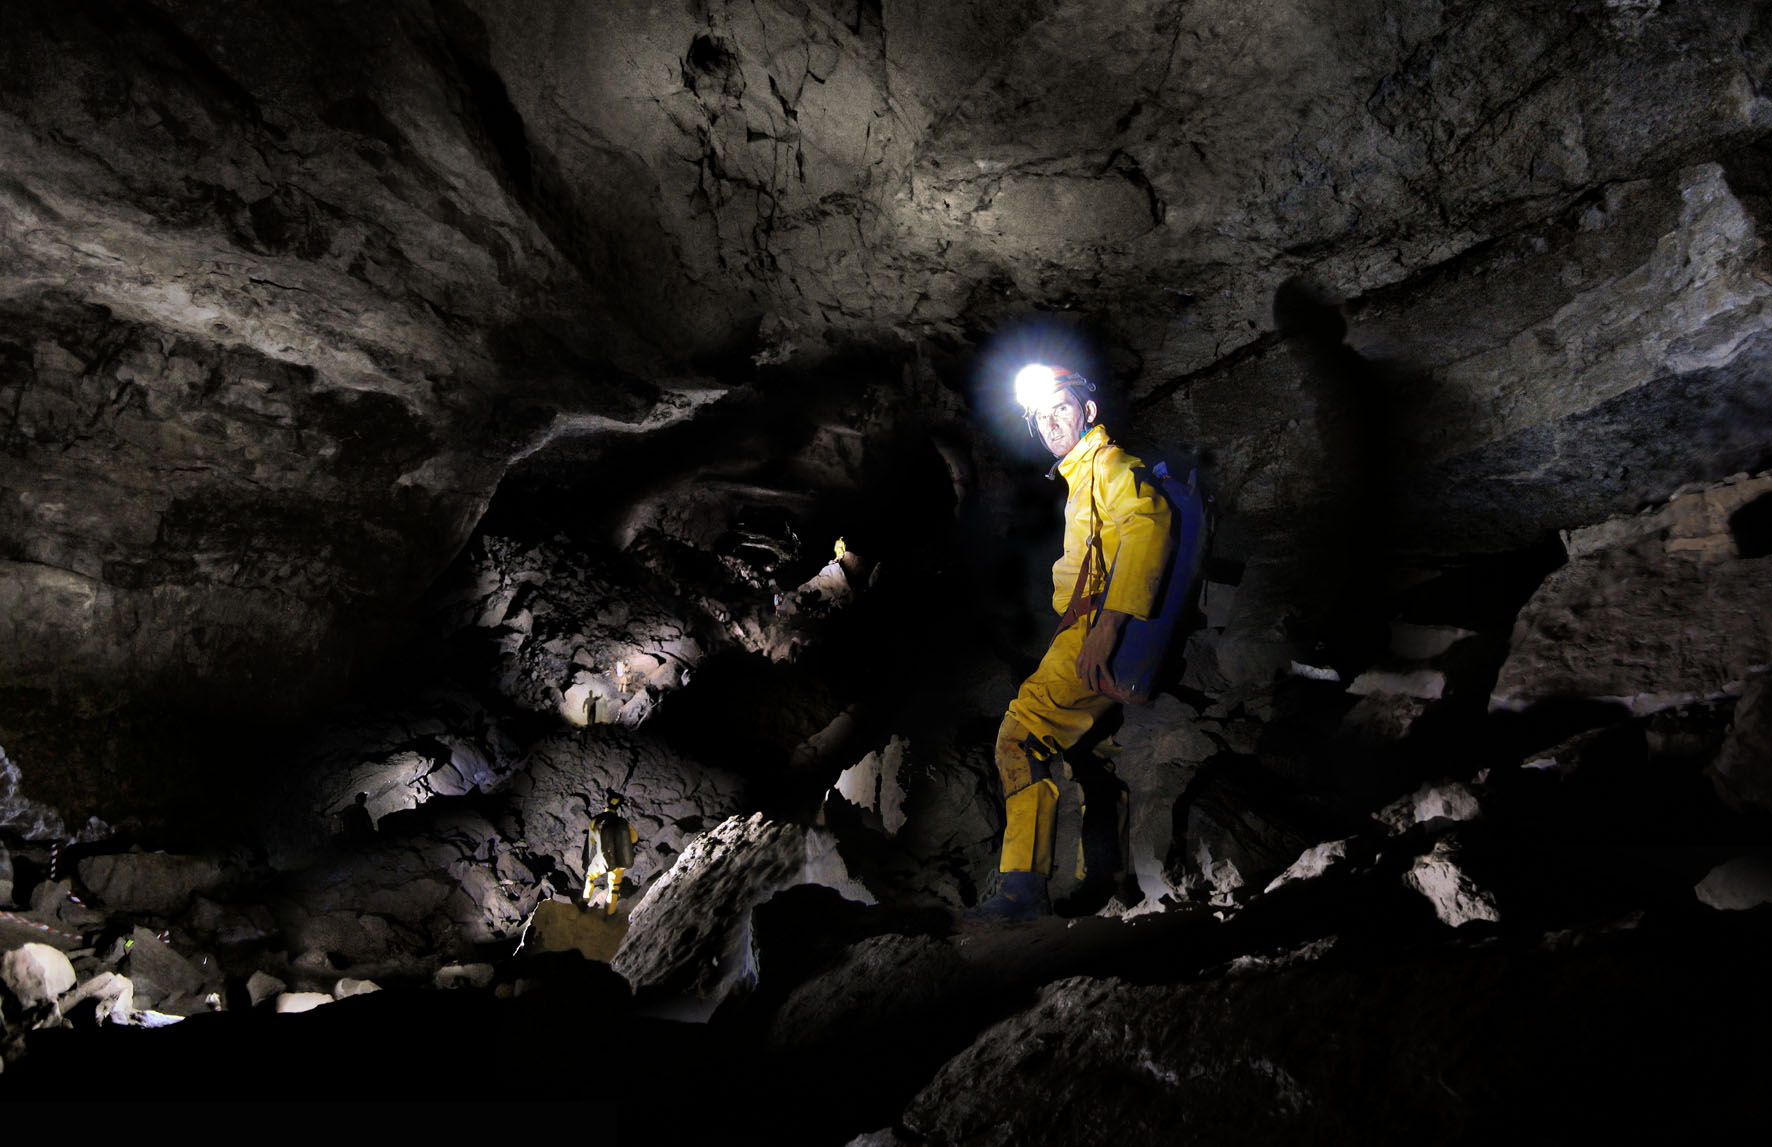
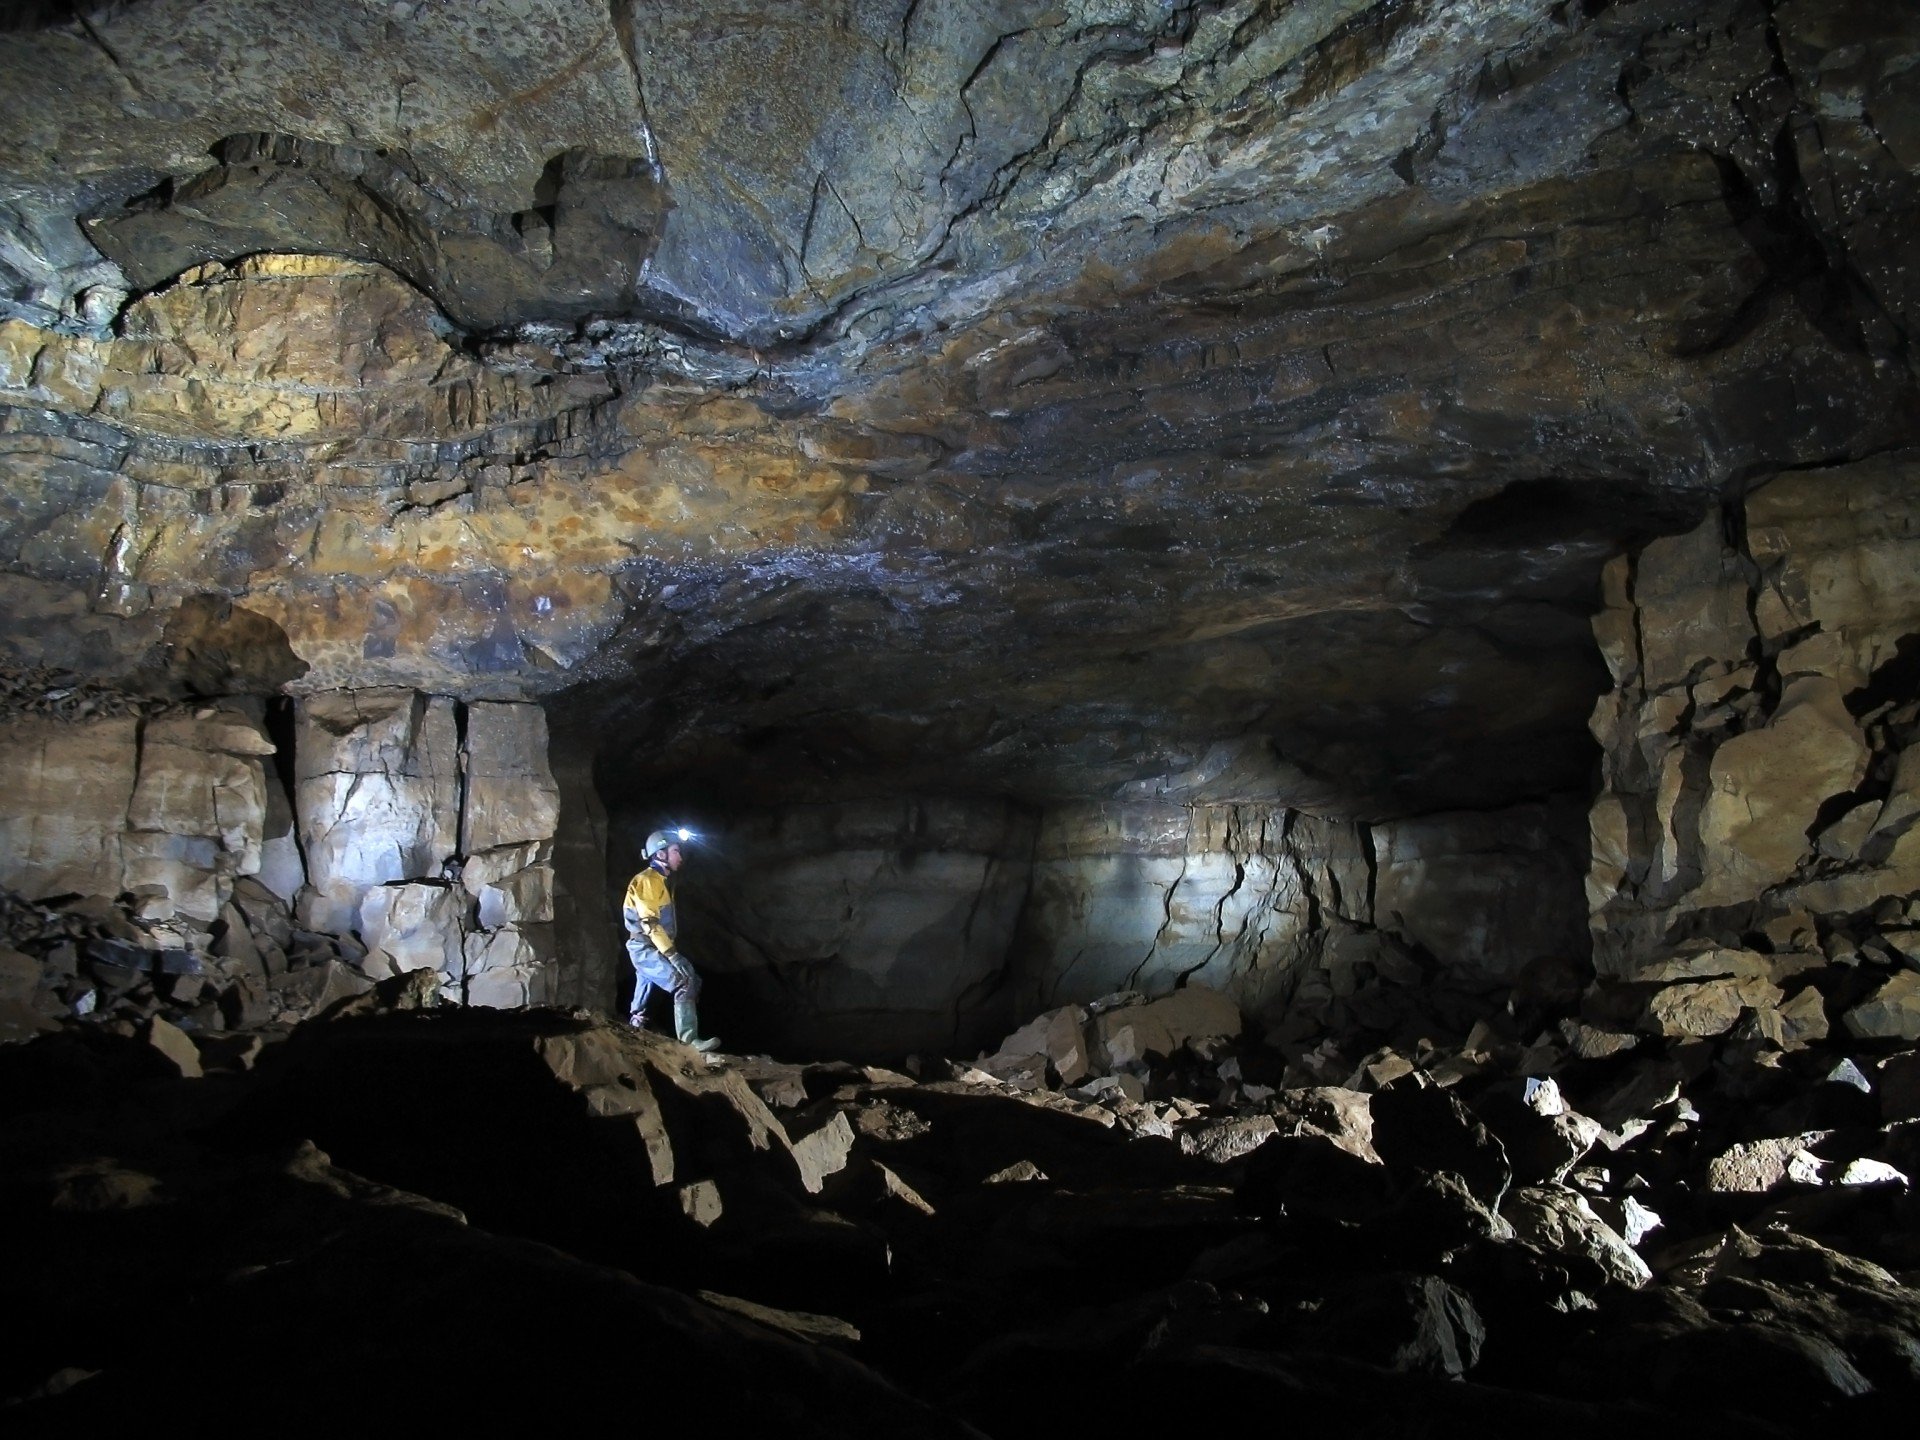
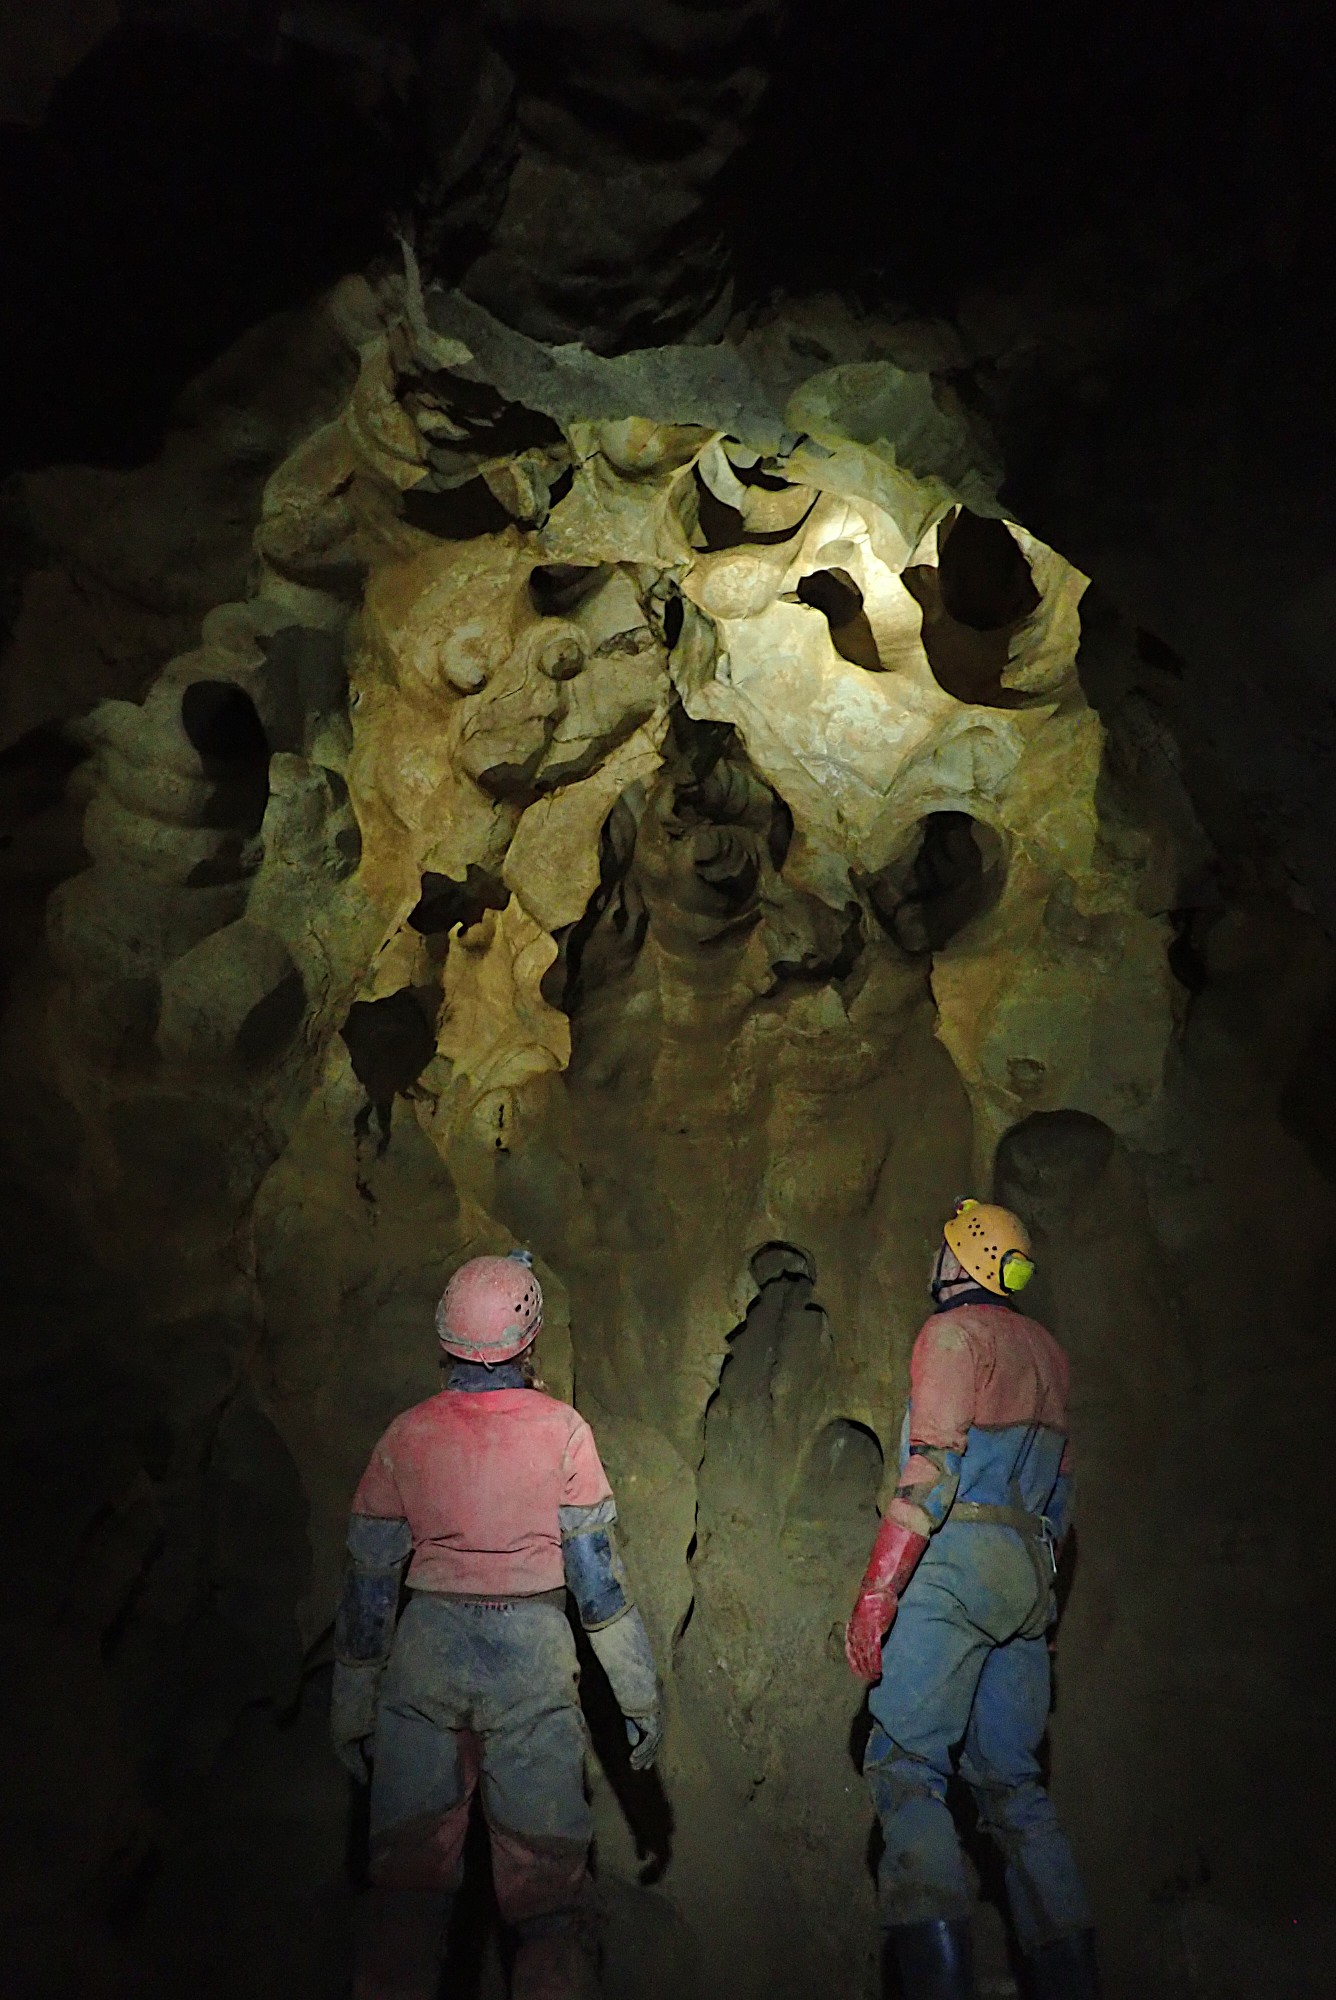
From here on it’s all easy walking and boulder-hopping in huge cave passage. Follow the stream down the passage (the other direction ends at the huge boulder choke bypassed by the 20m fixed ladder). Climb over the large boulder pile and continue along with the passage becoming increasingly larger until, after another boulder pile, it meets the Time Machine with red and yellow arrows at the entry point. The yellow arrow pointing left is the way on, while the red arrow would take you to the Source of Time and the ongoing dig at the end. Reflectors are put to good use throughout The Time Machine to denote the optimum route through this wide, boulder strewn passage with fine gypsum crystals throughout. Follow these reflectors for the easiest journey through this part of the cave. Eventually, at the lowest point of the passage, you’ll notice a sandy balcony reached by a short climb on the left-hand wall. This is one of the routes to The Meeting Room and the point that you’ll be returning if you follow the short loop route back. Continuing down The Time Machine soon leads to a narrow path on the left-hand side of the passage and shortly after the climb down to Bonsai Streamway is reached. This is also marked with arrows, with yellow pointing to the descent to Bonsai on the right (the main way on to the further reaches of the cave), and red heading straight on to the end of the Time Machine a short distance further.
As the Time Machine is the final destination of this trip, you need not continue any further, but there is the option of a short loop for variation on your return. This only avoids a short section of repetition, but gives a peek at some of the interesting passages above the usual route. To do this, follow the red arrow to reach a boulder run in on the left. Ascend this with care, looking for wear on the rocks indicating the most travelled and safest route through. This emerges in Beyond Time, at the bottom of a boulder slope. Here you should again take the safest route up over boulders to the left to reach a passage heading back towards the Time Machine (while right continues for some distance over boulders before ending in chokes).
The passage roof briefly drops down to crawling height, before regaining height and meeting larger passage at The Meeting Room. Head left here (straight ahead leads to a small interesting chamber accessed by a short flat-out sandy crawl, while right is Nameless Canyon leading to Aggy Passage and Half Mile Passage) and follow the most worn, taped route as the passage size increases and becomes sandy floored, reaching a wide balcony with a view down to the Time Machine. Follow the path to reach a short climb down next to a boulder, then simply follow the reflectors to regain the main route and head back out the same way as you came.
Written by Adrian Fawcett and Mandy Voysey (2022). Photos by Mark ‘Gonzo’ Lumley, Steve Sharp and Matt Voysey.
Printable Route DescriptionSpotted an error in this route description or want to leave feedback? Contact the Webmaster.