Summary
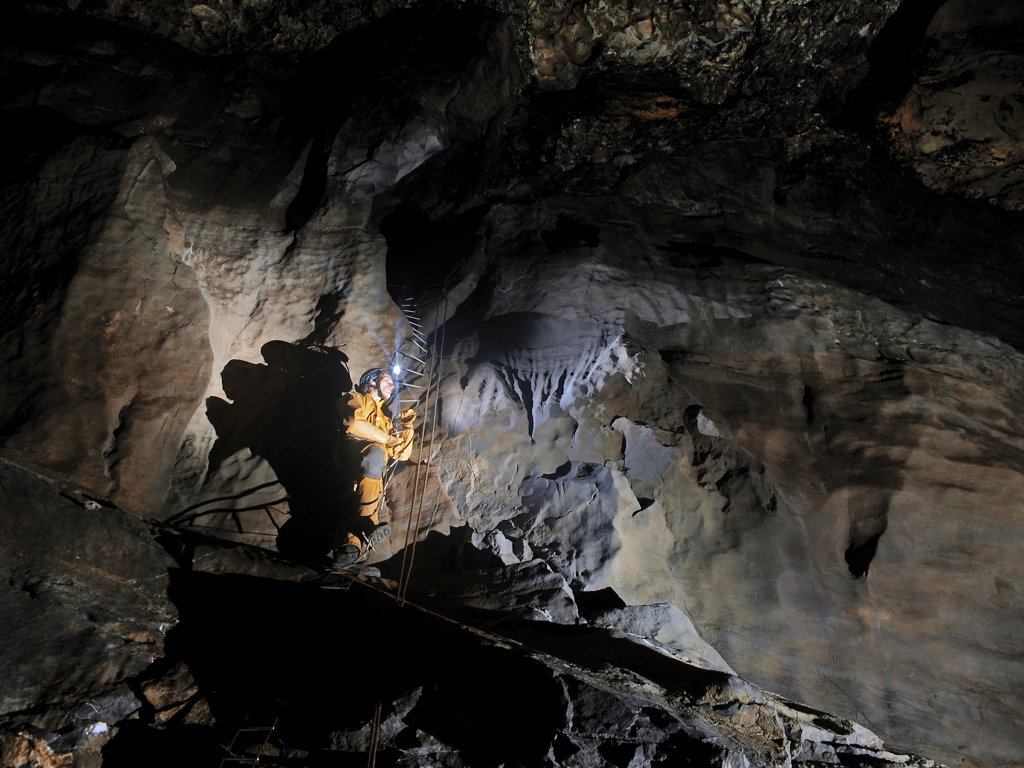
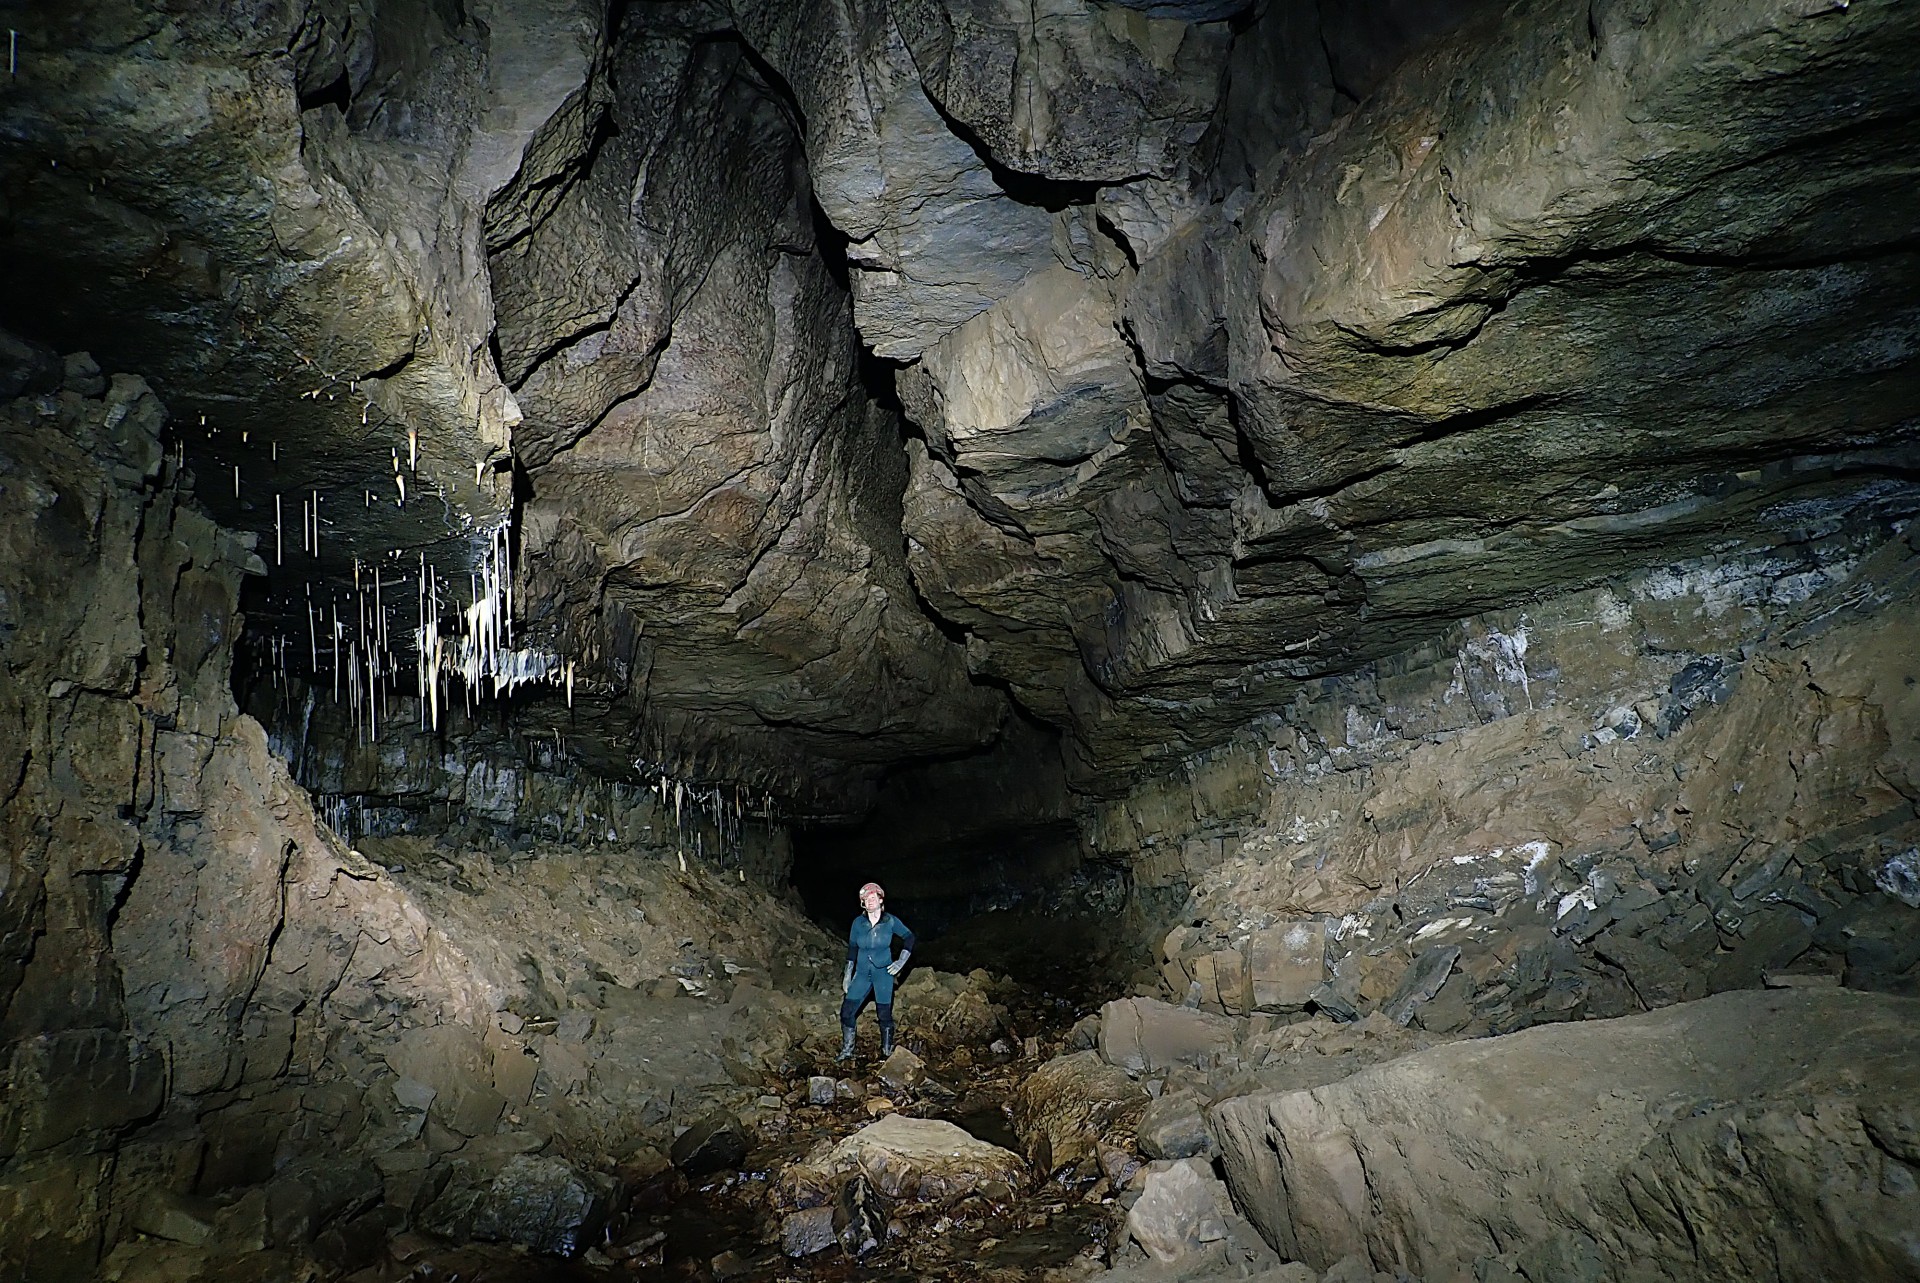
A classic ‘big Welsh caving trip’, a journey to St David’s Sump and back involves roughly 6 miles of glorious caving through a mixture of different terrains. Large stomping passages are interspersed with a variety of crawls, climbs, squeezes, traverses, a ‘unique’ ladder climb and of course the infamous Entrance Series. This is certainly not a trip for novices or anyone unpractised in endurance caving, but fit competent cavers should be able to achieve this as a long day-trip; possibly including a detour to the higher-level passages off Bonsai Streamway, time permitting.
Tackle: Karabiners to life-line the ladder climb and cowstails for use on the safety lines at the top of the ladder and the fixed traverse. There are a number of fixed aids along this route which are not officially maintained, so please inspect before use.
Trip times vary depending on group size and familiarity with the cave system, but it’s advisable to allow at least 10 hours for this trip.
There is currently a Daren clean-up project underway. Please consider helping by taking out some rubbish if you can.
Route Description
Much of this journey is already covered in the Time Machine route, so this description details the route from the end of the Time Machine onwards. However, the Printable Route Description download at the bottom of the page includes the full route from Daren entrance to St David’s Sump.
Time Machine to The Flyovers
After following the reflective markers through the Time Machine and passing the climb up to the balcony on the left, you will eventually reach the red and yellow markers denoting the end of your journey through the longest passage in the UK. The red arrow pointing straight ahead soon ends with a route up through boulders to Beyond Time, while the yellow arrow indicates the way to Bonsai Streamway, our intended destination.
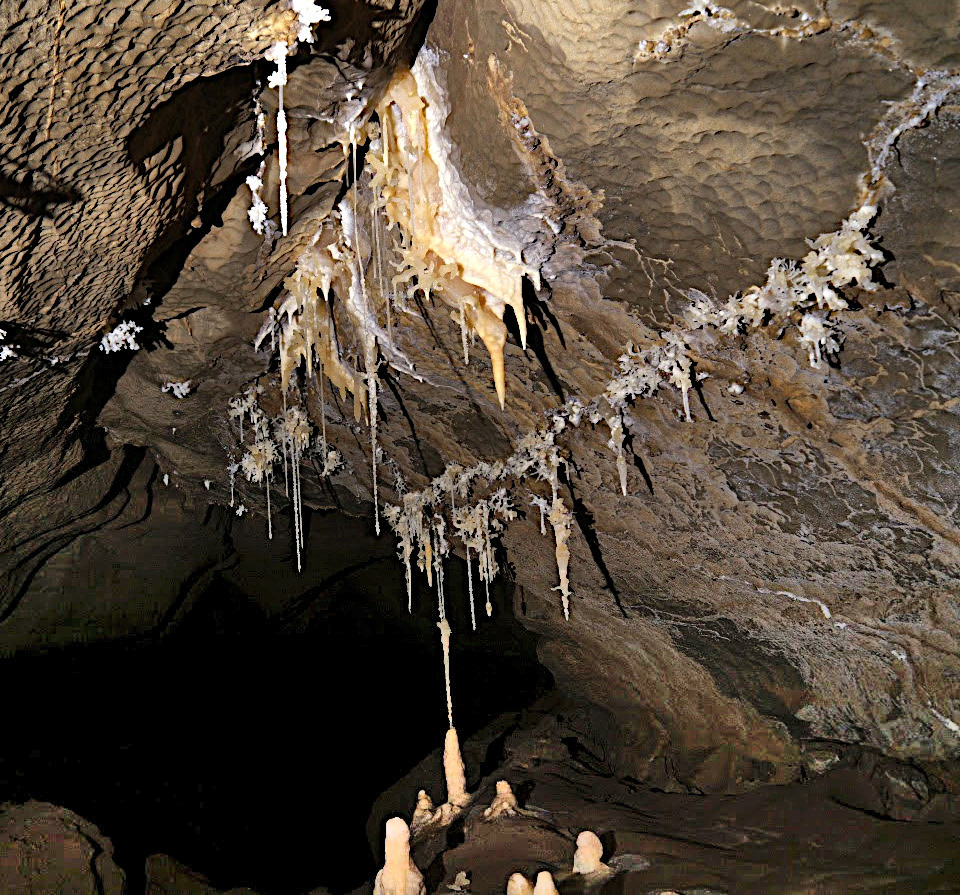
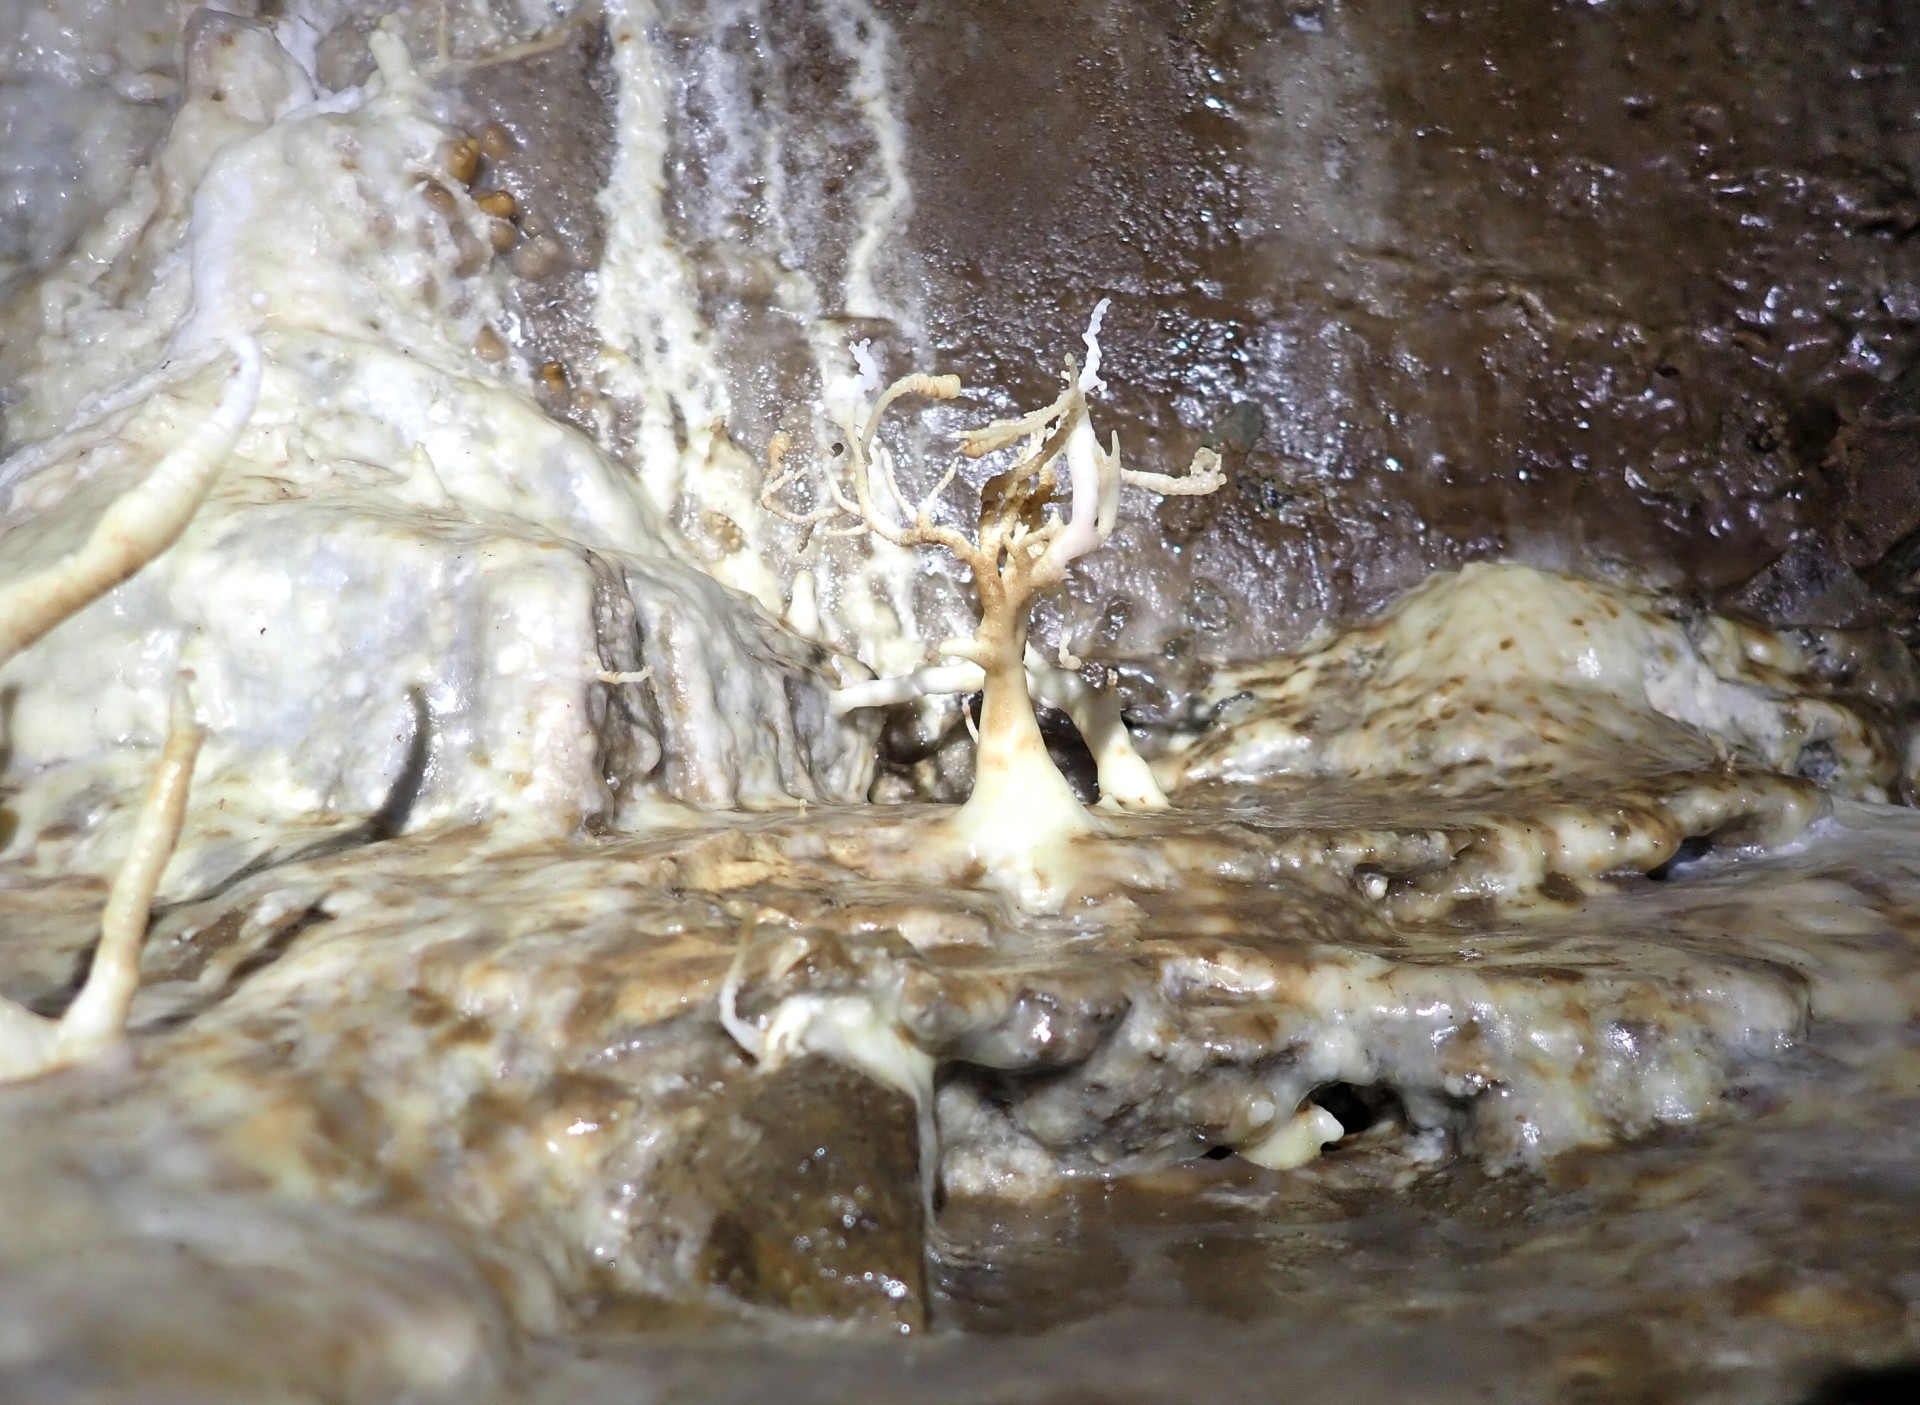
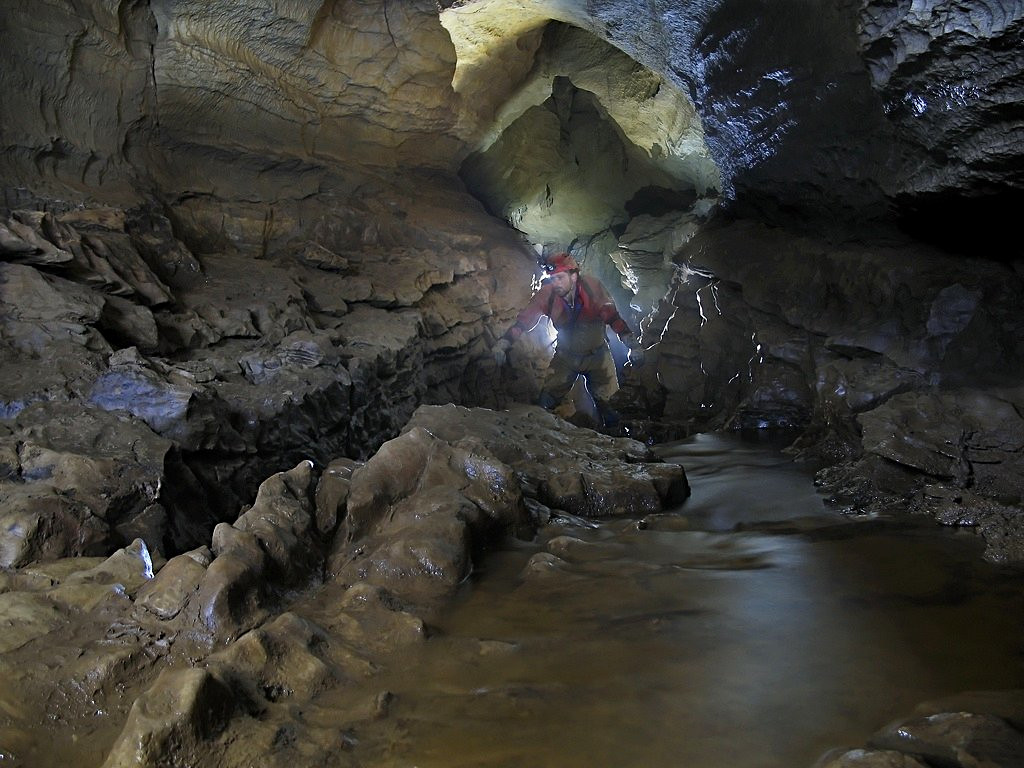
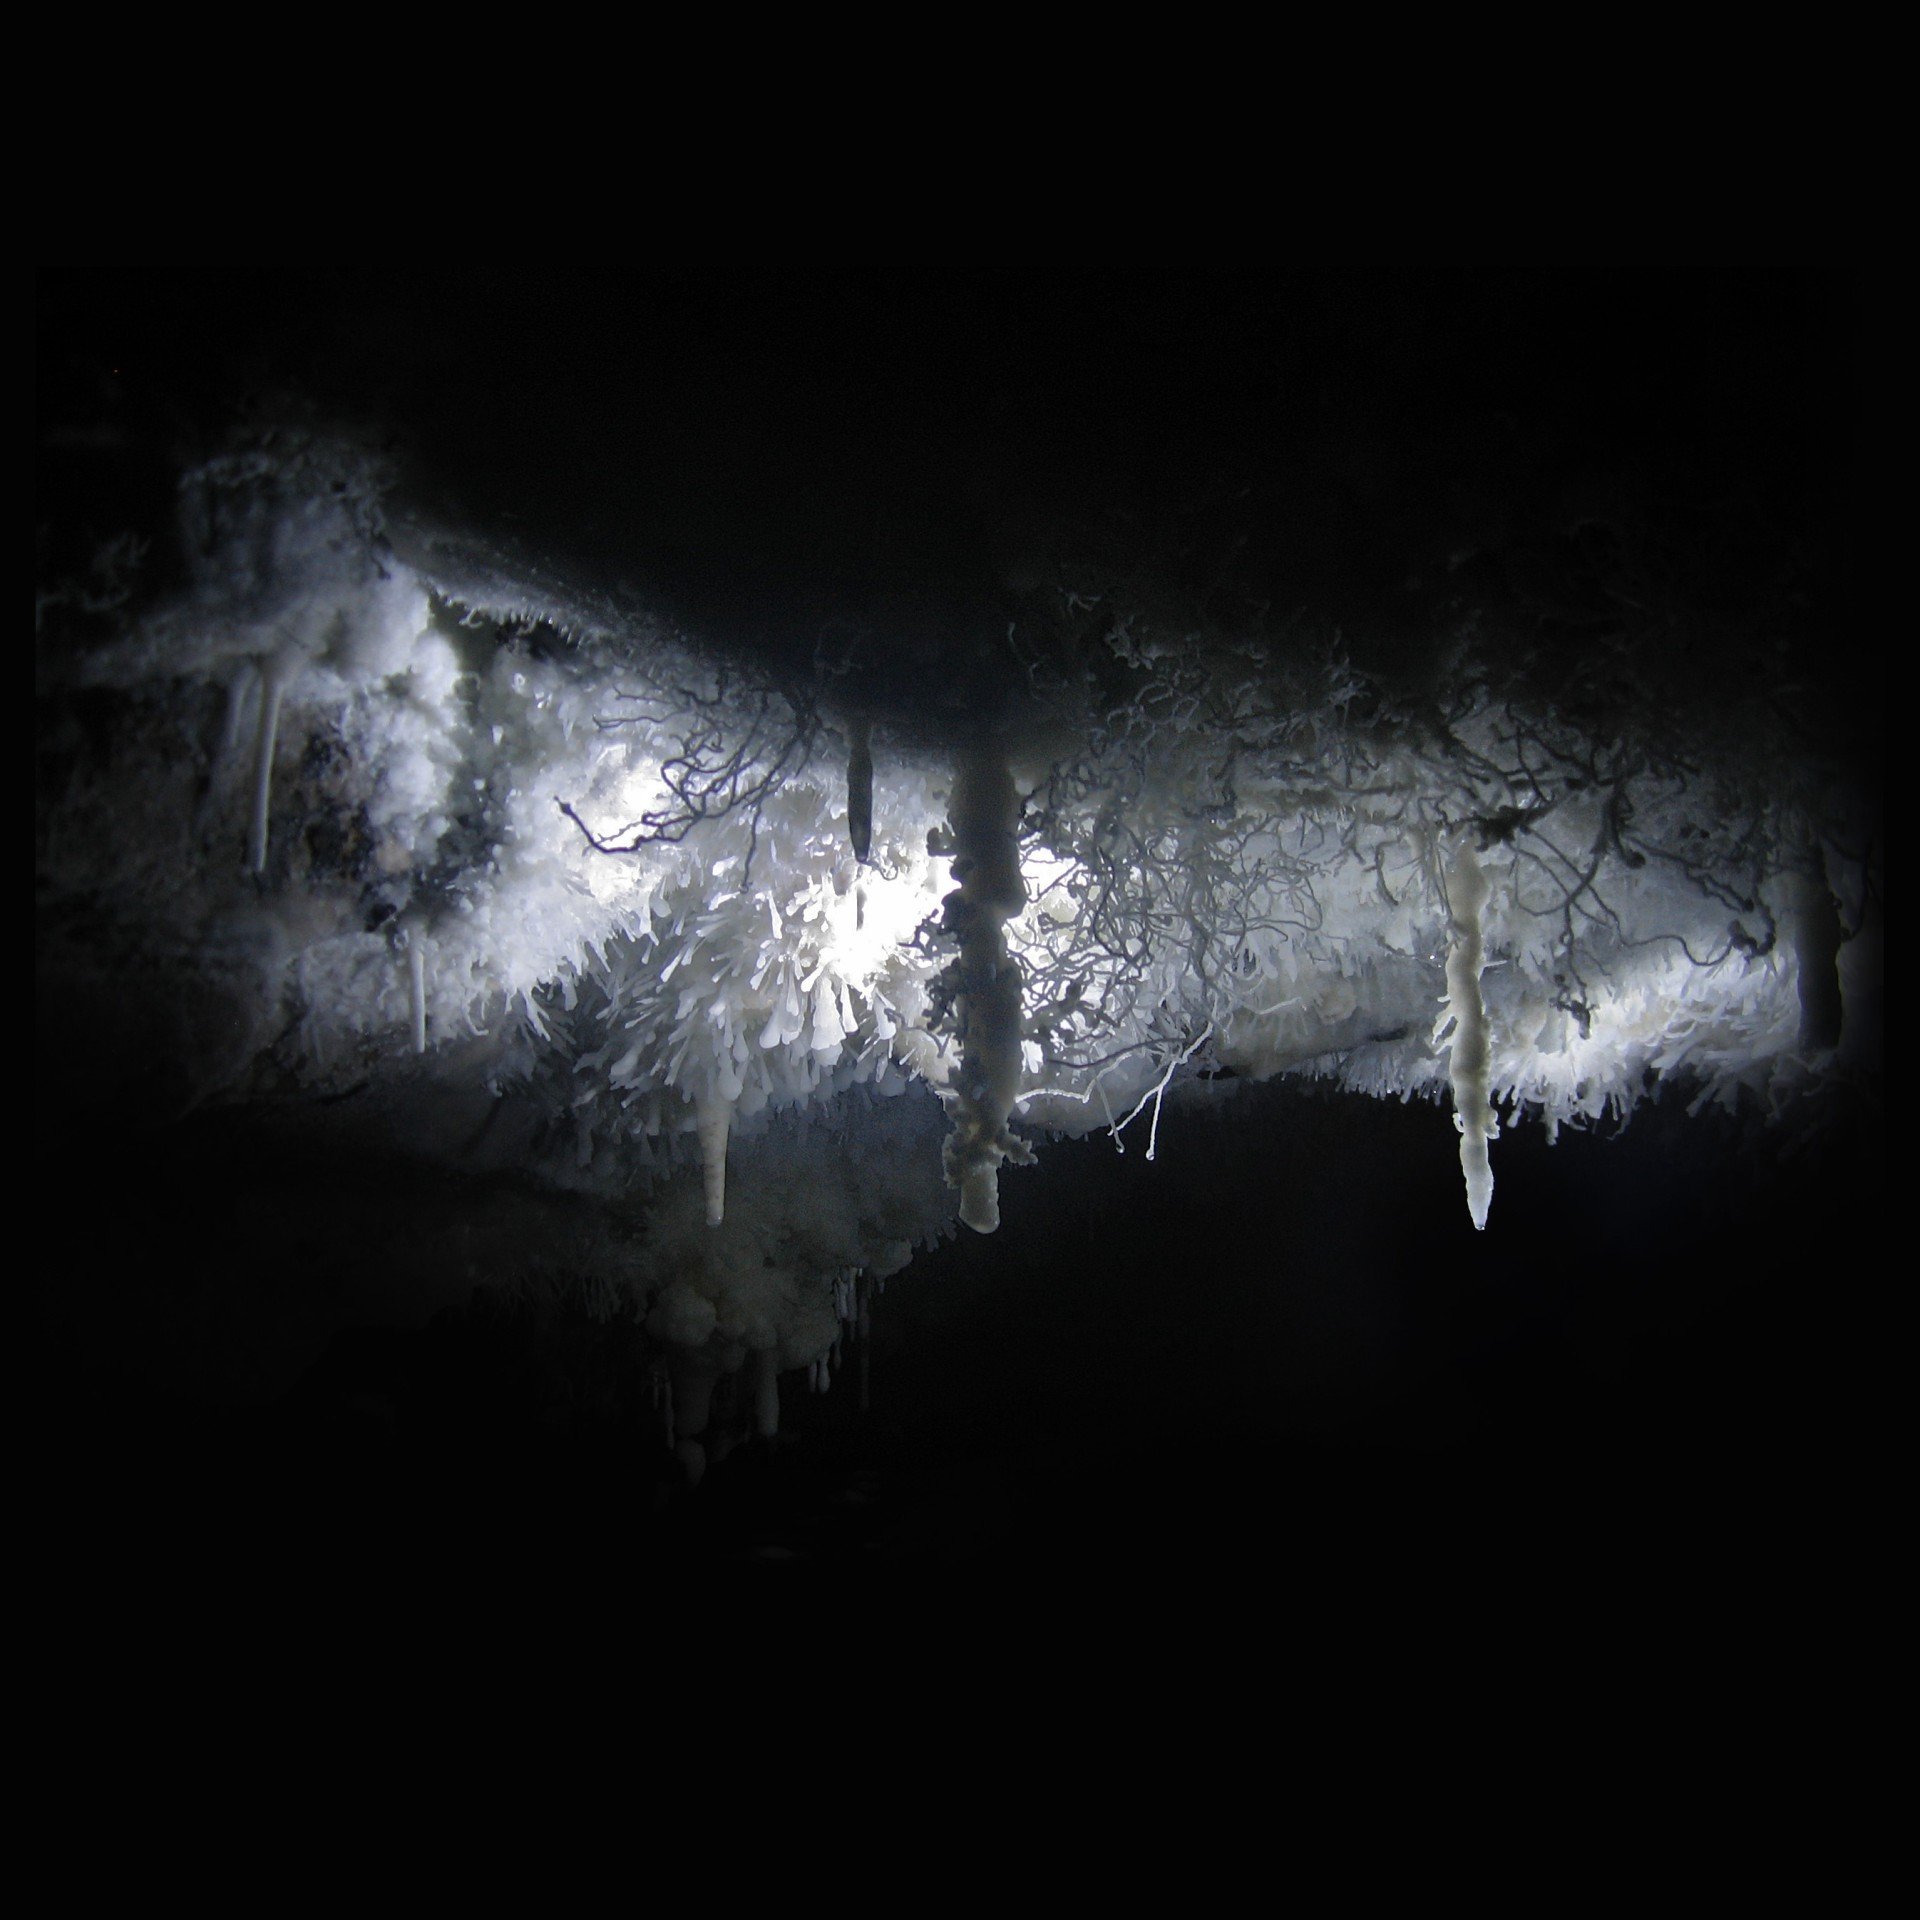
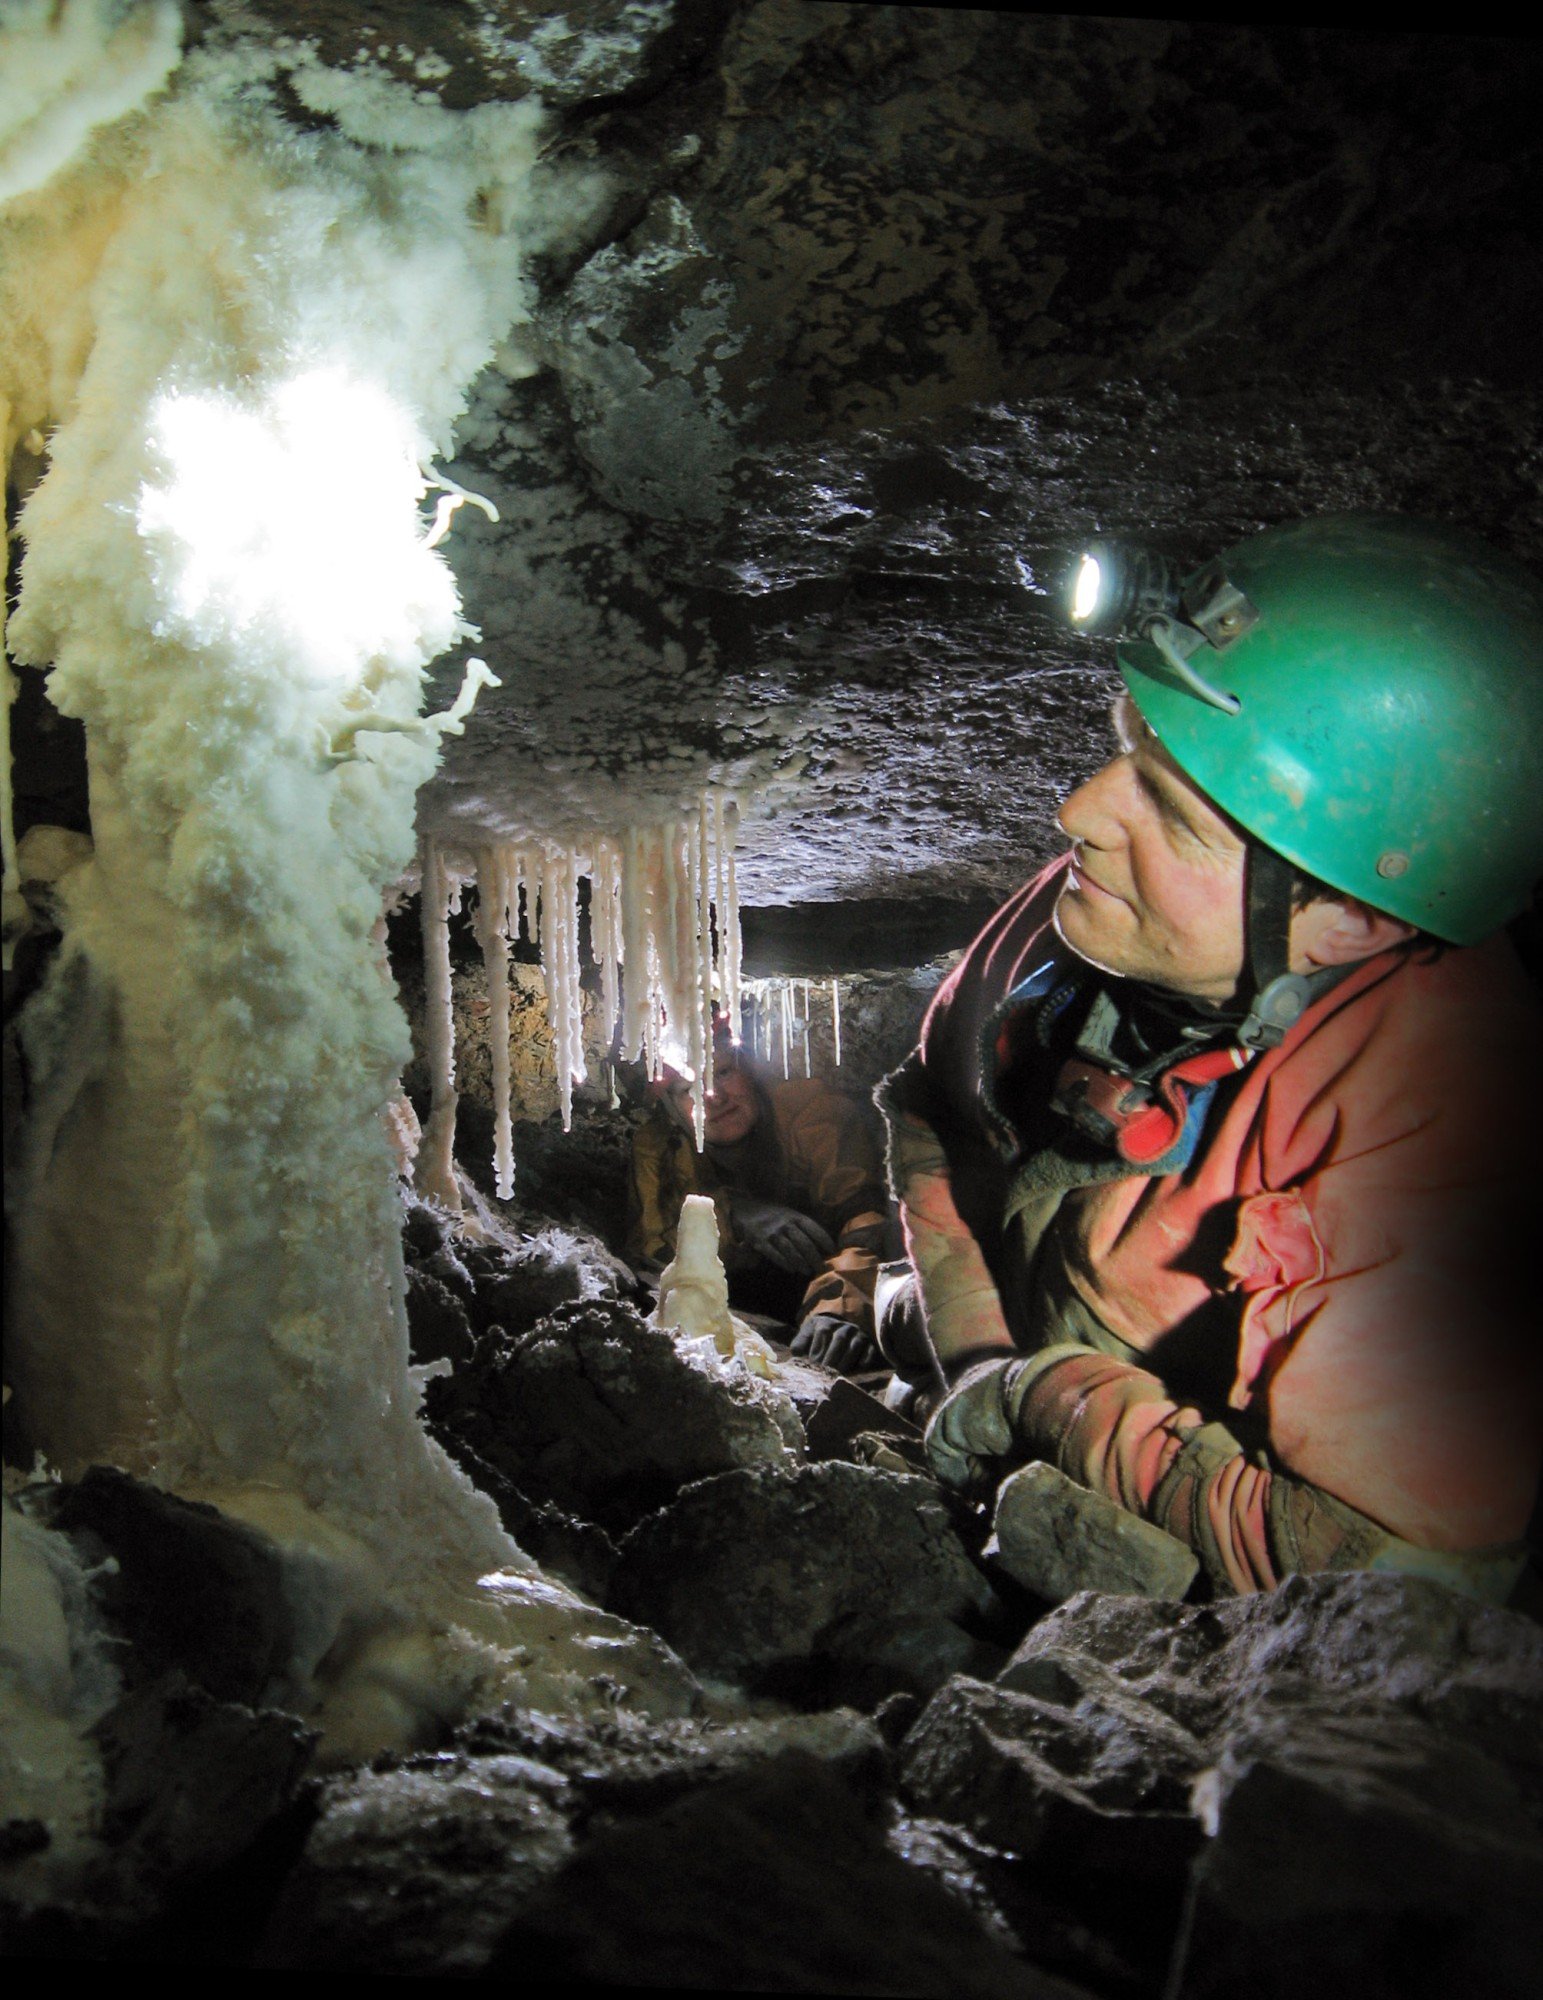
Climb down the boulder ramp on the right to join Bonsai Streamway, and take note of the huge boulder in the streamway below as this is a good marker to prevent you walking past the climb up on your return. There are no navigational difficulties in Bonsai Streamway and the route is very straightforward from here on. The first section of this passage has a number of helictite formations and areas of flowstone which are quite pleasant. The best formations are the Crown Jewels, which are located on a shelf accessed by a short climb up on the left at a point where you are passing through boulders. The red and white conservation tape is visible from below, so you can spot where they are. Further along the streamway the Bonsai Tree formation is located on a ledge on the left-hand side.
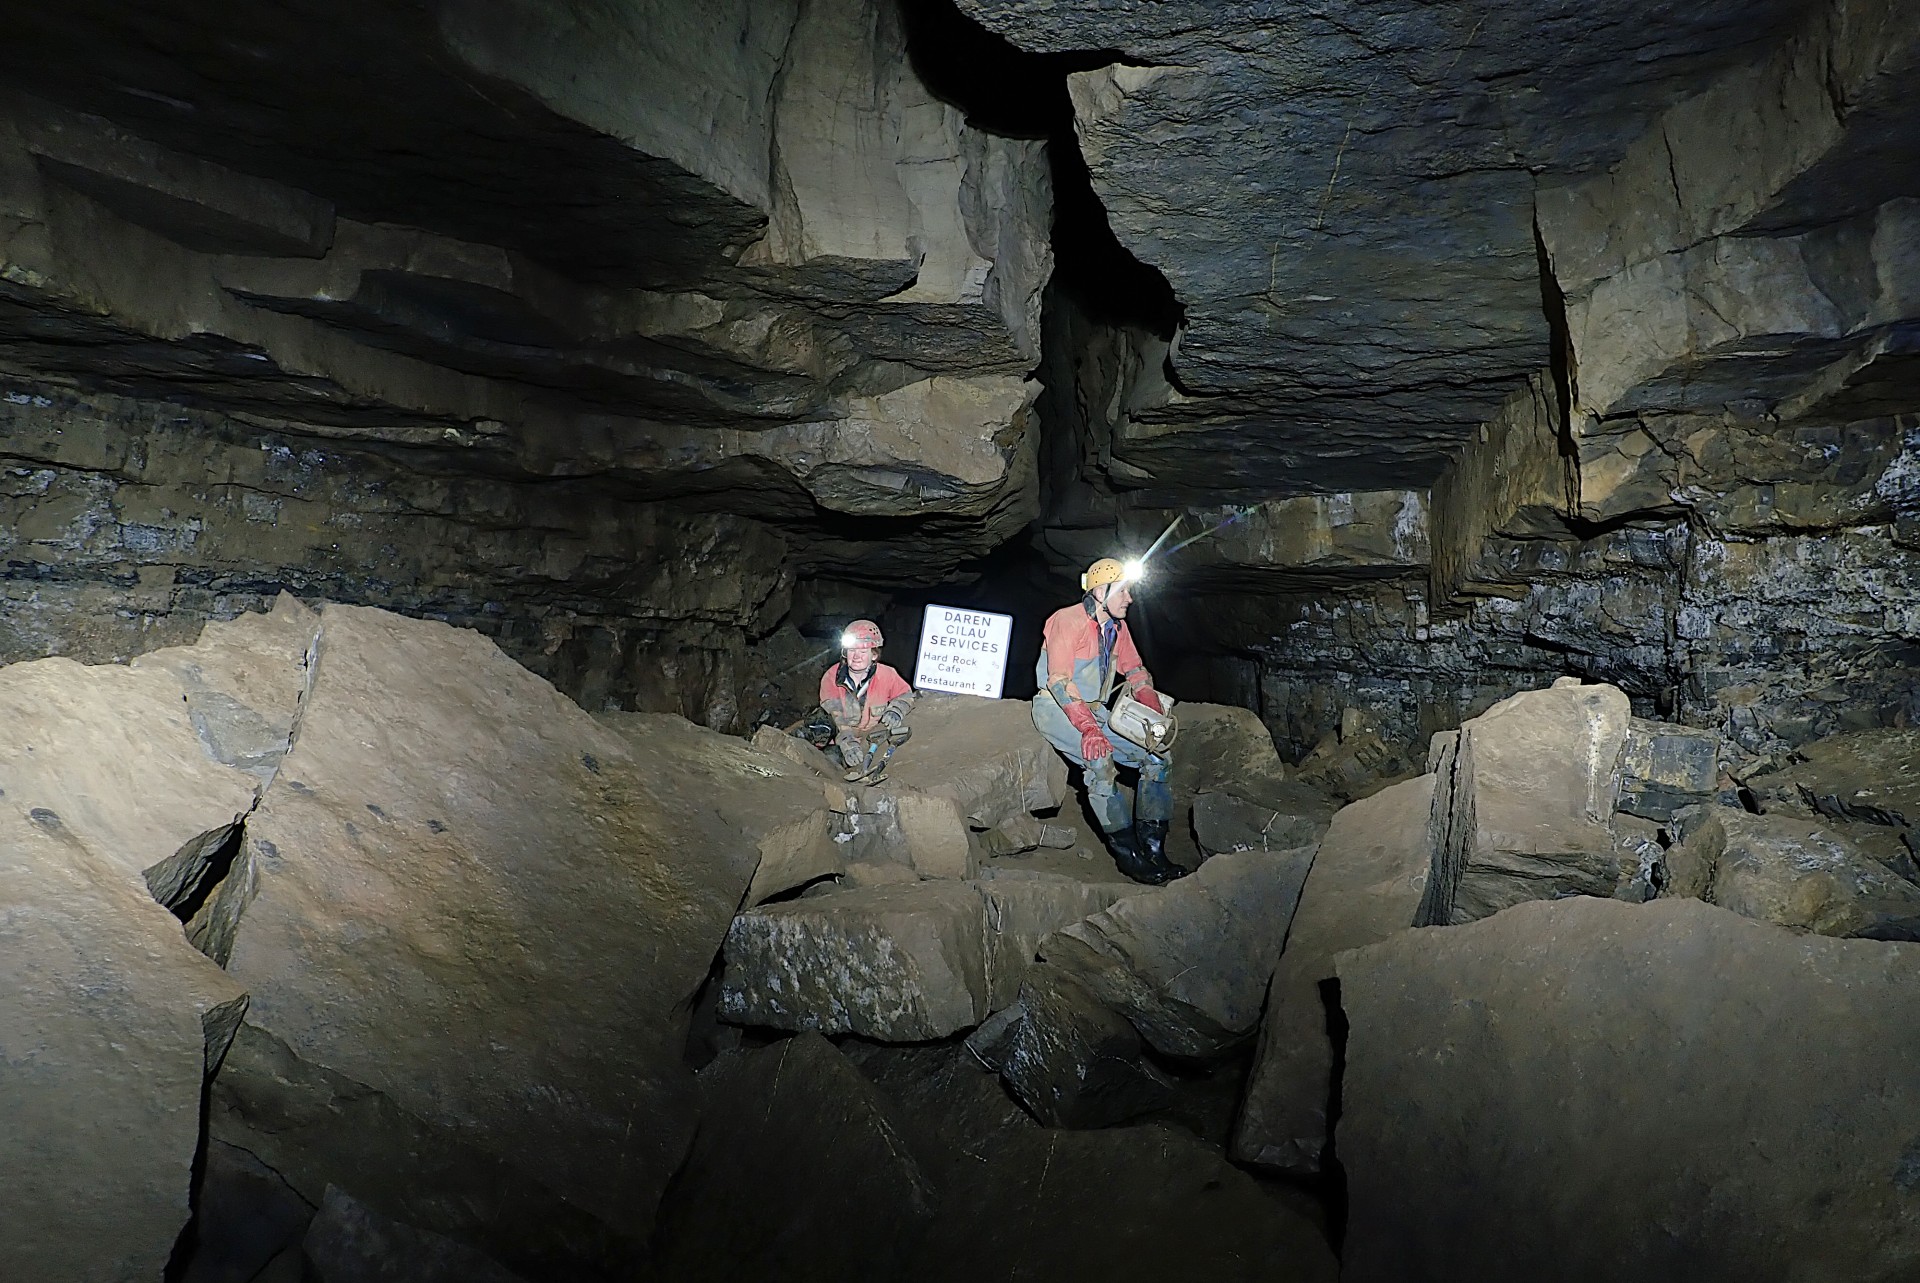
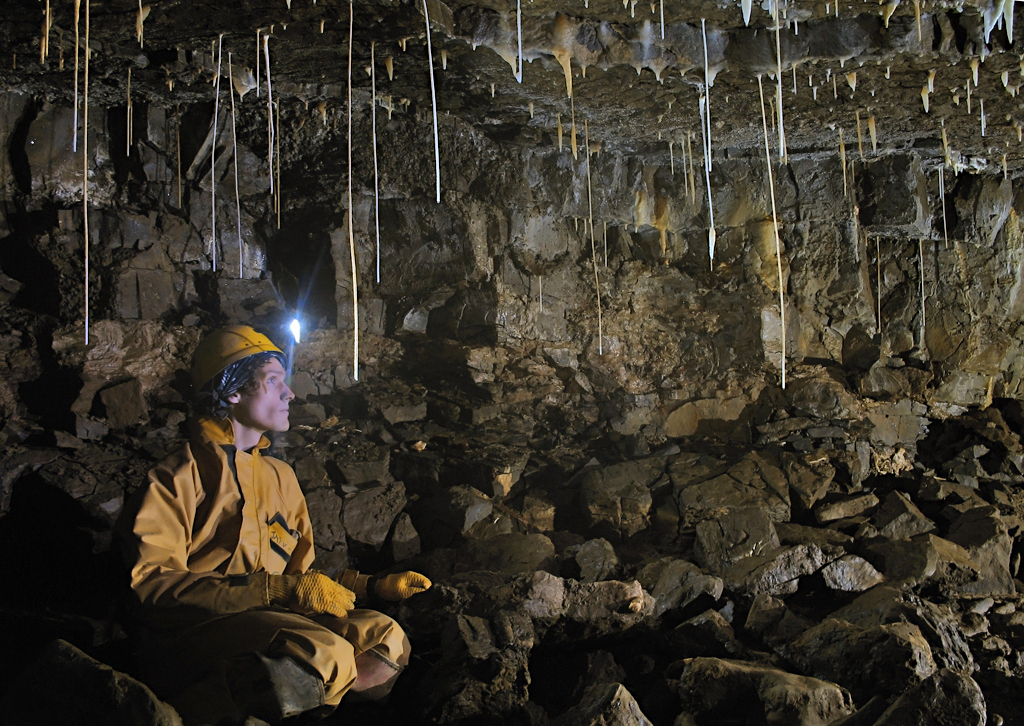
The first major junction along the route is at the ‘Daren Cilau Services’ sign, where Crystal Oxbow heads off on the left. This is where the water for campers staying at Hard Rock Café is collected, flowing out of a plastic pipe from Crystal Inlet, a short distance up the oxbow on the right. This is the place to top up water supplies if going further into the system. This junction also leads to one of the alternative routes back to the Time Machine (detailed later), though this is a more time consuming and complicated route than simply returning through Bonsai Streamway. Beyond this junction, Bonsai Streamway widens and the passage is well-decorated with straws on the walls. An ascent up a boulder pile a short distance further passes a rope climb on the right to Western Flyover and a fixed ladder on the left to Eastern Flyover.
The Flyovers (Optional Detour)
Of the two routes here, the most impressive is undoubtedly the Western Flyover, which is well worth a quick visit if you have the time. It’s also possible to a round trip between the two, which can be done from either direction, but Western to Eastern is probably preferable.
Western Flyover
The short rope climb up from Bonsai Streamway soon reaches a sandy floored passage of impressive dimensions with swathes of cryostal beyond the conservation tape. This area was once the site of an underground camp, though all remains have now been cleared. The connecting route to the Eastern Flyover is high-up on the right-hand side and currently rigged with a knotted handline and rope ladder. Beyond this, pleasant easy caving continues along a meandering path until a low belly-squeeze through sand is encountered at the end. Thankfully this is only short and well worth the effort to see the continuation of large passage beyond, which then ends quite abruptly at a massive boulder choke.
Back at the climb, ascending the ladder then reaches a brief awkward section at the top to reach a cramped stony crawl. This improves as you go then pops out into Half Mile Passage, which runs parallel with Bonsai Streamway at a higher level. Heading right here passes a dig on the left (Kilburn Highroad) before reaching the connection to the Eastern Flyover; a knobbly tube at the top of a short climb on the right.
Eastern Flyover
The chain ladder up from Bonsai Streamway leads to a large passage with selenite crystals coating the rocks and floor. This ends in a massive boulder choke, but before that another chain ladder is reached on the right. Above this is another short ladder which is the route to Half Mile Passage and the connection with the Western Flyover, while the passage to the right leads to an abandoned dig. The passage beyond the ladder climb is knobbly and awkward in parts, but soon connects with Half Mile Passage. Here you should turn left to find the connection with the Western Flyover, which is the first passage encountered on the left-hand side. Heading right at the connection with Half Mile Passage instead leads to several digs of interest but (as yet) no other way on beyond the end of Half Mile.
Continuing further along Bonsai Streamway the next optional deviations from the main route are located up a short chain ladder on the left, which gains a balcony overlooking the streamway. A second chain ladder from the balcony gives access to Frig and Frag Street, while continuing past the ladder leads to Forgotten Passage.
Frig and Frag Street and Beyond (Optional Detour)
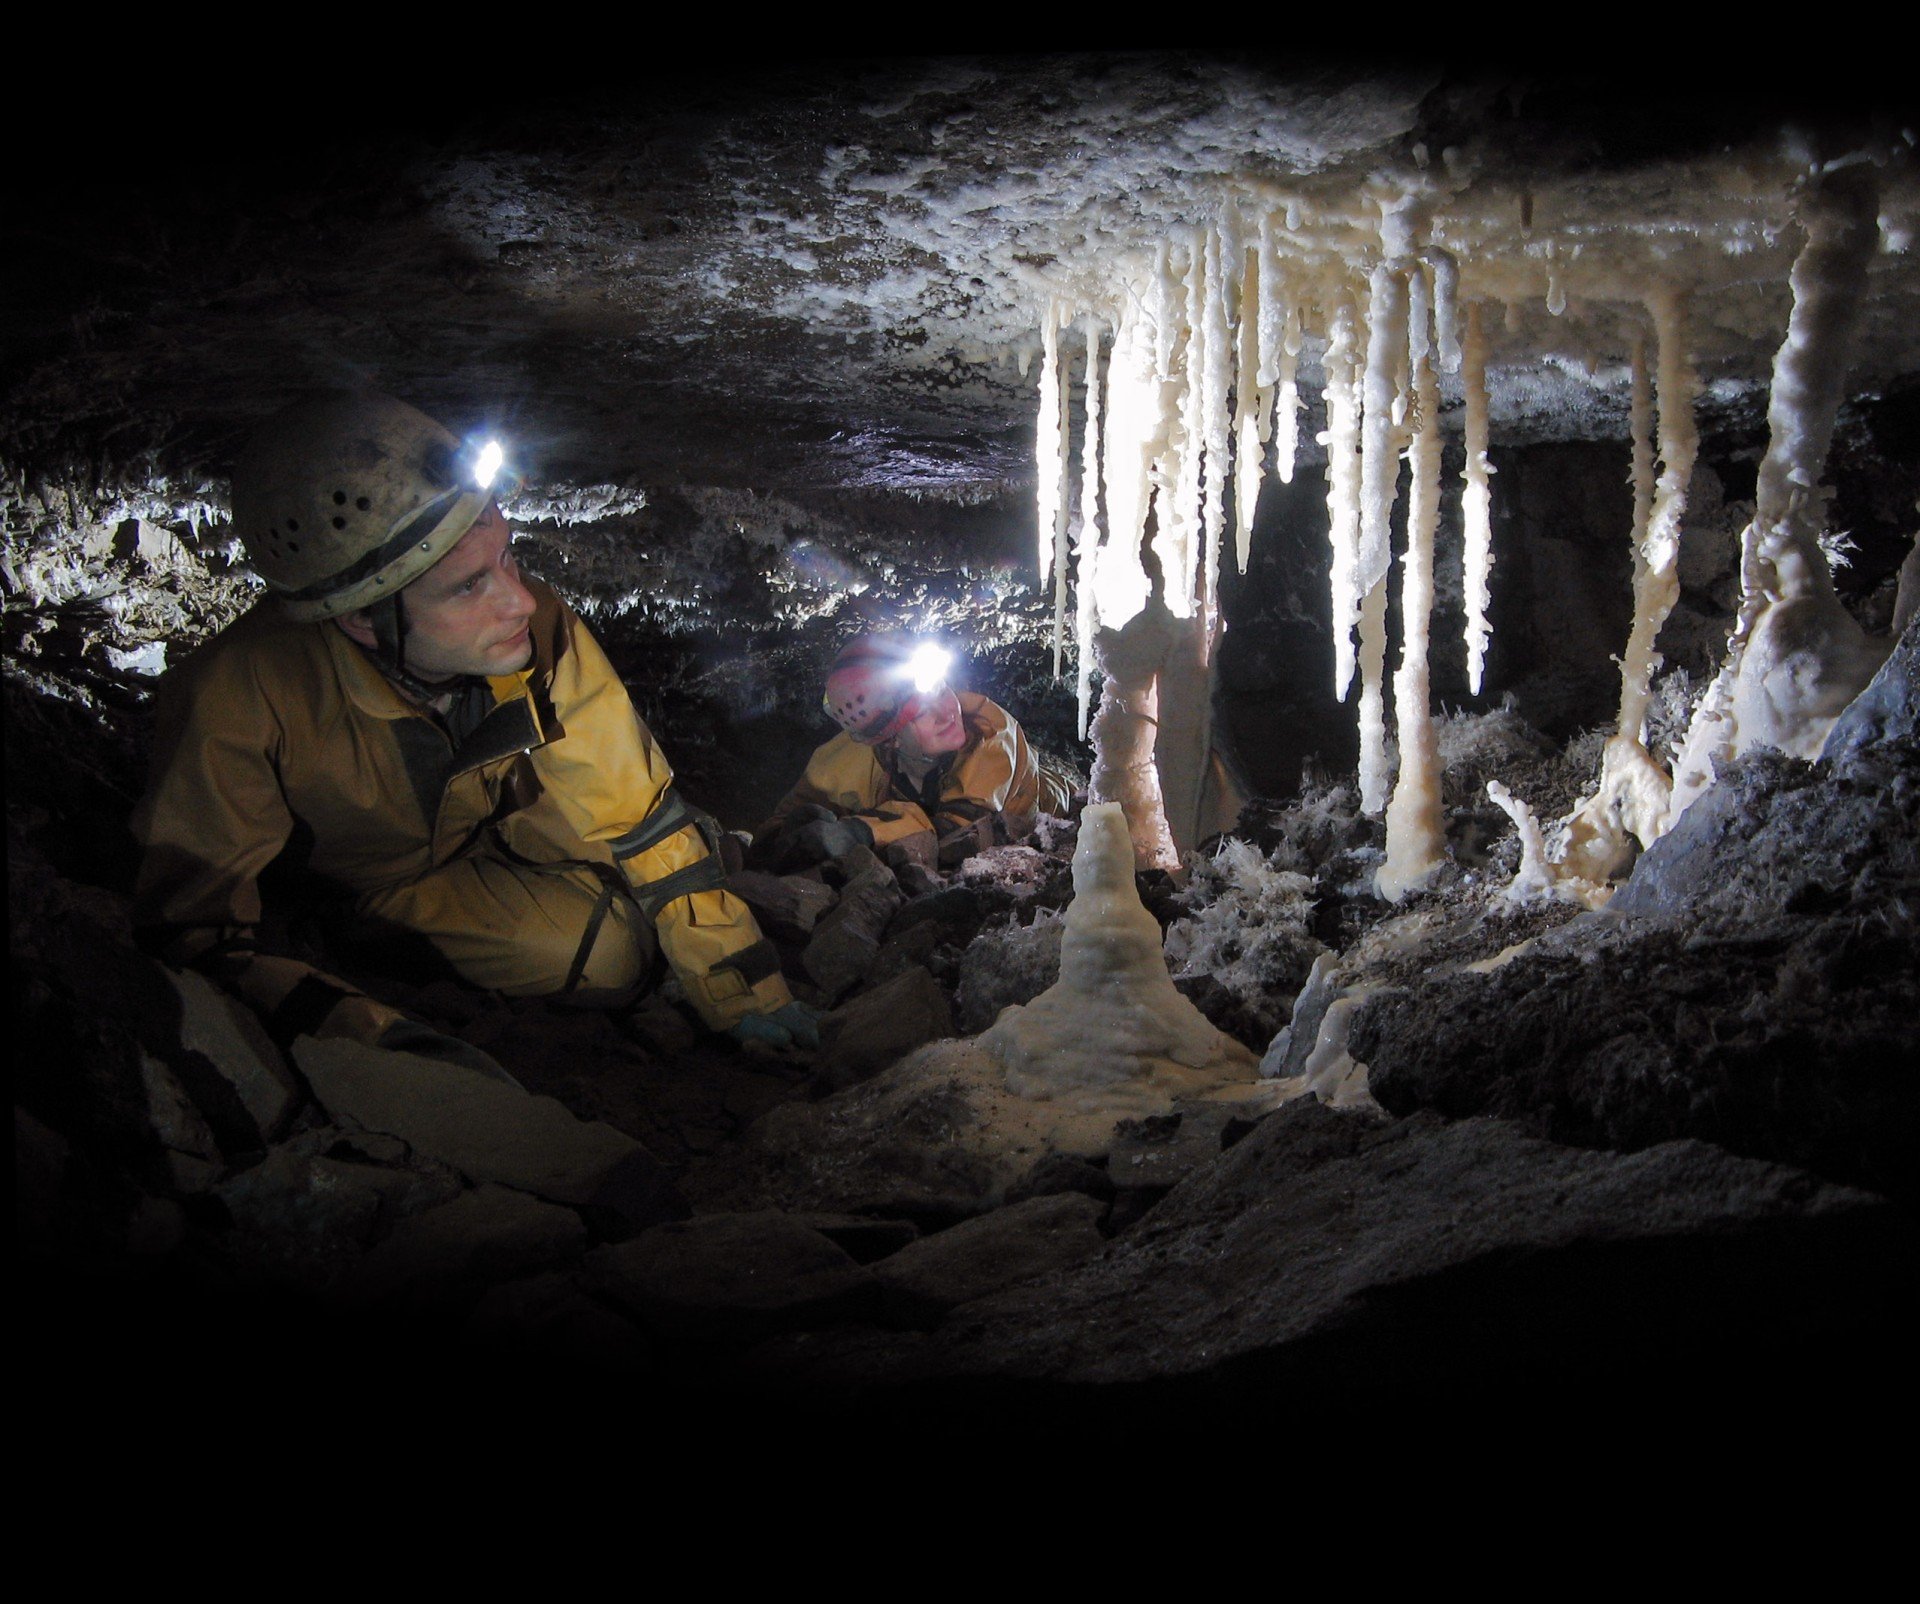
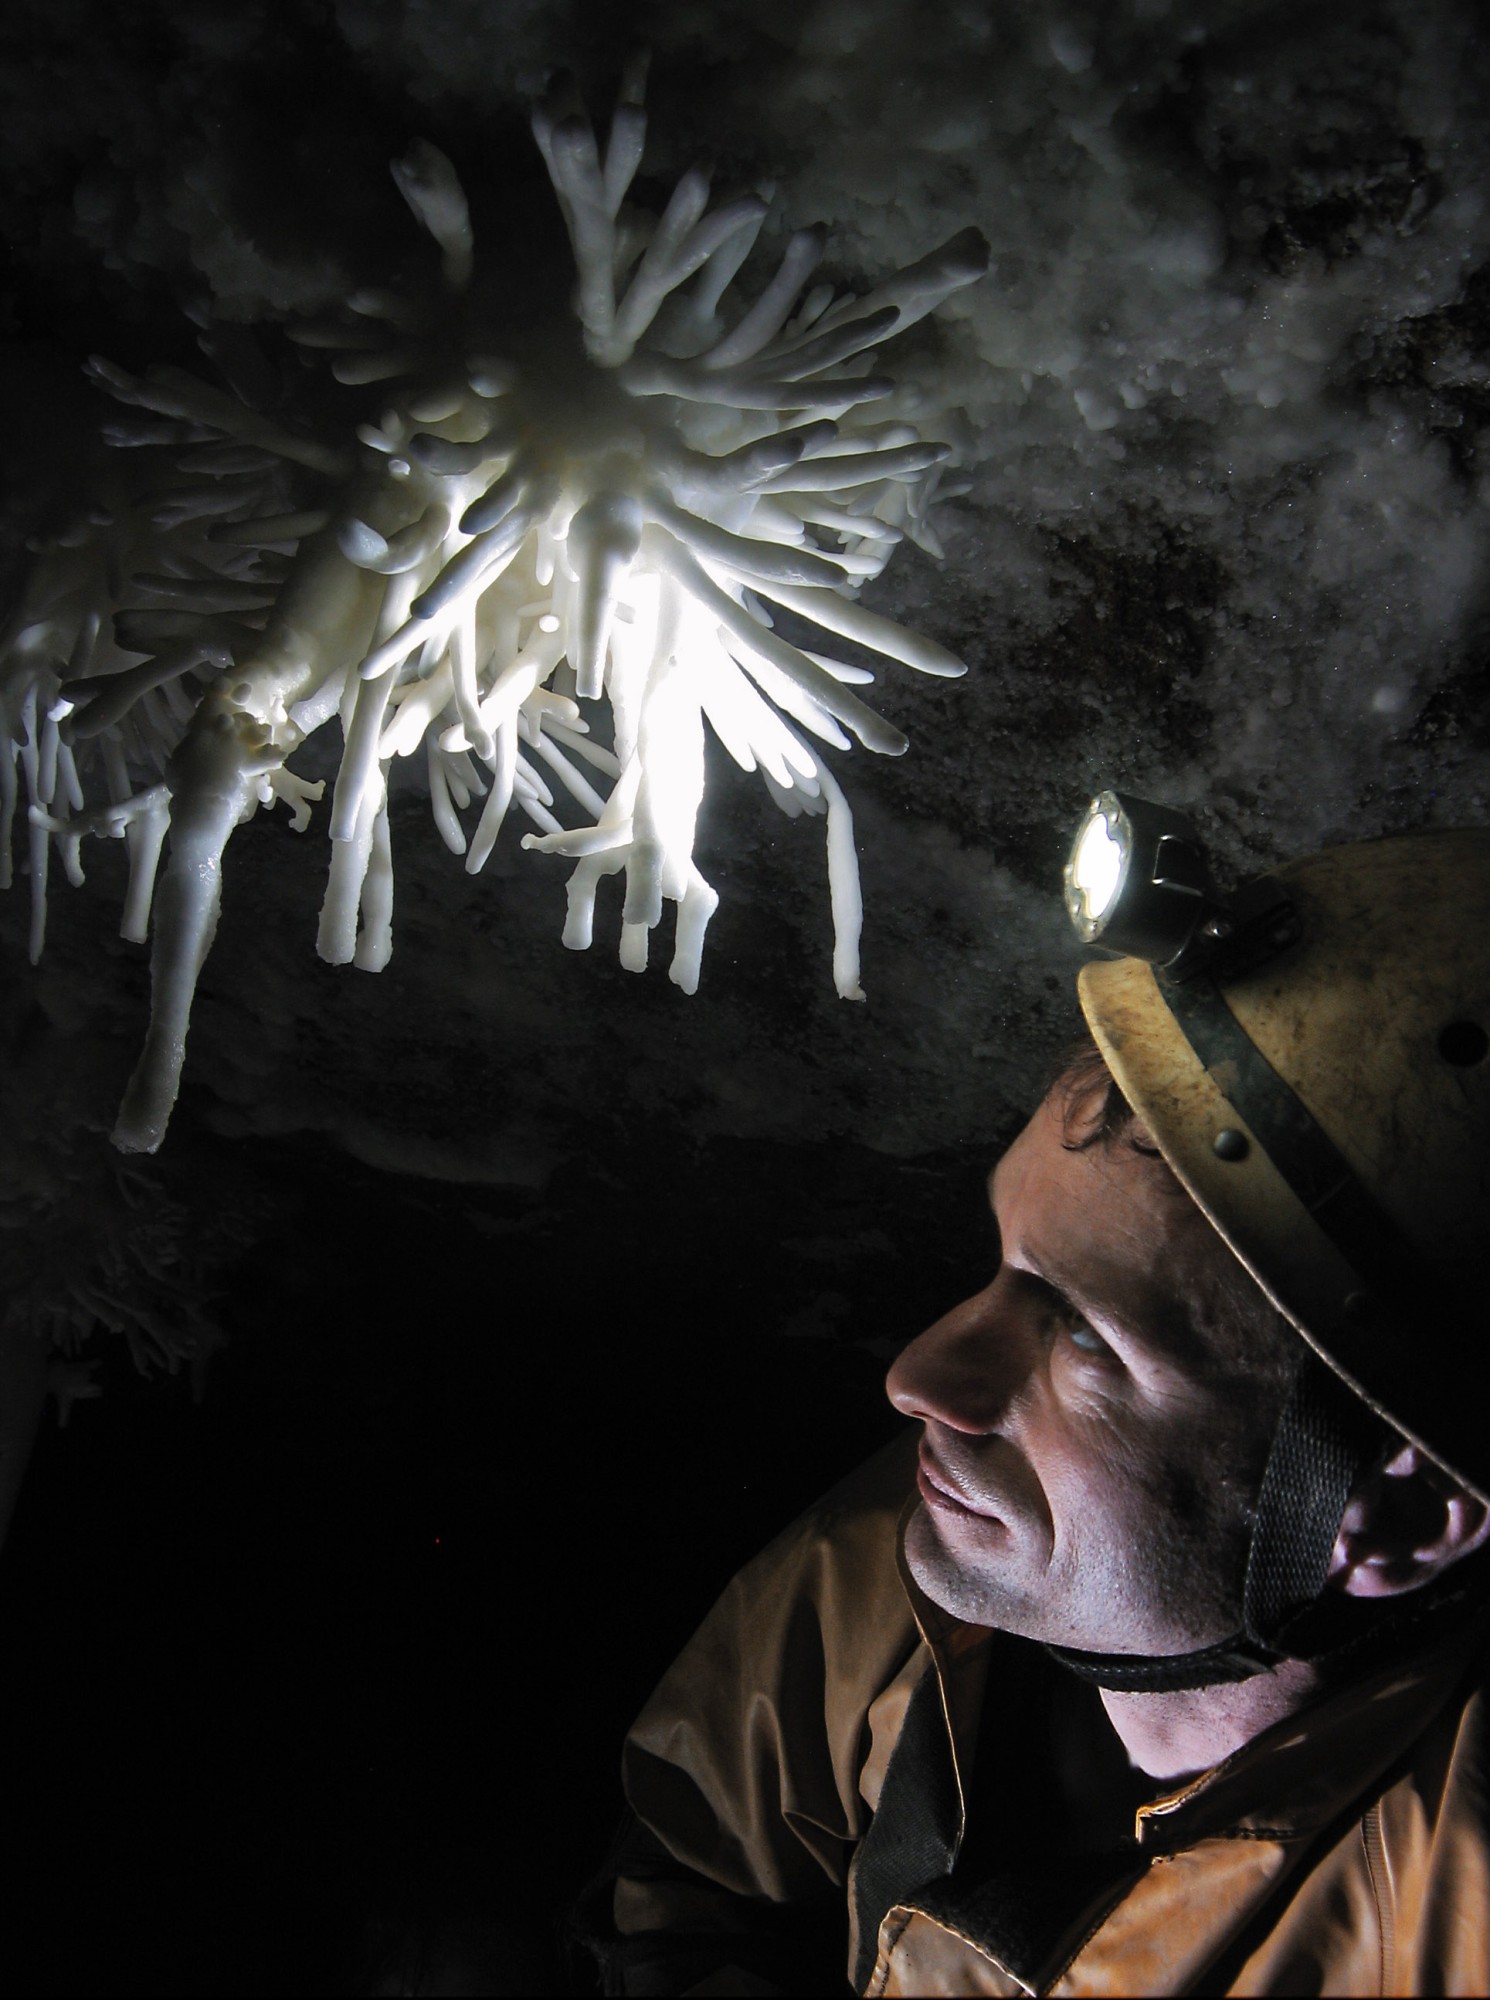
The chain ladder reaches a further balcony leading to a disappointingly long and low crawl. This fluctuates in size and awkwardness but expect roughly 20 mins of discomfort here. The important thing is to turn left at the junctions along the way, as unless you are a fan of extended crawling for no good reason you don’t want to accidently end up heading to Remote Chamber (Bugger Hall) instead. Along the way you go from Frig Street to Frag Street and eventually to Frog Street, the breakthrough point in 2009. The going gets briefly worse, but eases up when formations start to appear. The Prince is the most notable, and not far beyond this the well-decorated grotto Hopping Mad is seen straight ahead. This only extends a couple of metres beyond the vulnerable formations, so isn’t worth risking damage to the formations by entering this area. Just before this in a passage on the right are the Helibeds, a stunning cluster of helictites that extend for some distance. Again, these are very vulnerable and damage has already been done here, so please move carefully and stay very low (belly crawl) when passing through. The wonders end as suddenly as they start as you emerge at the other side over a pit in the floor. There is not much of tourist caving interest beyond this point, so this is a good turnaround point. (Beyond, the passage continues for some distance before reaching Cheese Aven with a climb up to Fenchurch Street, a large passage containing a draughting boulder choke which is currently (2023) being dug. The pit in the floor reaches an abandoned dig, The Inconvenient Truth.)

Forgotten Passage (Optional Detour)
This rarely visited part of the cave is accessed by continuing along the balcony below the chain ladder to Frig Street and up a slope rigged with a handline of unknown vintage. After this an easy crawl through a wide bedding plane reaches an exposed step around a hole above Bonsai Streamway. Here take a sharp right into the somewhat smaller confines of Forgotten Passage as the larger passage soon ends in chokes. Forgotten Passage fluctuates in height and comfort, the highlight being the Enchanted Forest and the many interesting formations nearby, which is not too far and quite a good destination to aim for. The passage beyond this is not particularly worth pursuing unless you like uncomfortable caving, however one interesting, though not necessarily enjoyable, feature is The Snake, a section of phreatic twisting squeezes that eventually becomes too tight for further progress. This is on the right at the only major junction, while the left-hand route comes to an end after roughly 300m.
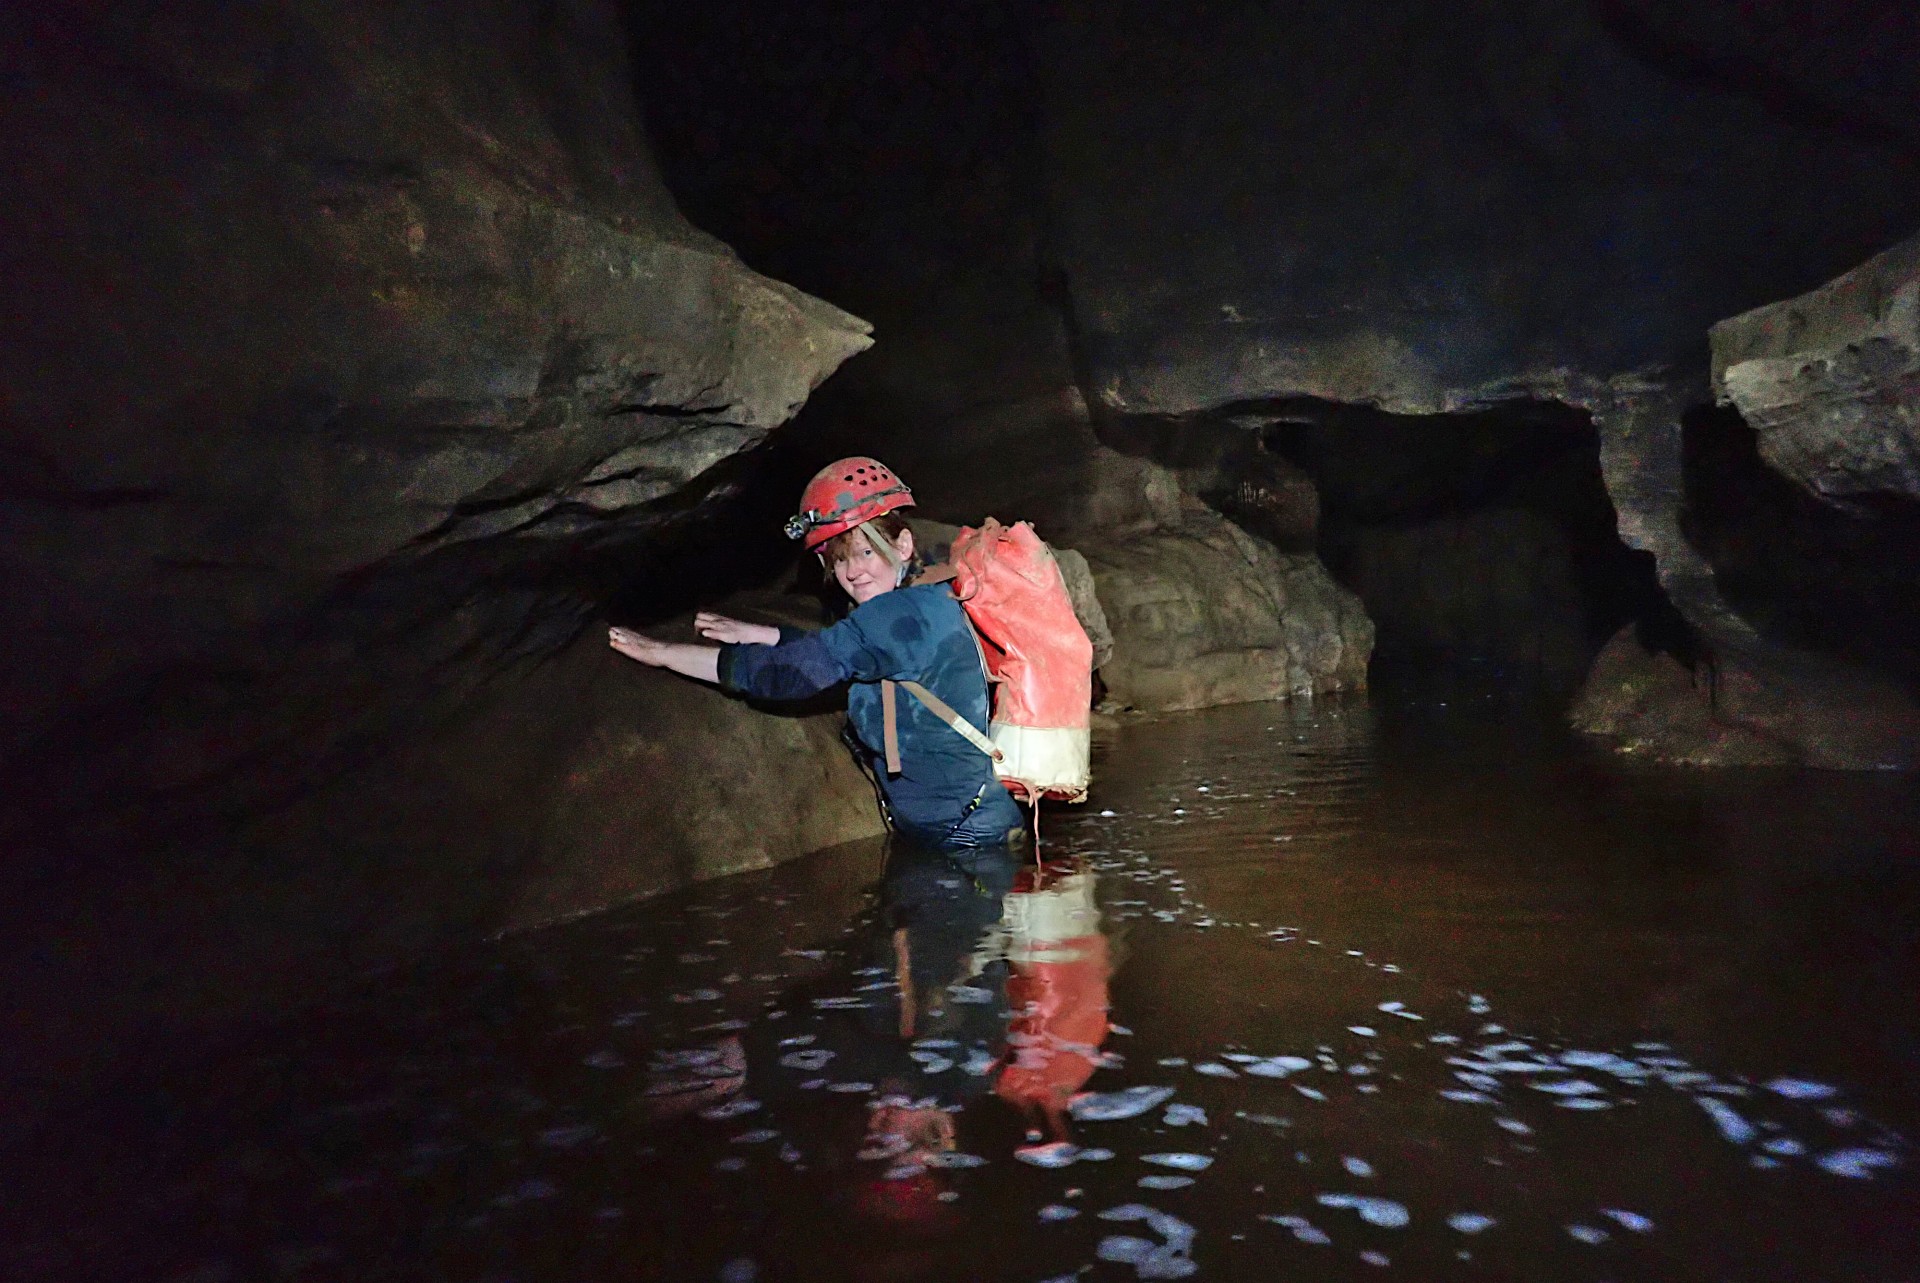
Continuing along Bonsai Streamway there are no more major passages heading off so simply follow the streamway which becomes narrower and more bouldery as it approaches the camp. In normal conditions the water level is very low on the approach to Hard Rock Café, but in very wet weather one section can rise up to chest-deep. If this is the case then it’s a sure sign that water levels will be too high to travel beyond The Micron in the further reaches of the cave. The first sign of the Hard Rock camp is where the streamway flows into a narrow rift; this is the Hard Rock Café naturally flushing toilet. Upslope from here and turning left leads to the Hard Rock camp, and the passage becomes King’s Road. Though not on our route, it’s worth noting the oxbow heading off on the right just before the main camp area – the Hard Rock Extensions head off from here, leading to the Restaurant at the End of the Universe, Psychatronic Strangeways and beyond. This is the only non-diving route to the further reaches of the cave.
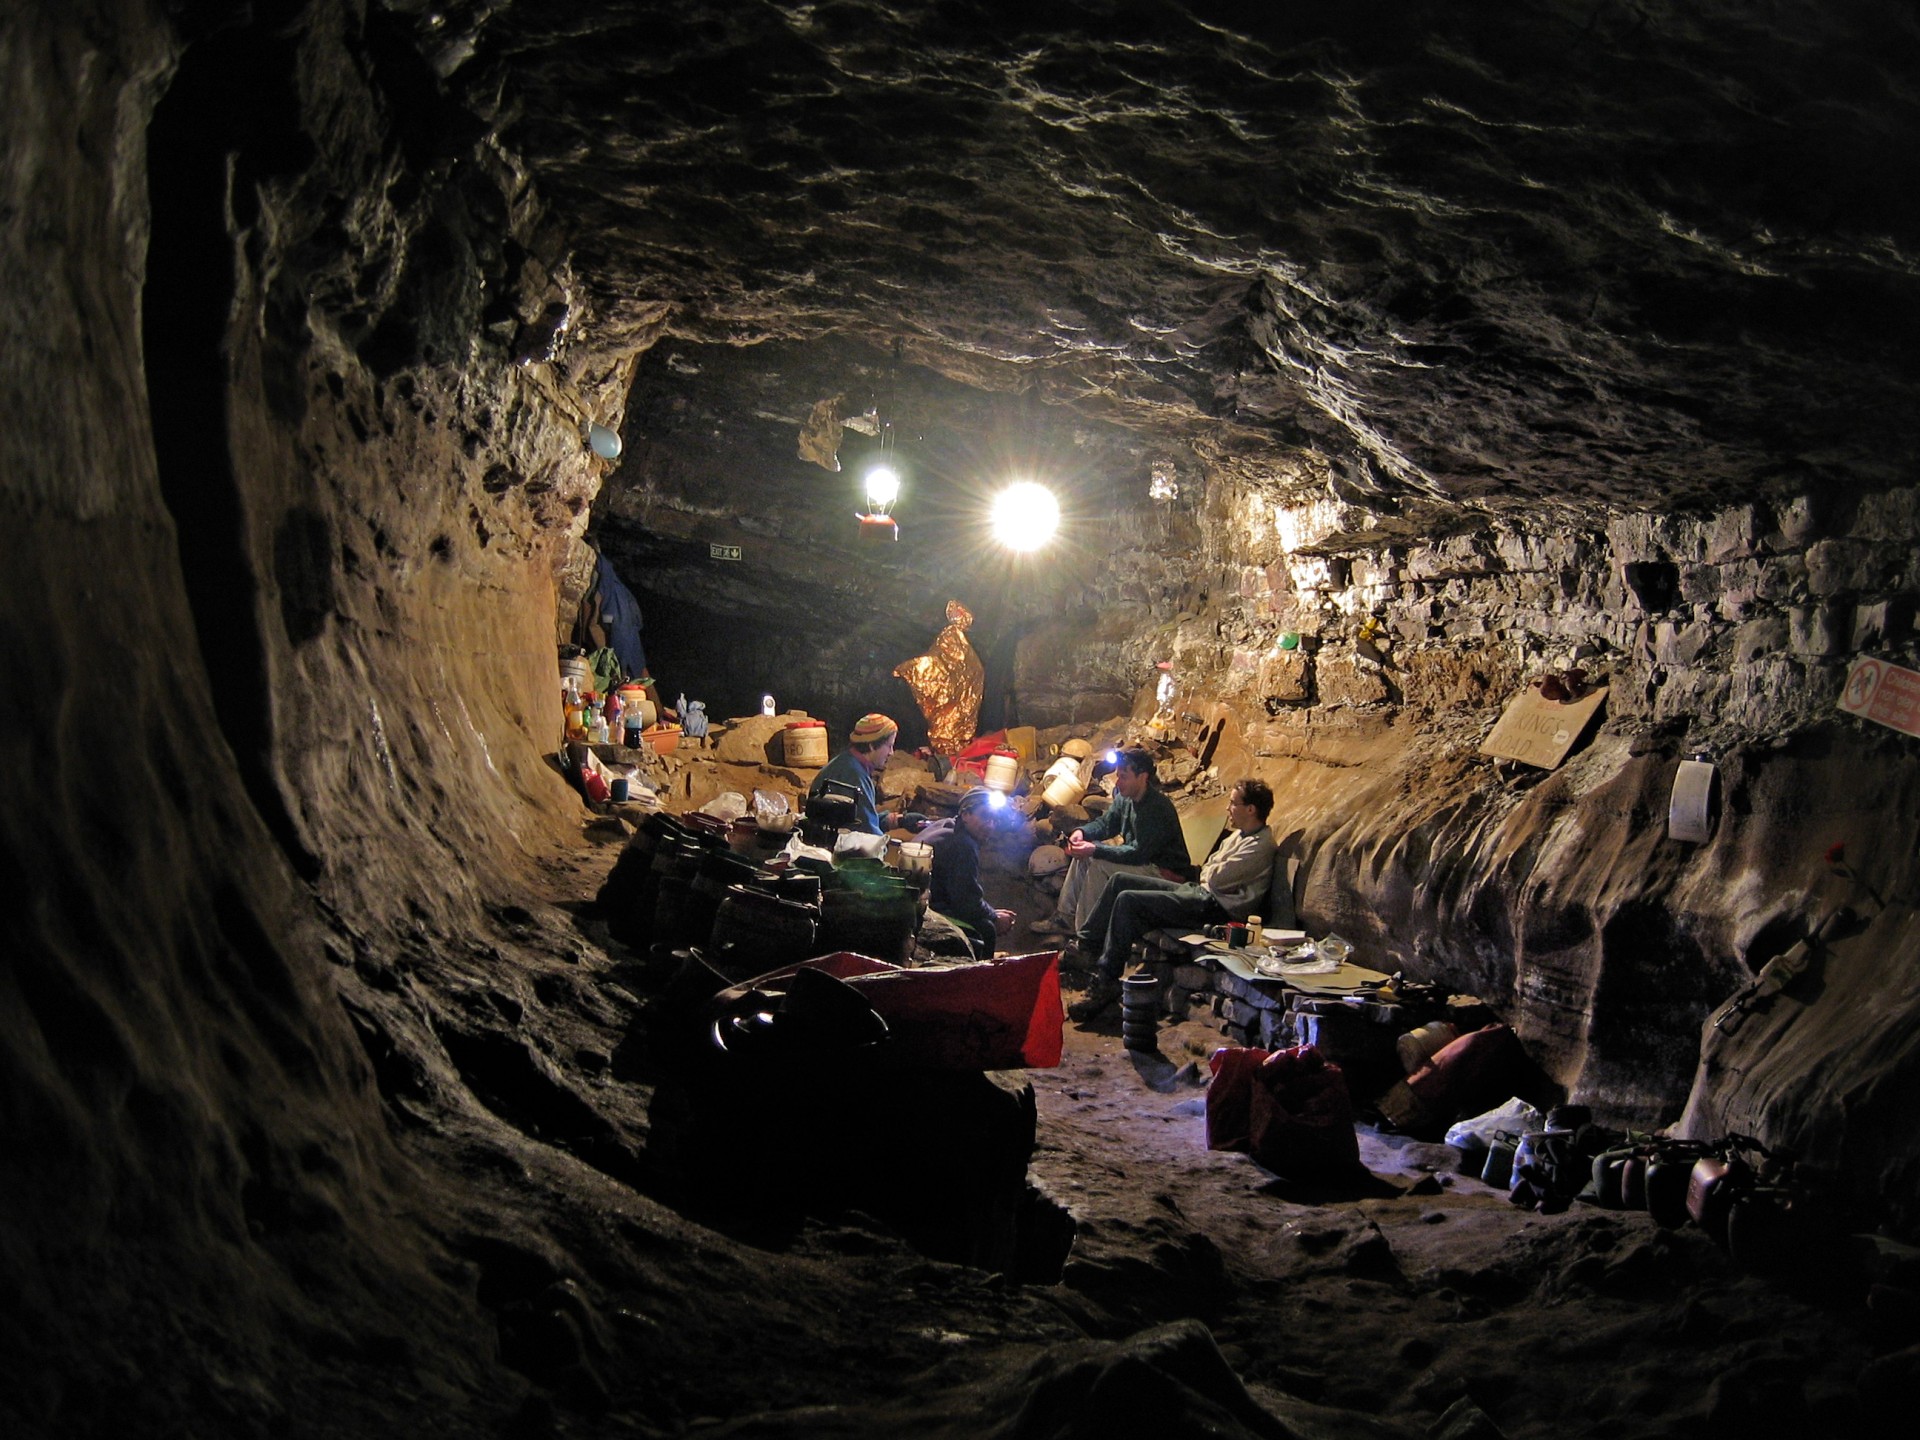
Straight ahead soon leads to the main part of the camp where all the cooking and socialising takes place with stone-built benches and shelving surrounding a handy natural platform. Please refrain from tampering with Daren drums and personal supplies stored here as these belong to the Daren digging team who are still actively using the site. Beyond this is the changing area with washing lines and the route down to the terminal sump at St David’s Streamway. King’s Road is wide easy travelling throughout with only a couple of sections of stooping. This reaches the streamway at a T junction which in normal water conditions can be travelled along in either direction to reach sumps, though the going is very slippery and has little except the view of a sump to recommend it. Left leads to Terminal Sump, from which divers entering from Pwll y Cwm enter the cave, while right leads to St David’s Sump, the divers’ route to Psychatronic Strangeways. You’ve travelled roughly 3 miles into the cave and now it’s time to head back out the way you came. (Though there are some variations possible on the return route for those with sufficient time and energy.)
Alternative Return Routes
Though simply following the streamway is by the far quickest and easiest route back from Hard Rock Café to the Time Machine, there are a couple of alternative routes via the passages high above Bonsai Streamway that offer a more sporting alternative if you have time and enthusiasm in hand. Doing these will take much longer than simply retracing your steps, as the route finding is more complex and involves extra climbs and traverses.
Flyovers Return Route
This is the first of the alternative routes encountered on the way out and can be done from either Western or Eastern Flyover. Both routes as far to the connection to Half Mile have been described already (see The Flyovers section above), and from either route you should emerge at Half Mile Passage and turn left. Please keep to the trod path along this fine cave passage to preserve the pristine floor sediments and crystals on the floor as conservation tape is not always present here. Pleasant easy travelling continues to reach some rock windows to be climbed through. Then turn left (right here leads back to the passage behind via a low oxbow), and the next feature is a rope traverse skirting a steep drop to Crystal Oxbow below. Shortly after this another drop is reached, and here a brief unprotected traverse around the bend wedging between the passage walls reaches a ledge from which you can climb down to the passage below. This is where the Crystal Oxbow route joins Half Mile Passage, emerging beneath the climb you’ve just descended.
Crystal Oxbow Return Route
This route is shorter than the Flyover routes and avoids the ladder climbs and traverses that going from either Western or Eastern Flyover entails. However, it is still more time consuming and complex than following Bonsai Streamway and involves an unprotected rope climb to reach Half Mile Passage.
At the junction by the Daren Services sign, head up Crystal Oxbow on the right. This is easy walking stream passage, which becomes well decorated beyond where the pipe carrying water from Crystal Inlet enters from the right. This has suffered somewhat from careless cavers, so please stay within the taped route to avoid further damage to the formations here. A rope hanging on the right-hand wall leads to a dig (Digger’s Day Off); continue past this and up a boulder ramp to reach an aven at a bend in the passage with a large cone of sand. The high-level passage visible when looking up is Half Mile Passage, and the way to get there is up the rope climb against the wall straight ahead. (Crystal Oxbow continues beyond this point, ending at a connection to Bonsai Streamway that is blocked by formations and impassable to cavers.)
The rope climb to Half Mile Passage is in two sections with one rope for both. The first section is quite awkward, but has good foot holds and hand holds to help. This reaches a ledge where a further short scruffy climb is ascended (taking care not to knock any loose rocks on those below) to reach Half Mile Passage just a short distance further. Here the route from the Flyovers joins from a climb on the right.
Continuation of both return routes (Half Mile Passage to The Time Machine)
From either of the above routes continue along Half Mile Passage (keeping to the trod path) to reach a T-junction. Turn right here, then at the start of a large sandy ramp look for a passage heading off on the left. This is Nameless Canyon, the route back to the Time Machine, but it’s well worth a brief detour ascending the ramp up to Aggy Passage to look at the excellent coloured bands on the ceiling at the top. (Beyond, Aggy Passage continues as easy walking on the right before coming to an end at a huge boulder choke, while Kingston Sands on the left also ends after a similar distance.)
Back at the start of Nameless Canyon, follow this climbing over various wedged rocks until a final climb up reaches a ledge to the left. Stay on this ledge to the end, and soon after you’ll reach the Meeting Room where a number of passages join. Keep following the obvious route straight ahead here, passing the large passage to Beyond Time on the left, two short passages on the right, then Balcony Passage on the left before descending towards the Time Machine. Here a short but awkward climb down lands you back into familiar territory where it’s just a case of heading right and following the reflective markers once more.
Description written by Mandy Voysey (2023). Photos by Mark ‘Gonzo’ Lumley, Steve Sharp, Dave King, Richard Dearden and Matt Voysey.
Daren Entrance to Hard Rock and St David’s Sump
Printable Route DescriptionAlternative Routes and Detours
Printable Route DescriptionSpotted an error in this route description or want to leave feedback? Contact the Webmaster.